
Want a tiny burst of Christmas cheer for your books? These cute watercolor bookmarks prove simple shapes can sparkle.
The charm comes from easy silhouettes, soft color washes, and playful but minimal details you can recreate in minutes.
Inside you’ll find a mix of trees, candy canes, snow and cozy motifs — all beginner friendly and pin worthy. Pick a favorite and start painting.
1. Tiny Christmas Tree Silhouette on a Bookmark

The simplest evergreen silhouette makes a timeless bookmark. A slender triangle with a petite trunk reads as festive and calm.
How to Draw It
- Sketch a long rectangle for the bookmark base.
- Draw a small, centered triangle on the upper half for the tree shape.
- Add a tiny rectangle at the bottom for the trunk.
- Paint the tree with a pale green wash, leaving the trunk lighter for contrast.
- Drop in a couple of tiny dots as ornaments or keep it unadorned for a clean look.
Keep the silhouette crisp by using a steady outline. A minimalist tree reads instantly as holiday themed even at a glance.
Finish with a short note on the back or a subtle color wash around the edges to frame the illustration. This simple focal point makes a charming starter in your bookmark collection.
2. Candy Cane Stripe Bookmark
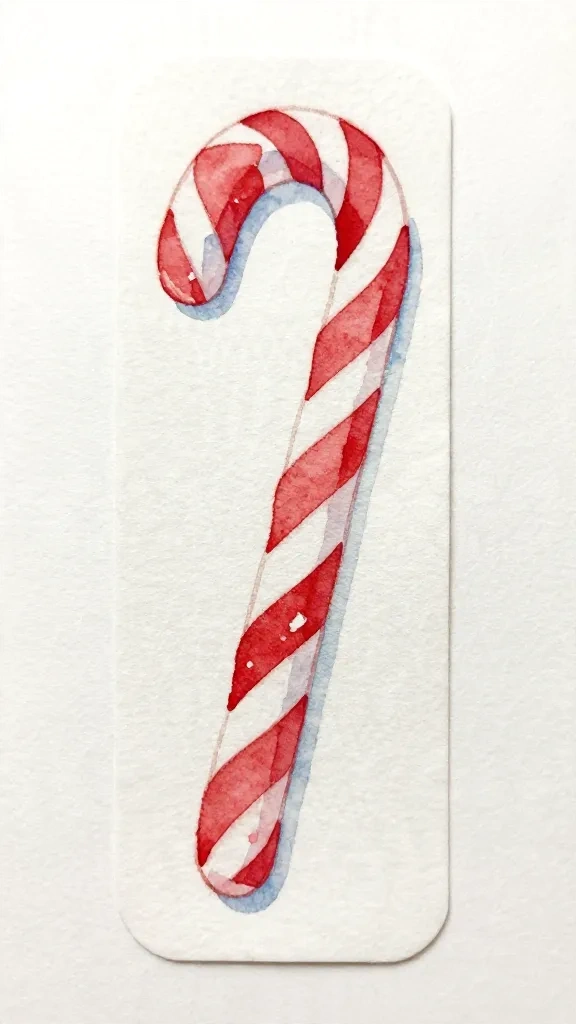
Candy canes are iconic and instantly recognizable. Bold red and white stripes create a graphic yet friendly shape.
How to Draw It
- Draw the bookmark outline, a slim vertical rectangle with rounded corners.
- Near the top, sketch two diagonal, curved stripes that cross the edge to imitate a wrapped candy cane.
- Color alternate stripes in red and white, leaving gaps for the paper’s white that shows through.
- For depth, add a very light blue wash around the stripes as a soft shadow.
Use a clean, confident line for the stripes to keep the look crisp. This design is instantly shareable on Pinterest thanks to its strong silhouette and high contrast.
You can add a small loop at the top with a ribbon hint if you want to mimic a real bookmark charm. The bold pattern keeps the piece visually striking even at small sizes.
3. Santa Hat Corner Bookmark

A tiny Santa hat perched on the corner of a bookmark instantly signals festive fun. It’s cute and easily readable in watercolor.
How to Draw It
- Outline a standard bookmark shape as your base.
- In the top corner, draw a small Santa hat with a curved brim and fluffy pom pom.
- Add a bold red fill to the hat and a white trim with a soft gray shadow for depth.
- Place a slim white stripe along the edge to suggest a fold in the paper or a light highlight.
One playful detail can make the piece pop — a tiny white dot on the hat’s red surface can read as a pin or a stitch.
This idea stays clean and fun while celebrating a classic Christmas symbol in a compact design.
4. Snowflake Frame with a Tiny Gift

A snowflake border adds a frosty frame, while a small wrapped gift sits in the corner for a cute, balanced composition.
How to Draw It
- Draw a bookmark shape with a subtle curved edge for warmth.
- Create a delicate snowflake pattern along one side or as a partial frame using simple six point shapes.
- In the opposite corner, sketch a small square gift with a bow using simple rectangles and a bow loop.
- Watercolor the snowflakes in icy blue or pale blue gray, and color the gift in soft pastel tones.
Limit the snowflake details to a few crisp lines so the border remains minimal and readable. A tiny gift adds a personal touch without cluttering the design.
Think of it as a wintery vignette that looks beautiful when colored with a light hand and plenty of white space.
5. Pinecone with Holly Accent
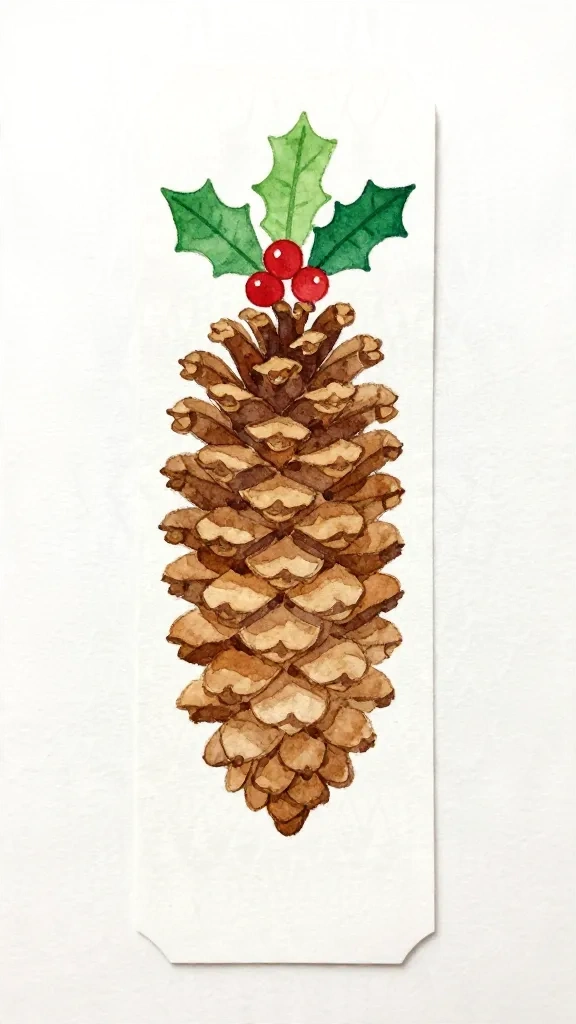
A pinecone combines a cozy natural element with rustic charm. Holly leaves and berries bring a holiday pop of color.
How to Draw It
- Draw a narrow bookmark shape as the base.
- Sketch a vertical pinecone using overlapping oval scales tapering toward the bottom.
- Place three simple holly leaves on the top or side with a cluster of red berries.
- Fill the pinecone with warm browns and add light shading to separate the scales.
Limit the extras to a tiny holly cluster so the pinecone remains the focal point. The red berries punch against the muted brown and green in a charming way.
This idea feels earthy and seasonal, yet remains elegantly simple for a quick watercolor session.
6. Stocking With Tiny Bell

A small knit stocking is instantly cozy and holiday ready. A tiny bell charm adds whimsy without crowding the silhouette.
How to Draw It
- Draw a rounded rectangle with a small heel indentation to form the stocking shape.
- Add a cuff at the top and a short loop similar to a hanging hook.
- Color the stocking with a soft red or green wash and keep the cuff white for contrast.
- Paint a tiny bell near the loop with a bright metallic yellow or gold wash for shine.
Keep the lines smooth and avoid heavy detailing on the stocking to maintain a clean look. A single accent like the bell makes the piece feel dressed up but still minimal.
Experiment with a gentle fabric texture by adding a few short strokes, but do not overdo it. The result remains friendly for beginners while still feeling festive.
7. Cocoa Cup With Steam Heart

Warmth and comfort translate beautifully into a cocoa cup with steam forming a heart shape.
How to Draw It
- Draw a simple mug with a curved handle on one side.
- Fill the mug with a soft brown wash, leaving a white rim for sparkle.
- Draw two curling lines of steam rising from the cup and twist them into a small heart at the peak.
- Add a tiny marshmallow or two for a cozy accent if desired.
One clear focal point is enough to convey the mood. The heart in the steam gives a sincere holiday vibe without complicating the scene.
This idea works beautifully in a soft, limited palette that reads as calm and inviting — perfect for a journal or notebook marker.
8. Reindeer Silhouette with a Tiny Bell
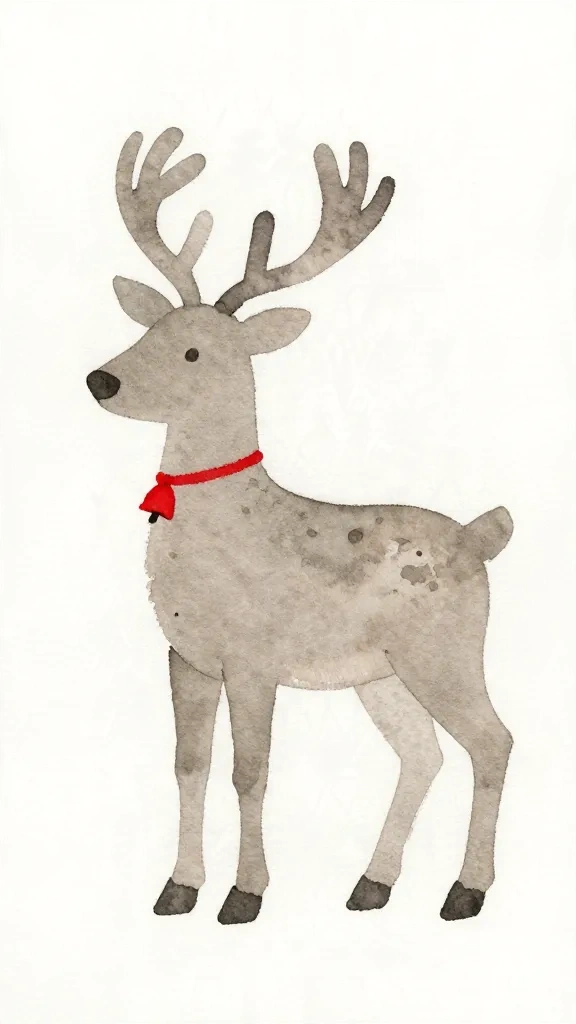
A minimalist reindeer silhouette feels quintessentially Christmas while staying visually light and airy.
How to Draw It
- Outline a gentle reindeer profile with simple curves for the neck and head.
- Add small, rounded antlers that echo the horn shape of the animal.
- Draw a slim collar with a tiny bell hanging from it to capture the festive touch.
- Color the silhouette in a soft gray or muted brown and keep the bell a bright accent.
Limit details to the basic silhouette and the single bell. The elegance comes from clean lines and confident negative space.
Try a pale glow around the figure to create a subtle halo effect that can elevate the bookmark in photos or pins.
9. Holly Leaves Border with Berries
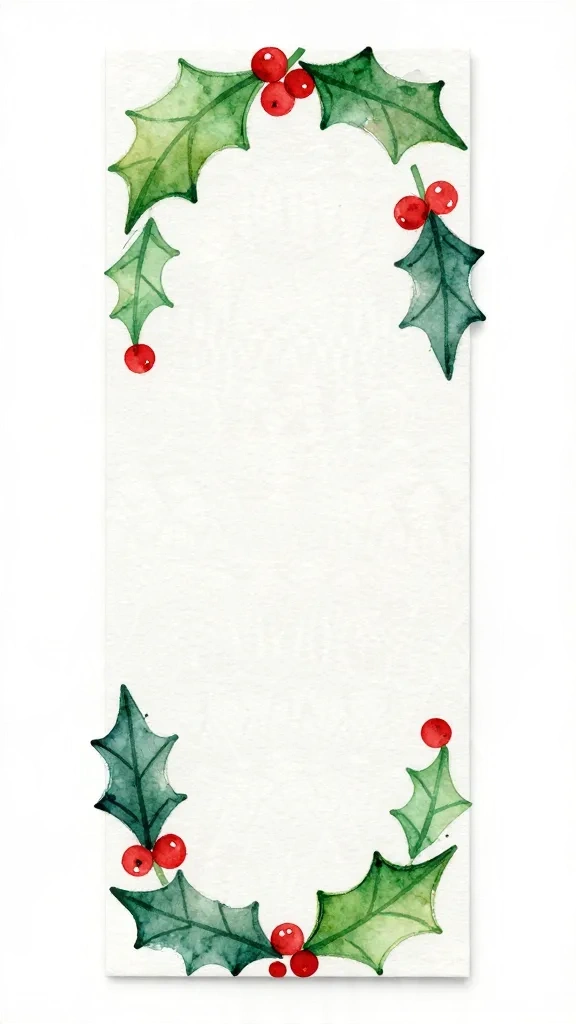
A simple border of holly leaves and berries frames the page while staying compact and chic.
How to Draw It
- Draw a thin, straight edge along the bookmark to serve as a guide for the border.
- Sketch two or three holly leaves with bold, curved shapes along the edge.
- Add small round berries at intervals along the leaves.
- Color the leaves in a cool green and the berries in bright red for a pop of color.
Keep the border narrow and airy so the bookmark remains readable when written notes appear on the page. A simple, repeating motif is often the most effective for a project like this.
Consider leaving a white line between leaves to preserve a crisp, modern look that photographs well on social platforms.
10. Snow Globe Scene on a Long Bookmark
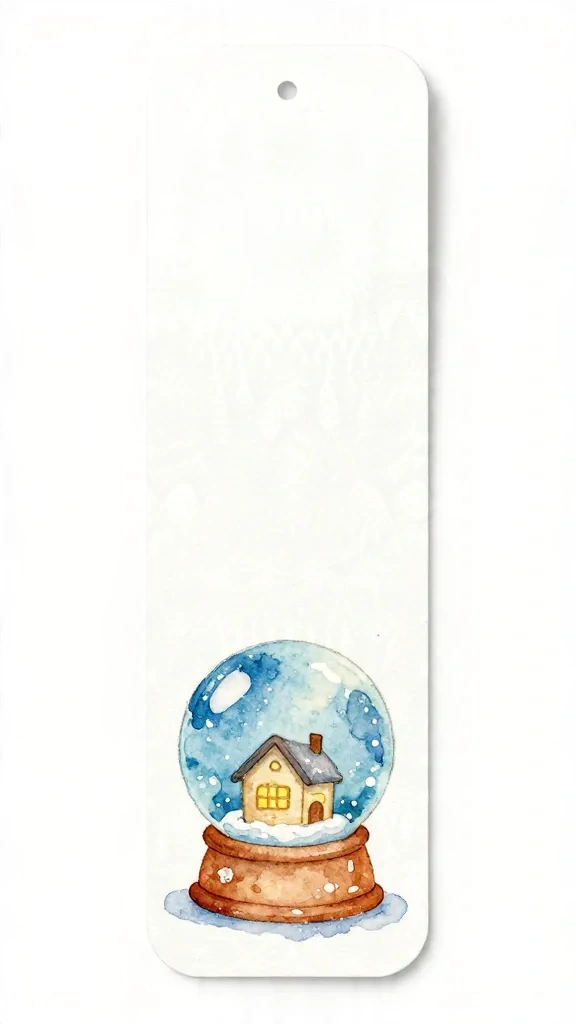
A tiny snow globe encases a miniature winter scene, offering a charming narrative in a slim form.
How to Draw It
- Draw an elongated bookmark with rounded corners.
- Inside the lower half, sketch a small rounded globe outline with a base plate at the bottom.
- Inside the globe, add a basic house or pine tree and scattered snow dots to imply falling snow.
- Use a cool blue wash for the globe and a warmer shade for the base to create depth.
Limit the inside scene to one recognizably cozy element to keep the globe readable at small sizes. A single narrative focal point makes it instantly captivating for both beginners and seasoned colorers.
Highlight the glass by leaving a white crescent along the top edge and a subtle blue reflection along the bottom to suggest curvature.
11. Mittens Pair With Snowflakes

A pair of mittens bound by a string feels friendly and wintery, with gentle snowflakes drifting nearby.
How to Draw It
- Draw two mitten shapes with a shared string tying them together, forming a slight V between them.
- Add simple cuffs with a few horizontal lines or a tiny ribbed texture.
- Scatter a few delicate snowflakes around the mittens for context.
- Color the mittens in soft pinks or blues with a pale wash for a wintry vibe.
Two mittens keeps the composition balanced and approachable. A single snowflake on each mitten or nearby can act as a visual hook without overloading the scene.
This idea pairs well with a light grainy texture wash to evoke a cozy, handmade feel that readers will want to recreate.
12. Ornament Bauble with Ribbon
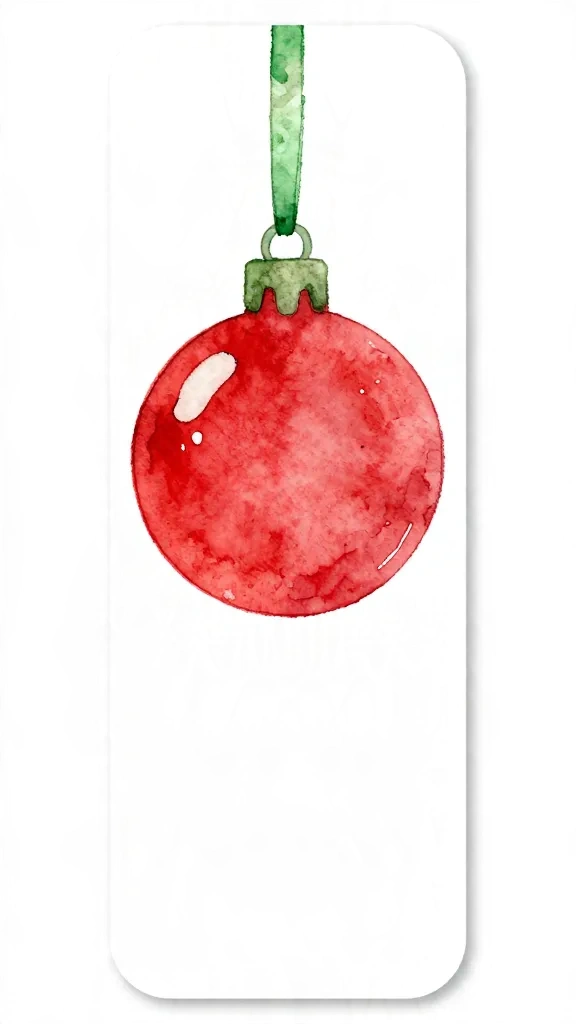
A single ornament ball with a ribbon loop makes a bold focal point that is charming and versatile.
How to Draw It
- Draw a clean circle for the bauble and a short curved line for the ribbon loop on top.
- Fill the ball with a soft watercolor wash, leaving a white highlight near the edge for shine.
- Paint the ribbon in a contrasting color with a couple of light shadows to suggest curvature.
- Add a tiny vertical line or pattern on the bauble if you want a subtle decorative touch.
Limit the decoration to one or two simple bands or speckles to keep the silhouette strong. This is a classic Christmas icon that pins beautifully on Pinterest when shown with a crisp cutout and bright color.
For a gentle finish, blur the background slightly with a wash around the ornament to make it pop on the page as a bookmark centerpiece.
Tips for Making Your Drawings Look Cute and Clean
Start with the subject’s most recognizable silhouette and keep shapes smooth. Clean outlines help your bookmark read well when viewed small.
Use a light color palette and let white paper show through. A sparse approach often yields the strongest visual impact on social platforms.
Quick Drawing Tips
- Plan negative space around each subject to improve legibility.
- Use a single focal color with a couple of supporting tones to keep things cohesive.
- Leave white space to let highlights breathe and to avoid a crowded look.
- Try different viewpoints or tiny variations in pose to keep ideas distinct.
- Practice on scrap paper first to gauge how a wash will behave in the final piece.
With these principles, your bookmarks stay crisp, cute, and easily sharable for a Pinterest audience.
You May Also Like: 14+ Christmas Tree Watercolor Painting Ideas
Frequently Asked Questions
What supplies do I need to start painting these bookmarks?
Basic supplies work great: watercolor paper or a thick sketchbook page, watercolor paints, a few brushes, a pencil for light guidelines, an eraser, and a fine liner for outlines. A small palette helps control washes that read clean on paper.
Are these designs suitable for beginners?
Yes. Each idea relies on simple shapes and limited color. Start with light pencil lines, build washes gradually, and keep details minimal for the best result.
How can I make my bookmarks look more professional without extra effort?
Focus on strong silhouettes, even margins, and a single clear focal point. Use crisp outlines and a limited palette to maintain a cohesive look across all eight designs.
Can I adapt these ideas for other holidays or seasons?
Absolutely. Swap colors or motifs to reflect the season while maintaining the same clean, minimal style that makes these designs appealing on social media.
What color palettes work best for these Christmas bookmarks?
Soft greens, reds, blues, and browns with a touch of gold or silver for highlights typically read as festive. Keep the washes light enough to preserve the white of the paper as a design feature.
How do I protect the finished bookmarks from smudging if I want to use watercolors?
Let the paint dry completely, then apply a light layer of clear watercolor glaze or a simple spray fixative designed for watercolors. This helps seal and protect your lines.
Can these illustrations be turned into printable gift tags or cards?
Yes, the simple silhouettes convert well into printables. Save them at a high resolution and add a small message on the back for a cohesive Christmas set.
Pick Your Favorite and Start Drawing
You do not need perfect lines to create charming Christmas bookmarks. Focus on the basic shapes, keep the details minimal, and let each subject have its own personality.
Choose a favorite idea, gather your simple drawing supplies, and start your tiny holiday art journey today.

Hi, I’m Abdul Moeed Shahid, the creator of Sketch and Fun. I’m passionate about helping people of all ages explore their creativity through fun drawing ideas and printable coloring pages. My goal is to make art simple, accessible, and enjoyable for everyone!