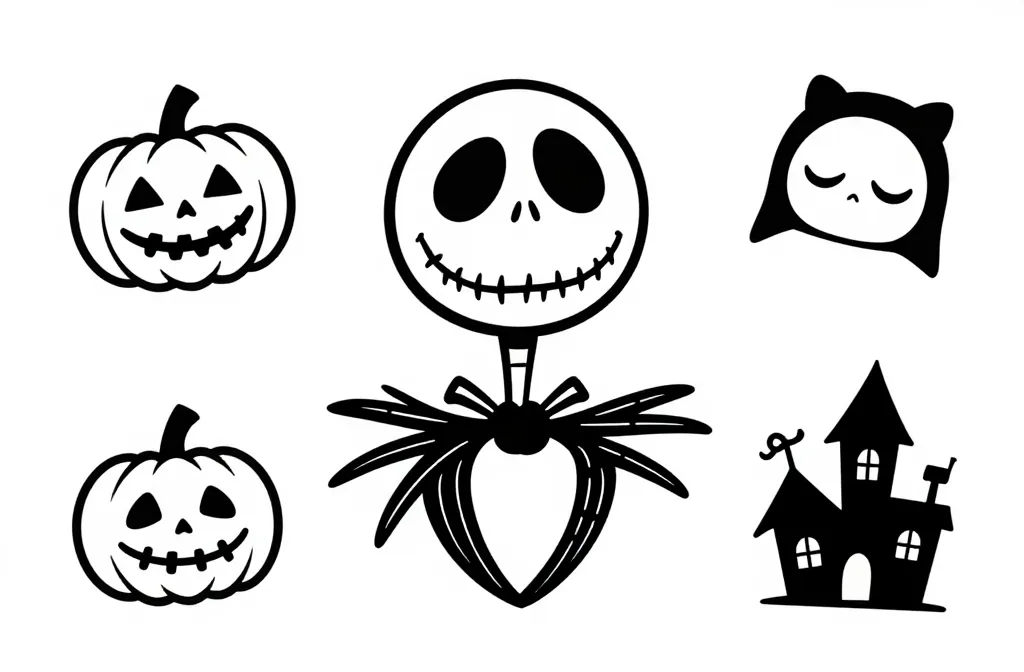
Ever caught yourself doodling a spooky silhouette that still looks cute on a sticky note? Nightmare Before Christmas inspired doodles can strike that perfect balance between eerie and charming, ready to spark a smile on a Pinterest board or a sketchbook page.
What makes these doodles click with audiences is their balance of familiarity and whimsy. Each subject keeps a distinct Nightmare Before Christmas vibe while staying simple enough for a beginner to tackle in under 20 minutes.
Ready to pick a favorite and start creating your own spooky cute world?
1. Jack Skellington Portrait in One Line
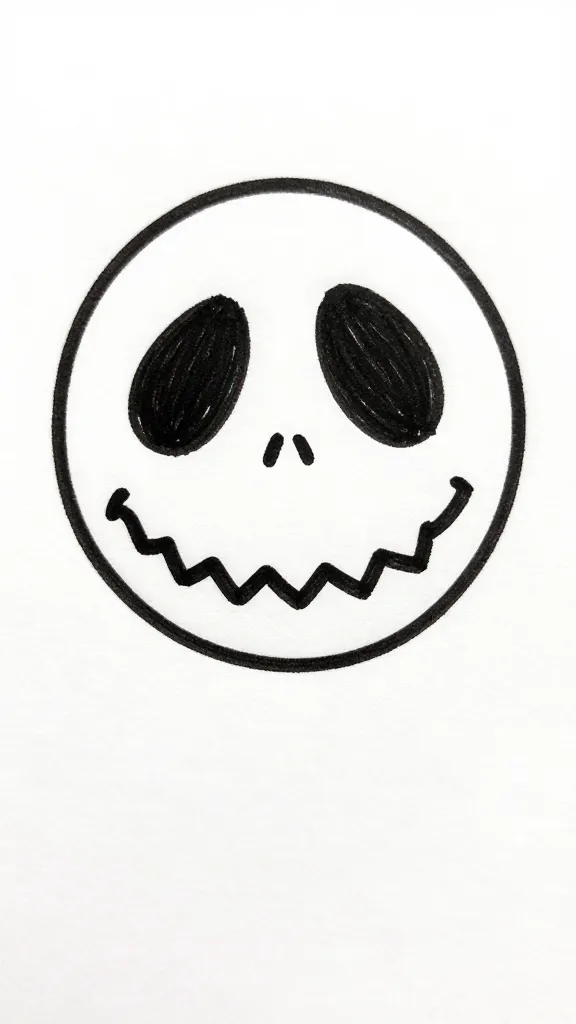
The iconic round skull and broad smile translate beautifully into a minimalist one line portrait. It captures Jack’s calm, eerie charm without overcomplicating the drawing, making it perfect for a quick, striking doodle.
How to Draw It
- Start with a gently curved circle that hints at the head shape without closing perfectly at the bottom.
- Draw a single continuous line that forms the eye sockets, nose gap, and the signature grin in a few swoops.
- Keep the line bold and continuous until you finish near the starting point, with slight hesitation at the jaw to imply a jawline without detailing.
Minimalist silhouette and a bold line are what make this piece instantly recognizable. It reads well on its own and scales nicely for a tiny sticker or a large poster.
2. Sally’s Patchwork Heart
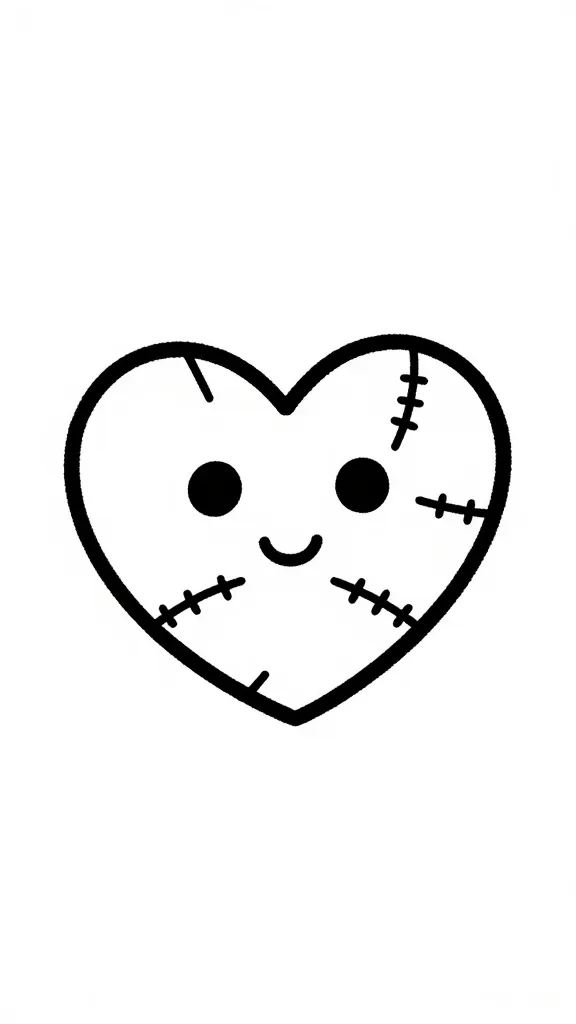
Sally brings a soft, patchwork silhouette that reads instantly as a Nightmare Before Christmas favorite. The heart-shaped body with patch shapes gives a friendly yet spooky aura, perfect for a gentle doodle that still packs character.
How to Draw It
- Sketch a rounded heart form for the body with a small point at the bottom for a whimsical feel.
- Divide the heart into 3-4 patch shapes with light straight lines that mimic stitched seams.
- Place two small circular eyes and a tiny stitched smile inside one patch for personality.
The patchwork texture adds charm without complexity. This idea works wonderfully in a single color with stitched line accents or multicolor scraps for a bold pin.
3. Oogie Boogie Silk Bag Face
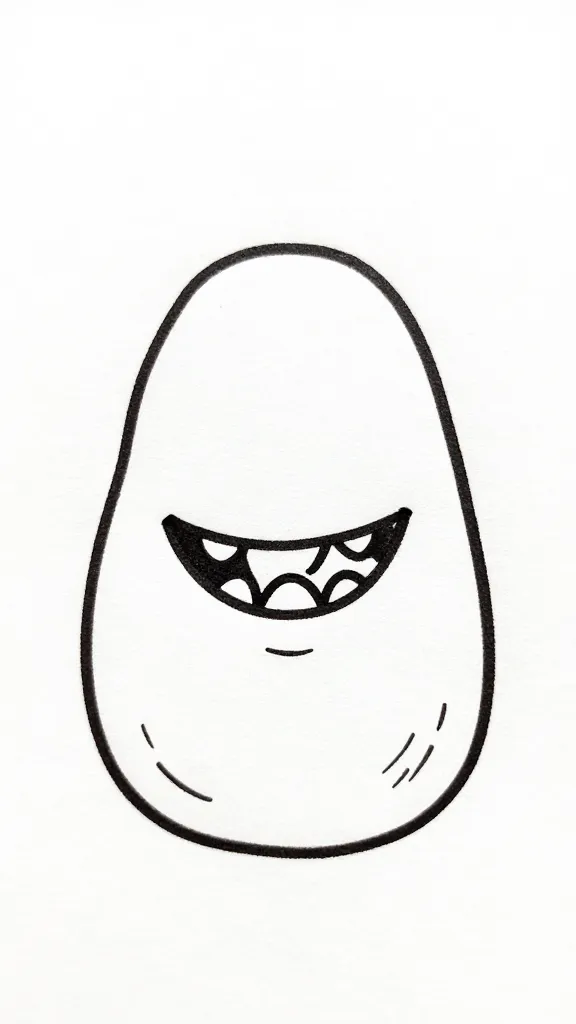
Capture the essence of Oogie Boogie with a simplified bag silhouette and a single mischievous grin. The exaggerated mouth and simple bag shape create a playful yet spooky focal point that is easy to reproduce.
How to Draw It
- Draw a rounded, slightly elongated oval as the bag shape.
- Place a wide curved mouth with sharp teeth using a single thick line for the grin.
- Leave the rest of the surface mostly plain with a couple of stitch-like lines to imply texture.
One strong silhouette is all you need. This design stands out as a bold, minimal piece suitable for stickers or a minimalist poster.
4. Zero the Ghost Dog Over a Moon
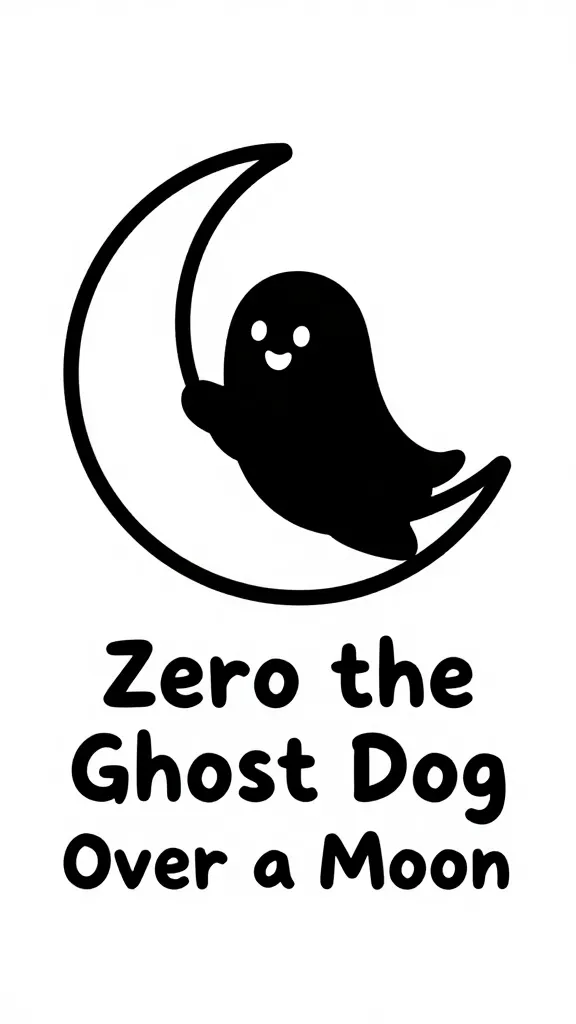
Zero is instantly recognizable and lends itself to a clean, friendly outline. Pairing him leaping over a crescent moon keeps the composition dynamic while staying well within minimalist territory.
How to Draw It
- Draw a crescent moon as a simple curved shape behind a small, adorable ghost dog outline.
- Sketch Zero with a circular head and a long, slender body to emphasize a playful silhouette.
- Give Zero a tiny nose and a curved mouth to convey a friendly expression.
The contrast of black silhouette against a white moon creates a striking composition that reads clearly even in small sizes.
5. Lock, Shock, and Barrel Shadow Trio
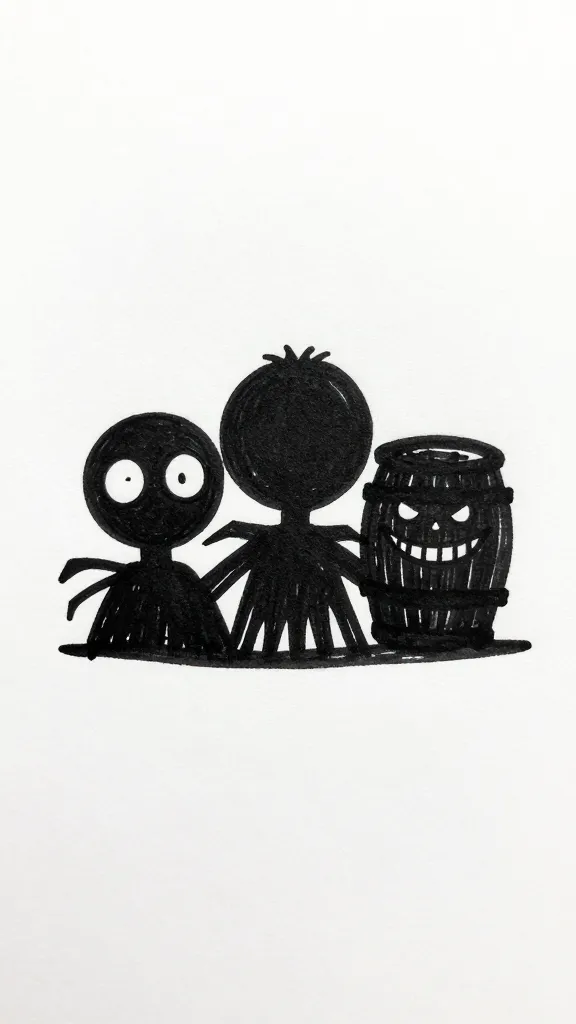
Transform the trio into a compact, interconnected silhouette that highlights their quirky familial energy. A compact group shot is instantly relatable and packs playful storytelling into a tiny space.
How to Draw It
- Position three small rounded shapes for heads in a tight row with slight offsets to suggest different heights.
- Give each a distinct tiny feature: Lock’s goggles, Shock’s hair, and Barrel’s toothy grin, all in simplified forms.
- Connect with a curved line at the bottom to form a shared base and simple limbs that hint at a group pose.
Group composition makes it visually interesting while remaining easy to replicate. Perfect for a mini scene on a card or page corner.
6. Sally’s Button-Eyes Lantern
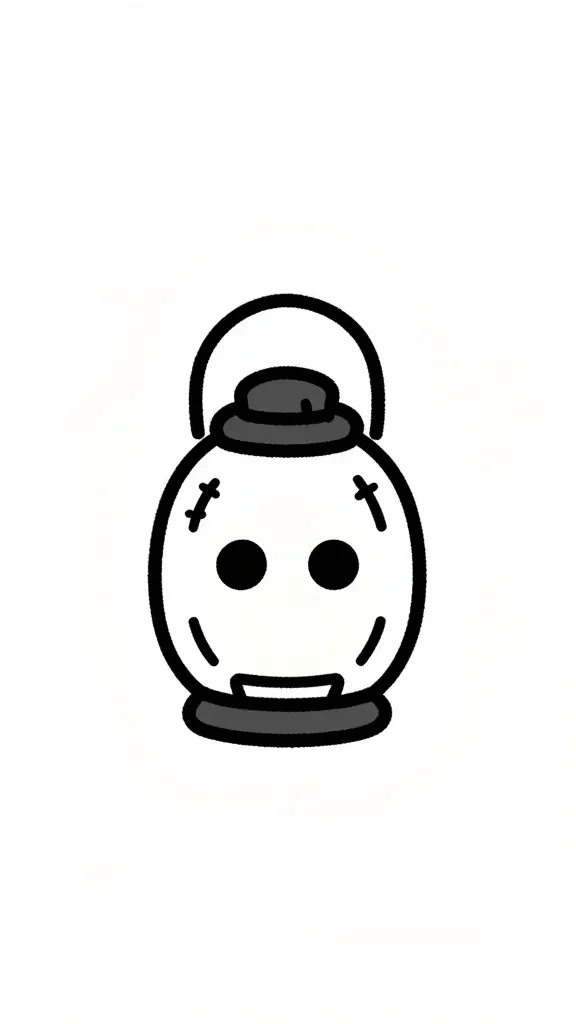
A tiny lantern with Sally’s stitched aesthetic creates a charming, cozy vibe. The combination of a glowing light and stitched pattern reads both spooky and warm at the same time.
How to Draw It
- Draw a small, rounded lantern shape with a simple handle on top.
- Add two circular button-like eyes within the lantern glow as a cute, eerie face.
- Suggest stitching around the lantern with a few short curved lines to imply patchwork fabric.
Minimal details keep the focus on the lantern glow and the stitched texture, giving this doodle a gentle Halloween-tinged allure.
7. The Pumpkin King Crowned Silhouette
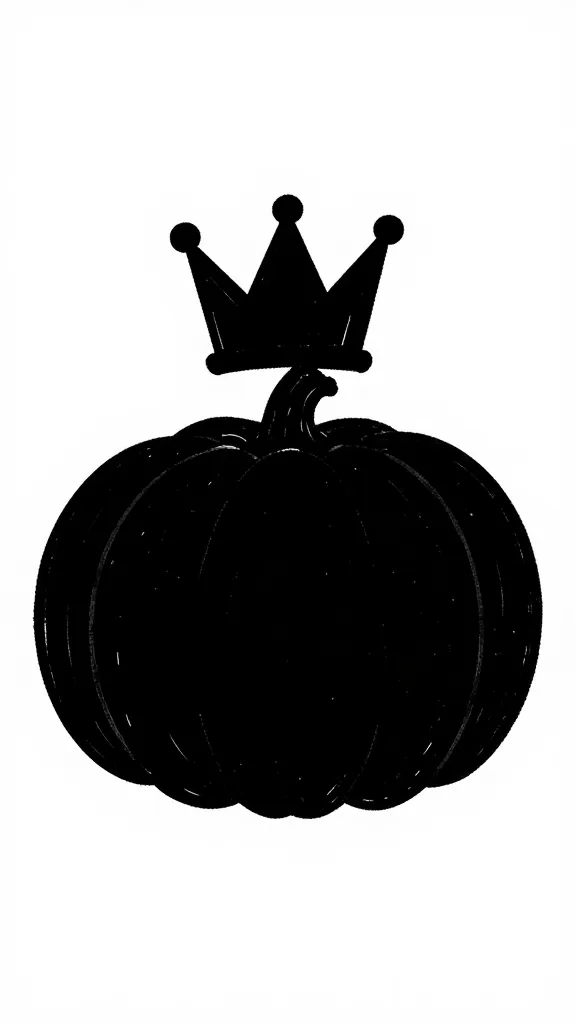
A bold pumpkin with a crown nods to the Pumpkin King in a clean, crown-ed silhouette. The high contrast of a large orange or black silhouette against a light background makes this idea highly shareable.
How to Draw It
- Draw a simple rounded pumpkin shape with a small stem on top.
- Place a small crown silhouette on top of the pumpkin using triangular points and a base band.
- Keep facial features minimal or omit them for a strong, logo-like look.
The crown adds a memorable focal point while the pumpkin silhouette keeps the composition instantly recognizable and easy to reproduce.
8. Nightmare Pug with Bat Wings
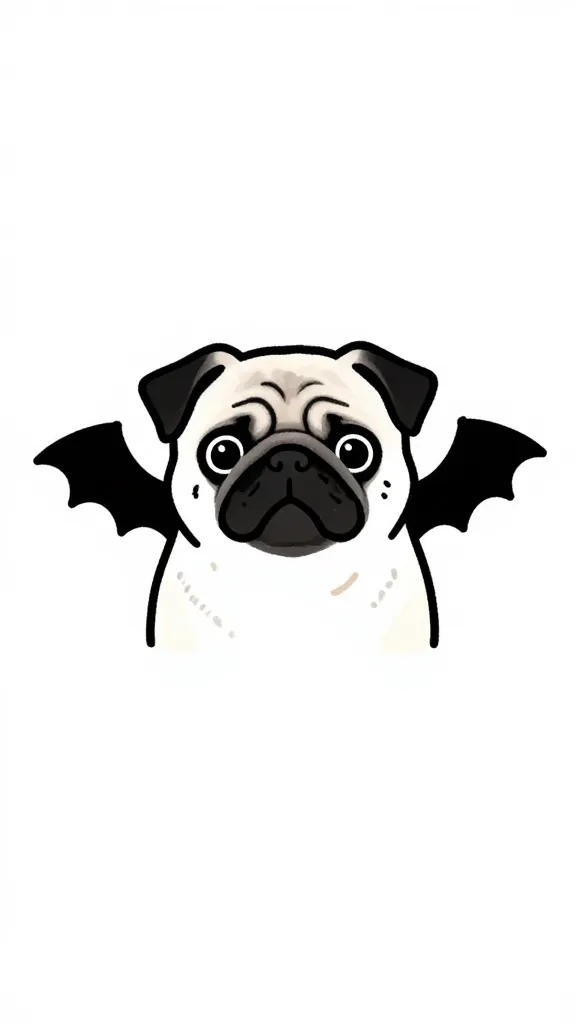
Blend the adorable and eerie by turning a simple pug-like head into a cute monster with tiny bat wings. This pairing offers a fresh twist while staying within the film’s aesthetic.
How to Draw It
- Draw a small circular head with big round eyes and a tiny snout outline.
- Attach two mini bat wings on the sides with simple curved lines and small wing detail.
- Add light shading or a single line to suggest fur texture around the cheeks.
Keep the features sparse so the creature remains approachable yet unmistakably Nightmare Before Christmas in vibe and silhouette.
9. Grandfather Clock Creature
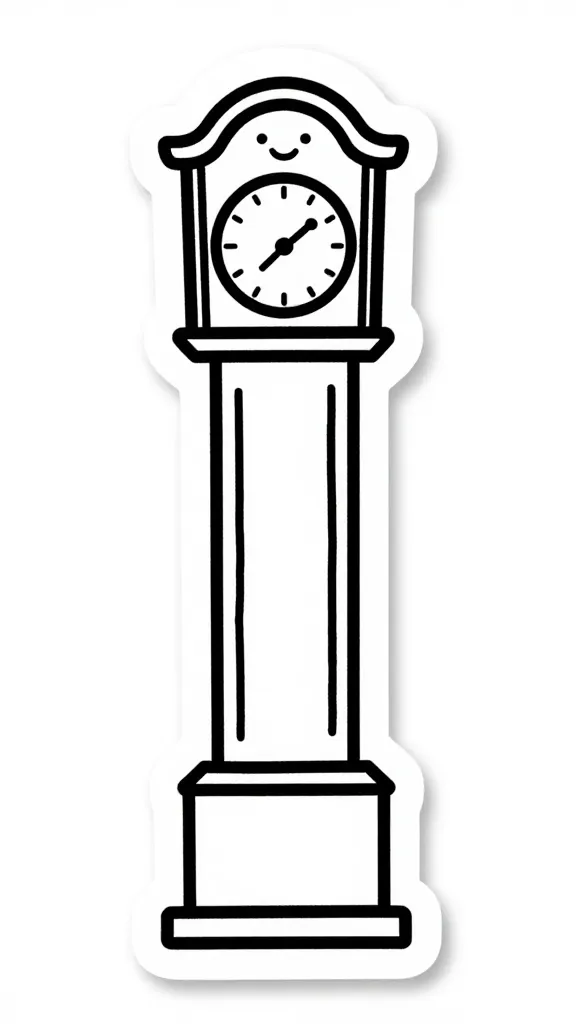
The iconic Gothic clock becomes a character when given a friendly face and a simple, sturdy frame. This subject offers a strong vertical silhouette that looks great in a sticker or postcard format.
How to Draw It
- Sketch a tall rectangle with softened corners for the clock body.
- Drop a few vertical lines to imply clock details and a circular face near the top or center.
- Give the face a tiny smile and simple eyes, keeping expressions minimal and clear.
The blend of mechanical precision and friendly face creates a memorable, easy to recognize symbol with a subtle spooky edge.
10. Sandy Claws Presents a Tiny Gift
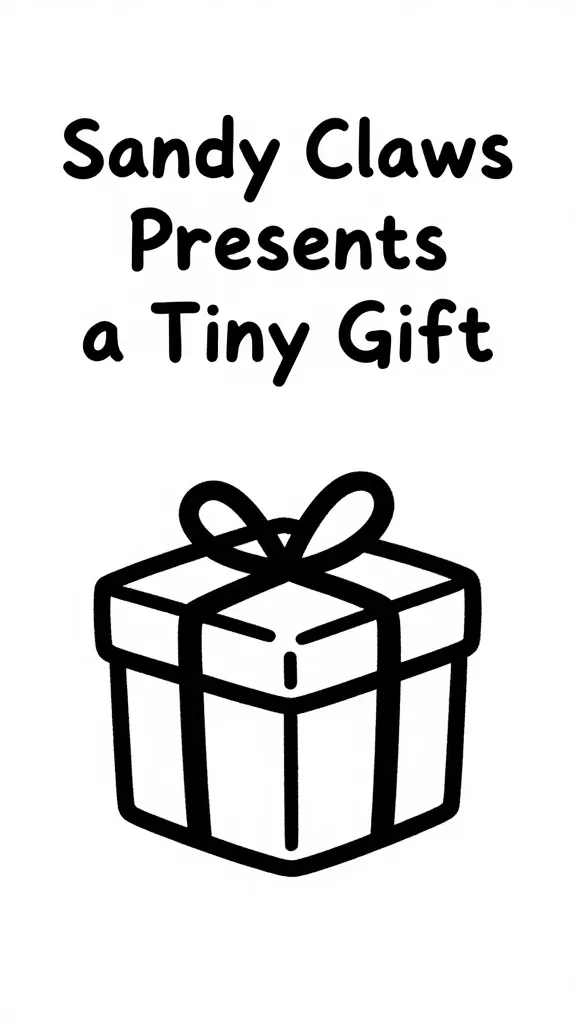
Sandy Claws can be reimagined as a minimalist gift to echo wintery charm. A single tag and a simple box shape communicate both the character and the season with clean lines.
How to Draw It
- Draw a small square or rectangle for a gift box with a cross ribbon on top.
- Attach a tiny bow by using two curved triangles and a small central piece.
- Place a minimal face or a simple snowflake on the front to tie into the Nightmare vibe.
Clear geometry and a single focal point keep this idea readable even at small sizes, making it ideal for pins or a journaling sticker.
11. Tiny Tim Skeleton Toy
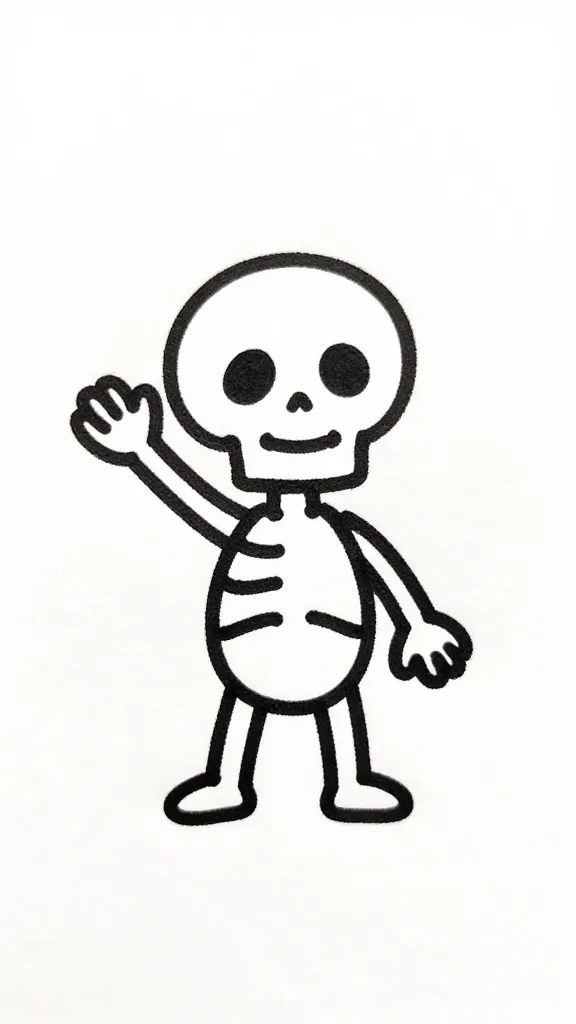
Capture the charm of a skeletal toy figure in a compact, endearing pose. The number of tiny joints can be suggested with a few curved lines, creating a playful action pose that remains simple.
How to Draw It
- Draw a small stick-like skeleton with rounded joints to suggest limbs.
- Keep the torso as a single rounded shape and the head slightly larger for a cute proportion.
- Pose one arm raised and a tiny smile on the skull to convey gentle mischief.
By using proportional exaggeration and limited detail, this little skeleton reads as both spooky and sweet, perfect for a kids’ coloring page or a cute pin.
12. Ghostly Spiral Hill with a Door
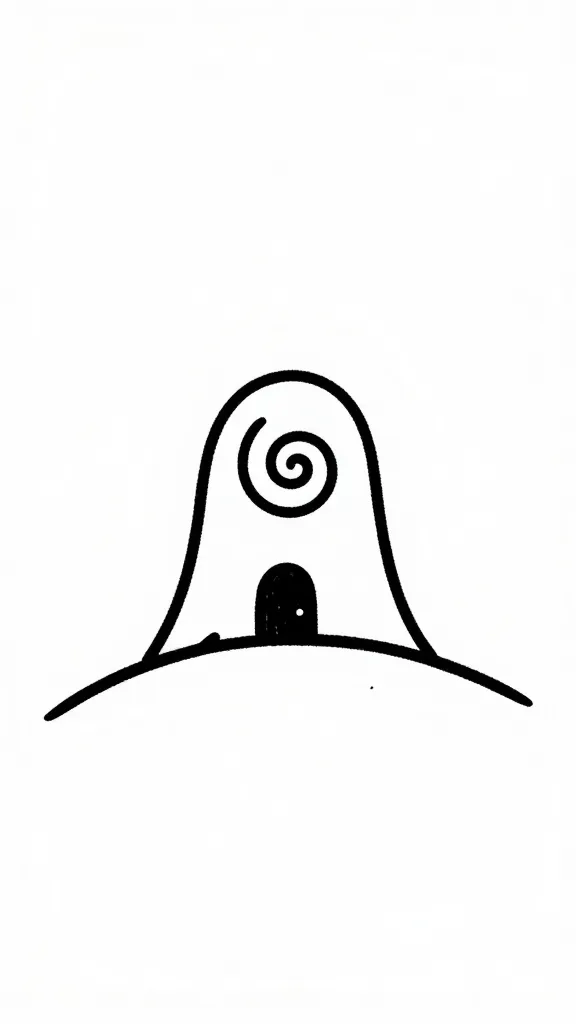
Add a touch of haunted landscape by placing a tiny, spiraled hill with a door in the front. This minimalist scene hints at a larger world while staying clean and striking in silhouette.
How to Draw It
- Draw a soft, curved hill with a tight spiral on its side.
- Place a tiny door at the base with a rounded top and a small knob.
- Optionally add two tiny eyes as a friendly ghost peering from the door gap.
Landscape elements are kept to a minimum, ensuring that the focal point remains the recognizable door and hill shape that fans will instantly recognize.
13. Rag-Doll Elfin Silhouette
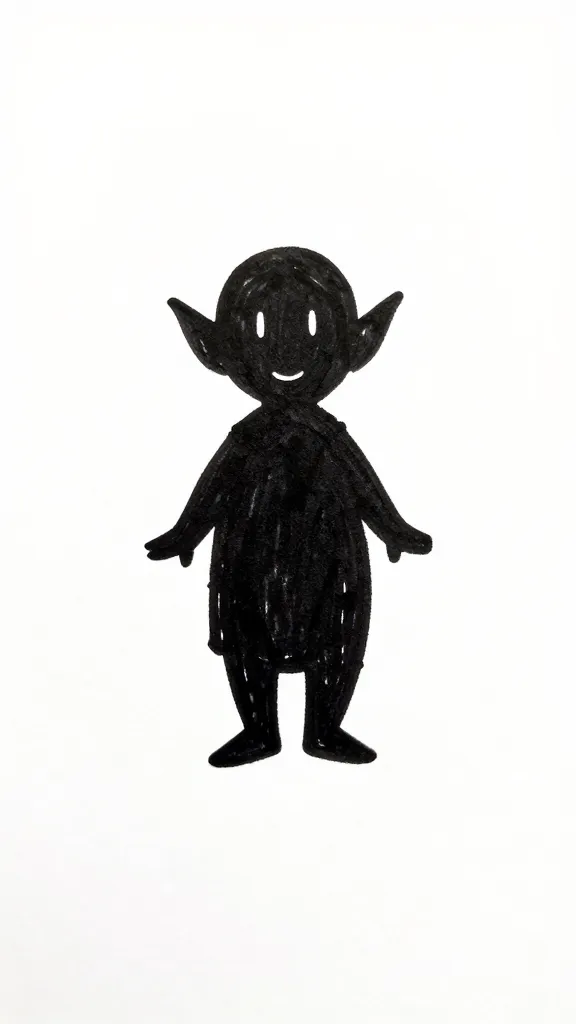
End with a stylized rag-doll figure in a simple pose, nodding to the movie’s quirky character designs. A compact silhouette with a sweet pose brings a final touch of whimsy to the collection.
How to Draw It
- Draw a small oval head with two short vertical lines for eyes and a tiny curved smile.
- Create a rounded torso with simplified limbs in a relaxed pose, perhaps one leg bent.
- Add a little patchwork detail across the torso or sleeves for a hint of Sally style without overcomplicating the form.
The rag-doll silhouette is easy to recreate, yet its characterful pose makes it a memorable capstone for the set.
You May Also Like:
10+ Merry Christmas Doodles and Drawing Ideas
13 Christmas Grinch Doodles and Drawing Ideas
14+ Elf Doodles and Drawing Ideas
Tips for Making Your Drawings Look Cute and Clean
Focus on clear silhouettes first. Each drawing thrives on a strong, instantly recognizable outline that reads well in a quick glance. Once the shape feels right, you can add one or two minimal details that reinforce the Nightmare Before Christmas vibe without crowding the composition.
Keep spacing balanced and leave generous white space around each subject. A calm page makes the Doodles feel intentional rather than crowded, which is crucial for Pinterest-ready visuals and easy coloring pages.
Quick Drawing Tips
- Use simple shapes as construction guides before finalizing the outline.
- Aim for consistent line weight to create a cohesive set look.
- Limit details to one or two per figure to preserve legibility at small sizes.
- Experiment with slight variations in pose or orientation to maintain variety without losing theme.
- Test the doodles in black and white first to ensure strong contrast and readability.
Remember, the charm comes from restraint. A single strong shape paired with a small, relevant accent will always feel more polished than a crowded scene.
Pick Your Favorite and Start Drawing
You do not need perfect lines to create striking Nightmare Before Christmas inspired doodles. Focus on the recognizable silhouette, keep details minimal, and let each subject radiate its own spooky charm.
Choose one idea to begin with, gather a pencil, an eraser, and a black pen, and see how your page fills with personality. Save this list for later and feel free to adapt the concepts to your own style while keeping the core features recognizable.
Supporting Content: How to Elevate Your Nightmare Before Christmas Doodles
Turning these minimalist doodles into shareable pins is as much about composition as it is about subject choice. Start by considering how each silhouette will read at a small size. A clean, high-contrast silhouette with one strong focal point is instantly more pin-worthy because it remains legible when scaled down. Use a single dominant color for the subject and a light background to maximize contrast and clarity.
Another practical approach is to group a few related doodles into a small scene or a bordered panel. Grouping can be especially effective on coloring pages or sticker sheets, where a cohesive collection feels intentional rather than random. Balance the page by leaving equal margins around the edge and aligning the bases of silhouettes to create a tidy, visual rhythm.
If you plan to turn these doodles into printable pages, think about line weight and spacing. Thicker outlines help subjects pop on plain paper, and consistent spacing prevents the page from looking crowded. For digital pins, a bold silhouette against a clean background reads well on feeds and saves with a quick glance.
Finally, consider varying the scale of your doodles. A large centerpiece surrounded by smaller, related silhouettes creates a dynamic composition that feels curated rather than random. This variety is especially appealing for Pinterest boards and digital mood pages where viewers scroll quickly and decide in seconds what to save.
Optional Quick Tips
- Test compositions on a single page before finalizing the design for print or pins.
- Incorporate one color accent per doodle to unify the set while keeping each piece distinct.
- Use grid lines lightly during layout to maintain alignment and spacing across the collection.
- Create a simple color palette inspired by Nightmare Before Christmas for a consistent look across all drawings.
- Save a high-contrast version for use on dark backgrounds or sticker sheets with inverse colors.
These strategies will help you turn your doodles into cohesive, Pinterest-friendly visuals that fans can collect and share with ease.
Conclusion: Start Your Spooky Sketching Journey
With 13 Nightmare Before Christmas Doodles To Draw, you have a compact toolkit of characters and motifs that translate beautifully into minimalist art. Each idea is chosen for its clear silhouette, easy execution, and strong visual impact, making them ideal for beginners and seasoned artists alike.
So pick a favorite, grab your sketchbook, and start drawing. Embrace the imperfections that come with doodling and let your style shine through every stroke. Remember, these ideas are springboards—adapt them to your own vibe, experiment with scale, and you might just create a collection that becomes your go-to Pinterest board for spooky cute doodles. Happy drawing and may your Nightmare Before Christmas doodles haunt your pages with charm.

Hi, I’m Abdul Moeed Shahid, the creator of Sketch and Fun. I’m passionate about helping people of all ages explore their creativity through fun drawing ideas and printable coloring pages. My goal is to make art simple, accessible, and enjoyable for everyone!