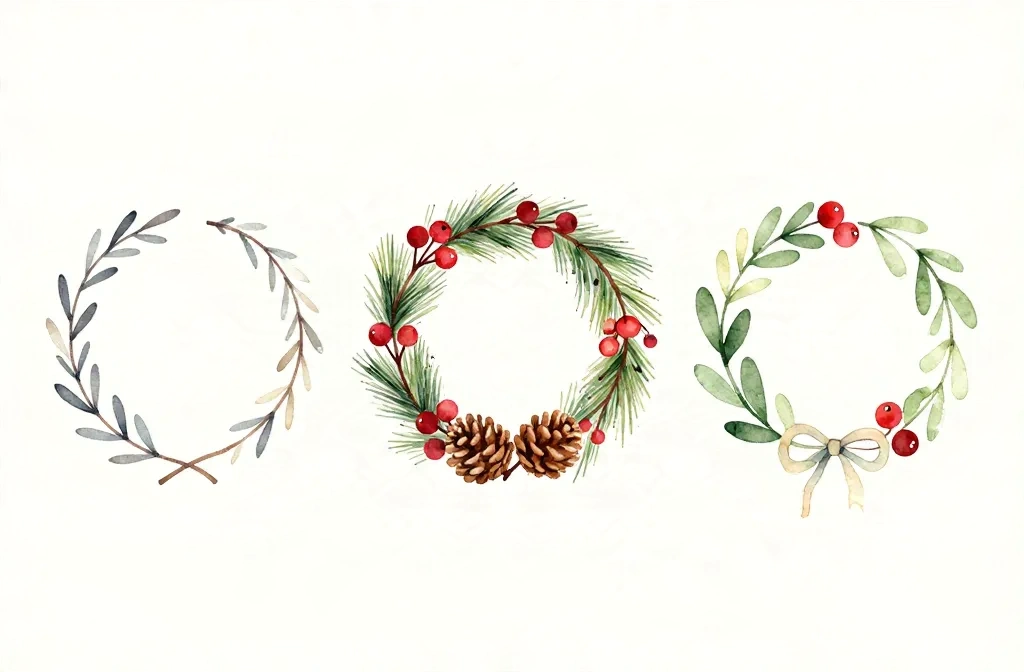
Want a fresh, watercolor take on Christmas wreaths that feels cozy and doable?
These 10 Charming Watercolor Christmas Wreath Ideas blend simple shapes with soft color washes to create pin-worthy designs.
From classic greens to playful accents, you’ll discover beginner friendly concepts ready to inspire your next drawing session.
1. Classic Pine Cone and Red Berry Wreath
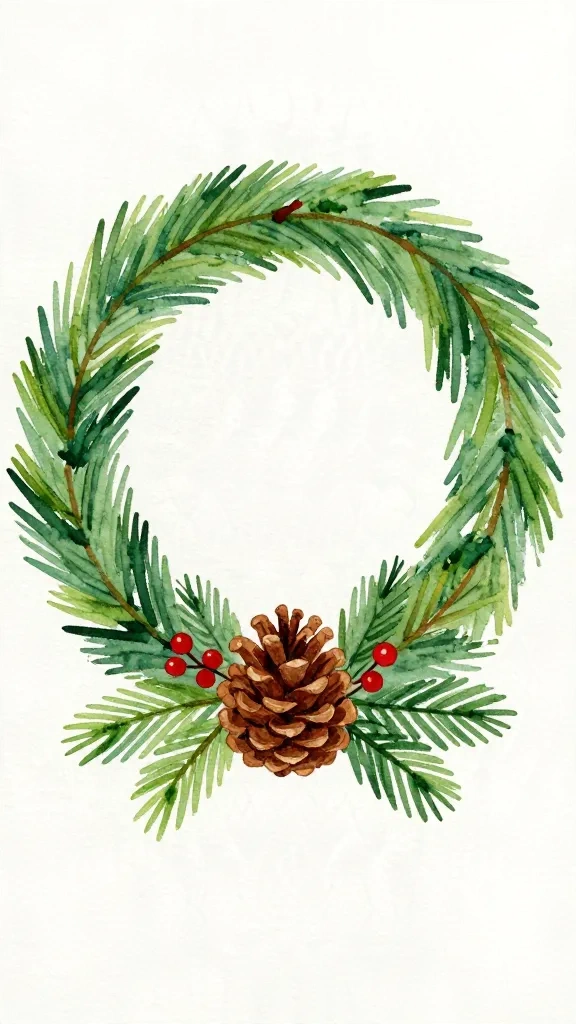
The silhouette of a circular wreath with a bold pine cone centerpiece reads instantly festive and chic.
How to Draw It
- Draw a clean circle as your wreath frame, then add a slightly jagged outer edge to mimic pine needles.
- Sketch a single, prominent pine cone at the bottom center using layered teardrop shapes that taper toward the top.
- Place small red berry clusters around the cone to balance the composition.
- Fill the frame with varied green washes for a watercolor texture, keeping colors slightly lighter toward the outer edge for depth.
- Add a soft shadow along the bottom of the cone and berries for a gentle lift.
One or two pine needles curling outward can give the wreath a natural, inviting silhouette without crowding the design.
Finish by pairing the calm, classic look with a light, off white ribbon trailing from the top right for a simple focal point you can customize with different berry colors.
2. Monogram Wreath with Intertwined Branches
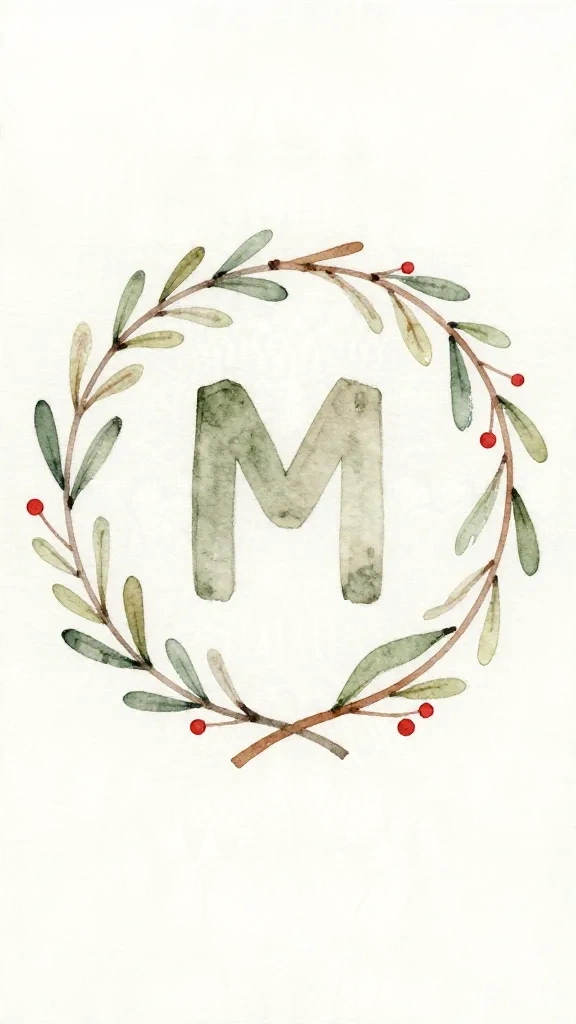
A circular frame filled with elegant, intertwined branches creates a refined, modern wreath that centers a personal touch.
How to Draw It
- Start with a smooth circle for the wreath outline.
- Draw two or three curving branch lines that weave around the circle, ensuring parts cross over others for depth.
- At the center, sketch a bold initial with blocky, readable lettering to anchor the composition.
- Scatter tiny leaves along the branches and a few delicate berries to soften the geometry.
- Apply a muted green wash across the branches and a pale gold or warm gray for the monogram to keep the look sophisticated.
Limit the color palette to 2–3 tones to preserve the minimalist vibe while keeping the wreath recognizable at a glance.
Personalize by using a favorite letter, or replace the initial with a small emblem like a star or snowflake if you prefer.
3. Holly Leaves and Berries with Gold Accents
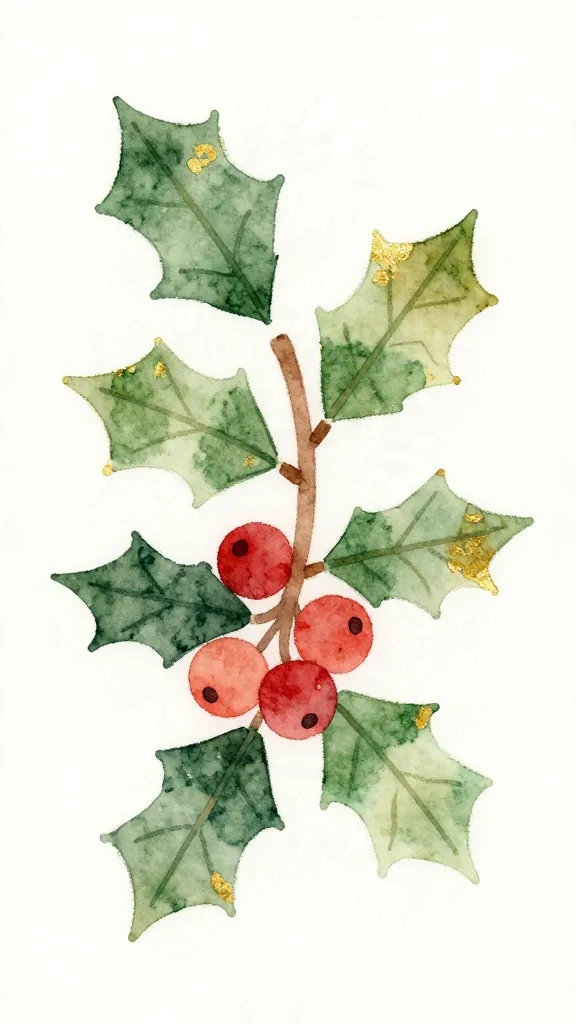
A wreath that leans classic holiday charm, with crisp holly leaves and pops of red paired with subtle gold touches.
How to Draw It
- Outline a smooth circle for the wreath base, then sketch holly leaves along the upper arc and interspersed clusters of berries.
- Add tiny golden accents by painting simple gold dots or thin ribbons along some leaf edges.
- Use a mid to dark green wash for the leaves, leaving the central veins lighter for depth.
- Color the berries a vibrant red, keeping edges soft to maintain the watercolor glow.
- Finish with a faint gold border around the wreath to unify the composition.
One or two berries with a soft highlight can create a focal sparkle without overpowering the leaves.
Experiment with a pale ivory or cream ribbon looping behind the wreath to suggest a gentle bow without stealing attention from the main shape.
4. Frosted Spruce Wreath with Subtle Snowflake Ornaments

Minimal frosted spruce needles and a few snowflakes give this wreath a cool, elegant vibe.
How to Draw It
- Draw a clean circular frame, then add short, pointed spruce needles around the circle with quick, brushy strokes.
- Scatter a handful of tiny snowflake shapes around the frame using fine lines or a light pencil guide.
- Paint the needles in cool greens with a hint of blue to convey frost, keeping the center lighter for airiness.
- Leave small white gaps to let the watercolor dry naturally and keep the design fresh.
Limit snowflakes to a few delicate forms for visual rhythm; avoid clustering too many shapes in one area.
Finish with a pale wash bow at the top left to anchor the wreath while preserving the minimalist mood.
5. Cinnamon Stick and Dried Orange Slice Wreath
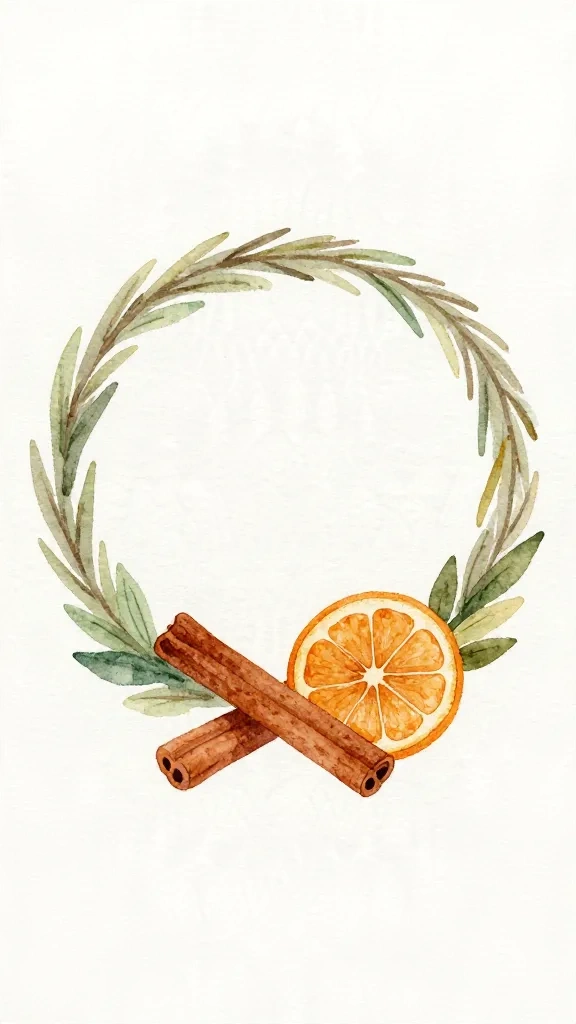
Warm, rustic notes from cinnamon and orange give a cozy, handmade holiday feel to a simple circular wreath.
How to Draw It
- Begin with a basic circle for the wreath frame, painted in a soft green or natural taupe wash.
- Place two cinnamon sticks crossing at the bottom and a dried orange slice tucked between them on one side.
- Add a few tiny leaves around the circle to balance the warm tones with a hint of greenery.
- Use muted orange and brown washes for the cinnamon and orange slice, keeping edges soft for watercolor softness.
- Keep the composition light and airy by leaving ample white space, allowing the cinnamon and orange to stand out.
A single dot of gold near the orange slice creates a gentle highlight that reads as festive without overpowering the natural materials.
Tip: try a subtle handwritten tag hanging from the bottom to suggest a personalized message or name as a simple touch.
6. Candy Cane and Pine Cone Wreath
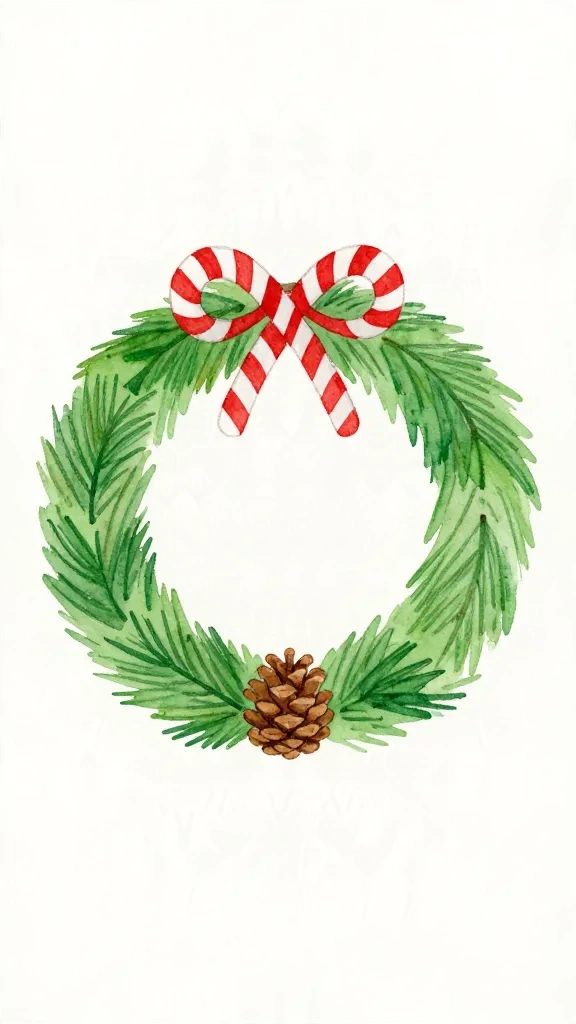
A playful yet classic combo of candy cane stripes and a pine cone keeps the wreath cheerful and instantly recognizable.
How to Draw It
- Draw a circular wreath frame with a loose, soft edge to imply a fluffy holiday greenery.
- Sketch a tidy central pine cone at the bottom third of the circle, layering scales from bottom to top.
- Add two curling candy canes crossing over the top of the circle, using red and white stripes simplified into bold curved lines.
- Paint the greens with a clean, medium wash while keeping the candy canes bright with a slightly saturated red and white alternating wash.
Detail the candy canes with a thin white highlight along one side to emphasize the glossy candy pattern without overcomplicating the scene.
Consider adding a small bow or ribbon near the top to unify the elements and give the design a finishing touch that feels handmade.
7. Snowy Owl Perched on Wreath Silhouette
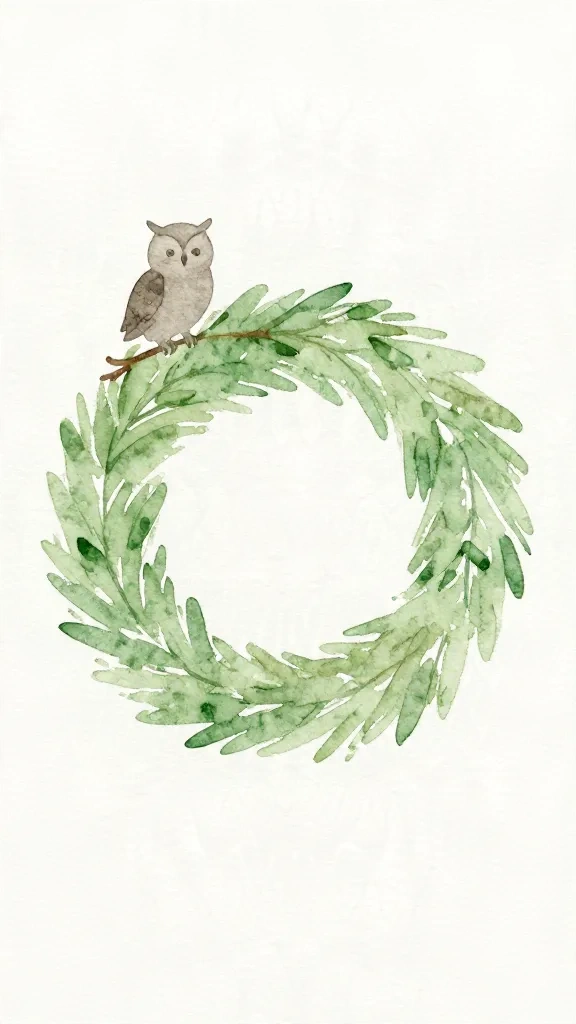
A tiny, stylized owl perched on the wreath adds a whimsical, wintry focal point without crowding the design.
How to Draw It
- Outline a simple circular wreath, then sketch a small perched owl silhouette along the upper left edge.
- Keep the owl’s body as a rounded teardrop shape with a small beak and two tiny feet gripping a branch line on the wreath.
- Use a light gray or cool brown for the owl to keep the look soft, and add a subtle eye as a tiny dot or a pair of tiny circles.
- Fill the wreath with blue-green greens and a few white highlights to evoke a frosty texture.
Limit the owl to two colors to preserve minimalism and ensure the silhouette remains clear at smaller sizes.
To personalize, swap the owl for a different winter bird or place the bird at a different point on the circle while keeping the same simple silhouette.
8. Rustic Burlap Ribbon and Pine Needle Wreath
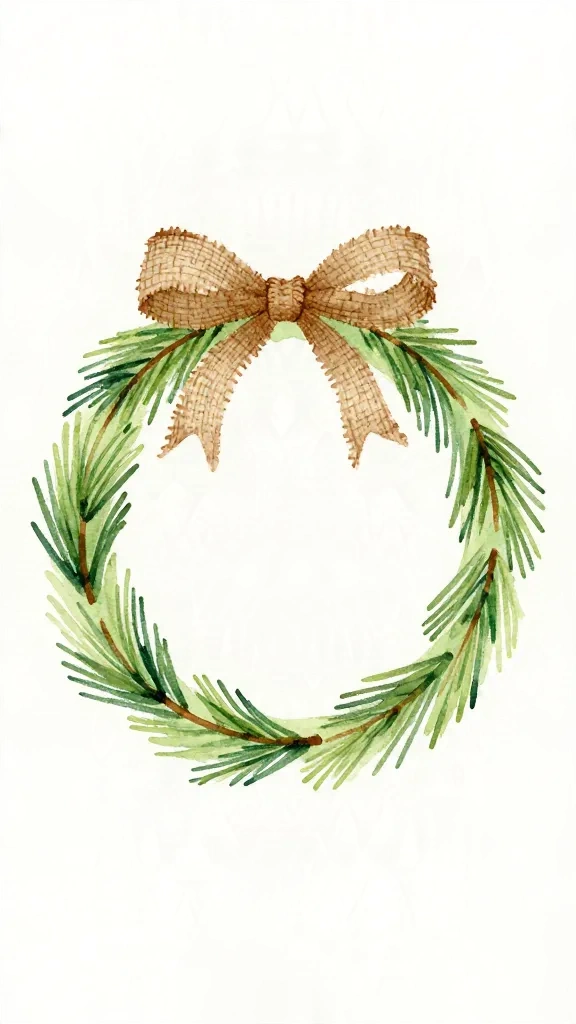
Texture becomes the story here, with a loose burlap ribbon suggesting rustic charm and simple pine needles framing a clean circle.
How to Draw It
- Draw a slightly irregular circle to hint at a natural, hand-made wreath form.
- Paint the inner frame a pale green, then add a few clusters of pine needles along the outer edge using quick, curved strokes.
- Sketch a wide, loose burlap ribbon crossing the top of the wreath, with a soft knot and two gentle tails hanging down.
- Keep details minimal by applying flat color washes with gentle shading where the ribbon folds.
Small texture marks on the ribbon and light speckling on the pine needles add tactile interest without overwhelming the composition.
Experiment with a slightly warm color palette, as the burlap reads beautifully warm in watercolor washes and pairs well with greens.
9. Geometric Watercolor Wreath in a Modern Circle

A contemporary take uses clean geometric shapes to suggest a wreath within a circle, balancing white space with a precise, arty vibe.
How to Draw It
- Outline a perfect circle as the base and keep the interior mostly white with a thin, faint green ring around the edge.
- Place small geometric leaf shapes along the perimeter in a repeating pattern for rhythm.
- Incorporate a few metallic or pale gold touches by painting tiny rectangles or dots as accents rather than full ornaments.
- Use a restrained green palette with a touch of gray for a modern, sophisticated look.
Let the spaces between shapes serve as the focal points; negative space is your friend in this design.
Add a slim ribbon line across the bottom of the circle to anchor the composition and hint at a finished wreath concept.
You May Also Like:
12 Cozy Watercolor Christmas Village Painting Ideas
12 Cute Watercolor Gingerbread House Painting Ideas
10+ Magical Watercolor Christmas Lights Ideas
10. Night Sky Wreath with Tiny Stars and Moon
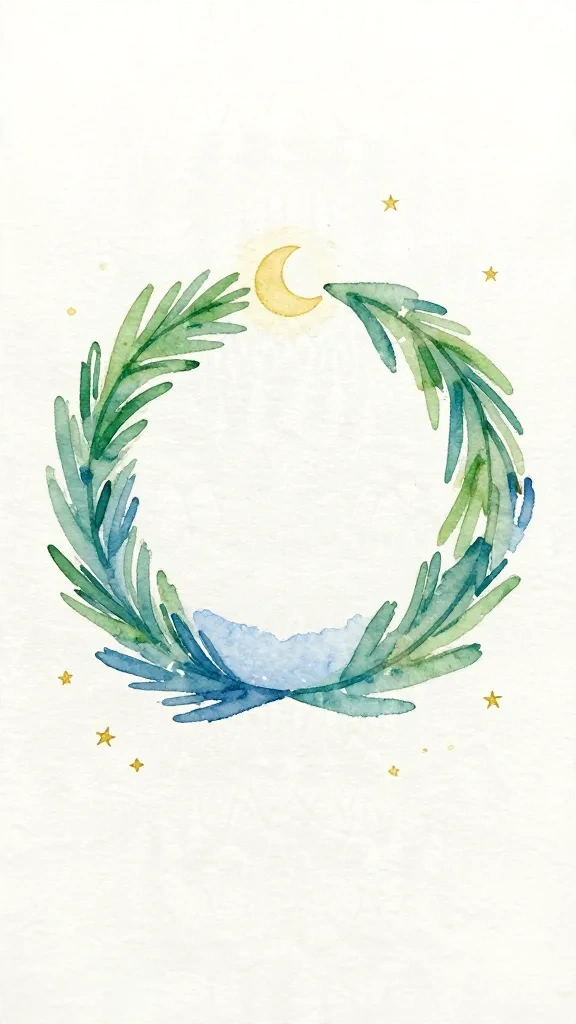
How to Draw It
- Start with a light blue circular wash for the wreath base, keeping the interior area slightly lighter than the outer edge.
- Paint the outer circle with a gentle green or teal to imply evergreen foliage without bold detailing.
- Scatter tiny gold or white stars around the frame and add a tiny crescent moon near the top corner.
- Add a faint halo around the moon and stars to mimic a soft glow typical of watercolor washes.
Keep the stars sparse to preserve the calm, night-sky mood. A subtle silver or pale gold accent on one star can catch the eye without crowding the scene.
As with the other minimalist ideas, a simple bow or ribbon at the bottom can tie the whole piece together without stealing the focus from the night scene.
Tips for Making Your Drawings Look Cute and Clean
Focus on recognizable silhouettes and simple shapes. A wreath reads instantly when the main subject is clear and the circle remains intact.
Keep some white space around each subject and throughout the composition. Clean silhouettes read well on Pinterest and in tiny social previews.
Quick Drawing Tips
- Use basic shapes as starting points and keep outlines consistent.
- Limit the color palette per wreath to 2–3 colors for harmony.
- Think about negative space and how it guides the viewer’s eye.
- Practice washes on scrap paper before applying color to the final piece.
- Draw a light pencil guide first to keep proportions even and the circle balanced.
Most importantly, keep each idea close to its core feature. A single pine cone, leaf cluster, or bow can define the whole wreath when executed clearly.
Frequently Asked Questions About 10 Charming Watercolor Christmas Wreath Ideas
What supplies are best for these watercolor wreath drawings?
Watercolor paints, watercolor paper, a small round brush for washes, and a fine liner pen for crisp outlines work well. A masking fluid can help preserve white highlights if you like.
Are these ideas suitable for beginners?
Yes. Each idea is built around simple shapes and a limited color palette, with step by step instructions to follow.
How can I adapt the ideas for different skill levels?
Begin with a light pencil sketch and a soft color wash. Add details gradually, or simplify by removing small ornaments for a cleaner look.
Can I use these wreath drawings for cards or prints?
Absolutely. The clean silhouettes and balanced compositions translate well to cards, stickers, and Pinterest pins.
What color palettes work best for these wreaths?
Classic greens with red berries, warm browns and golds for a rustic look, or cool blues for a frosty vibe all pair nicely with watercolor textures.
How can I practice these ideas quickly?
Practice one idea per day in a small notebook. Build a quick color swatch sheet and reuse it across all designs for consistency.
Pick Your Favorite and Start Drawing
You do not need perfect lines to create charming watercolor wreaths. Focus on the basic shapes, keep the details simple, and let each subject have its own personality.
Choose a favorite idea and give it a try in your sketchbook. Save this collection for your next drawing session and adapt the designs to suit your own style.

Hi, I’m Abdul Moeed Shahid, the creator of Sketch and Fun. I’m passionate about helping people of all ages explore their creativity through fun drawing ideas and printable coloring pages. My goal is to make art simple, accessible, and enjoyable for everyone!