
Are your journals begging for a dash of calm, intricate lines that feel effortless yet present?
Zentangle border ideas are the perfect way to frame your thoughts with rhythm and balance, without overwhelming your pages.
What makes this collection especially useful is its emphasis on beginner-friendly steps, minimal details, and flexible composition.
Each idea is designed to be easily adapted to journals, sketchbooks, bullet journals, or printable borders. R
eady to explore a curated mix of borders that feel cohesive yet distinct? Let’s dive in and pick a favorite to start with.
1. Linear Lace Border

The Linear Lace border is all about delicate rhythm built from straight lines and tiny arches. It reads as elegant yet restrained, making it a perfect frame for daily journal entries or minimalist sketches. The repeating pattern creates a calm border that does not overwhelm the page.
How to Draw It
- Draw a straight horizontal base line near the edge of the page.
- Above it, create a series of evenly spaced short vertical lines to form a scaffold.
- Connect the tops of the vertical lines with gentle rounded arches to mimic a lace edge.
- Between arches, add tiny dots or short dashes to suggest delicate texture.
Keep the arches uniform and the scaffolding light to maintain a clean silhouette. This border shines when used with a simple journal title in a bold font opposite it, providing a refined contrast.
2. Dot-and-Flow Ribbon Border
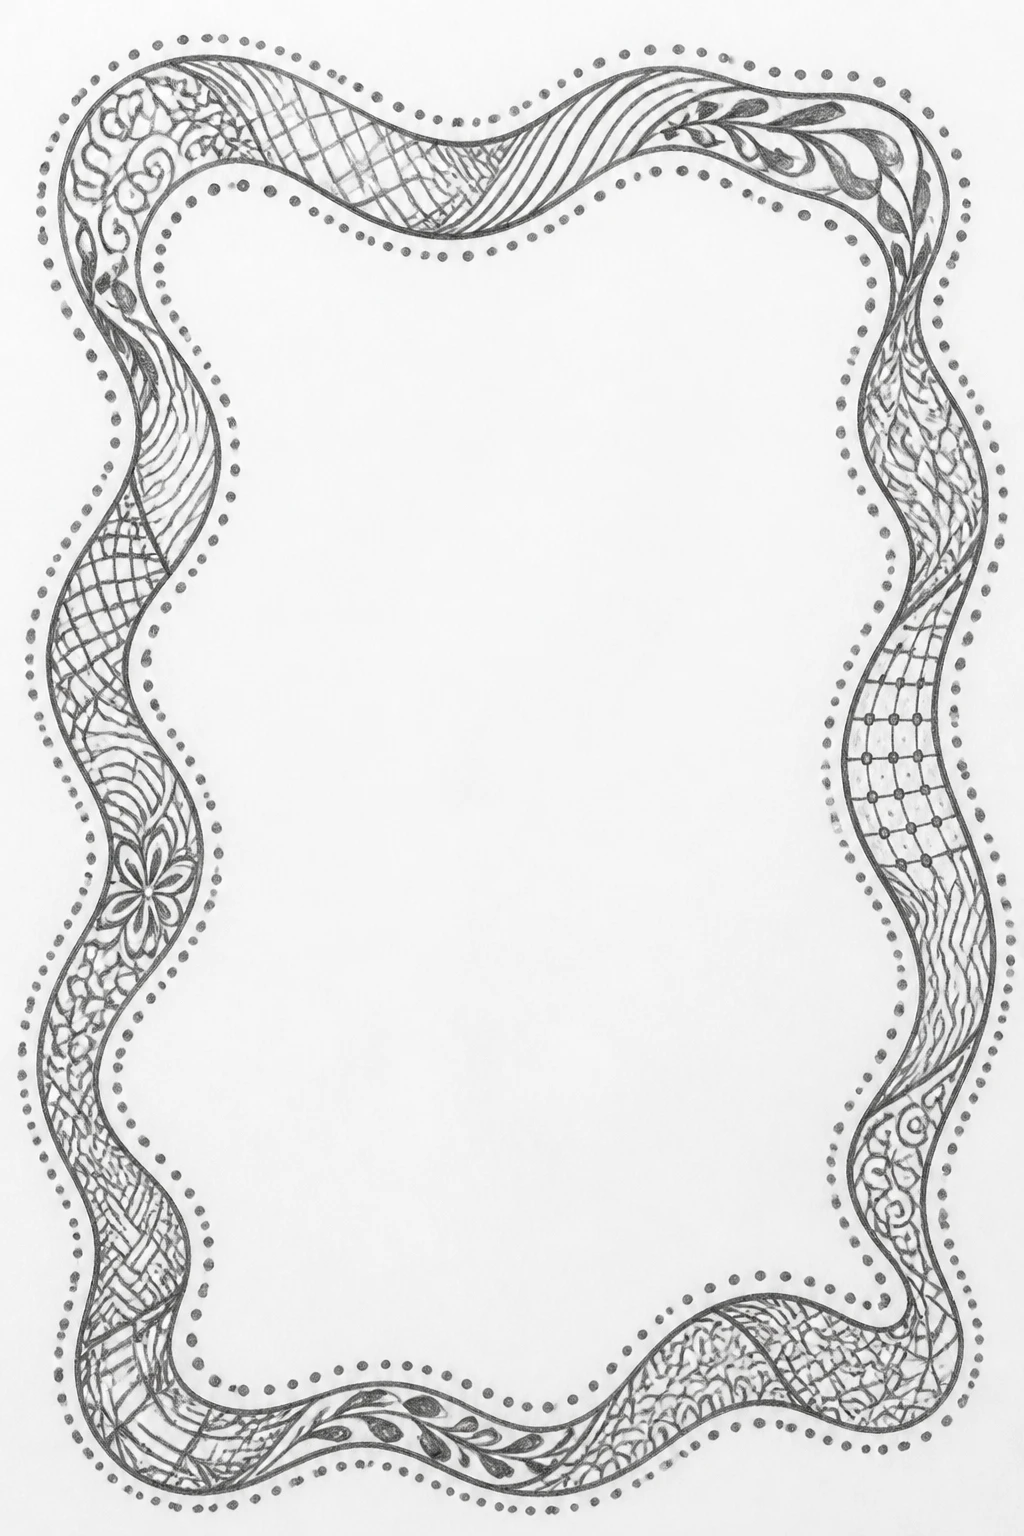
Dot-and-Flow Ribbon Border combines a meandering ribbon shape with a constellation of tiny dots. The contrast between the winding line and the spare spots of ink creates a playful yet composed look that works wonderfully in sketchbooks. It feels alive without crowding the edge.
How to Draw It
- Sketch a soft curving ribbon along the page edge using a single, continuous line.
- Place evenly spaced small dots along the outer edge of the ribbon and at the inner curve to balance weight.
- Keep the ribbon width consistent and avoid sharp corners for a more graceful feel.
- Optionally, add a thin inner line to suggest depth.
The key detail is spacing the dots so they do not overlap the ribbon itself, preserving a crisp, modern look suitable for both journaling and sketchbook pages.
3. Tile-Within-Border Pattern

Tile-Within-Border uses a repeating tile motif that hugs the border without spilling into the page. This idea borrows the modular vibe of Zentangle while staying strictly minimal, giving your pages a tiled rhythm that is easy to replicate and visually satisfying.
How to Draw It
- Draw a thin rectangle along the border as a guide for the tile edge.
- Inside this rectangle, sketch a small, simple tile shape such as a square with soft corners or a rounded hexagon.
- Repeat the tile shape along the border, adjusting line thickness to maintain harmony.
- Leave small gaps between tiles to keep the design airy and readable.
Minimal shading or a single accent tile can add interest if you want a bit more contrast, while keeping the overall look clean and grid-like.
4. Wave-Patterned Corners

Wave-Patterned Corners bring a gentle motion to the corners of your pages. By curving lines into soft, continuous waves, this idea creates a border that feels in motion yet remains discreet. It pairs nicely with botanical headers or soft handwriting.
How to Draw It
- Mark the corner with a light arc to establish the starting point of the wave.
- Draw a sine-like curve that runs along the edge, alternating up and down in a smooth rhythm.
- Fill the space between the outer edge and the wave with one or two parallel lines for a crisp border.
- Keep the amplitude small to preserve the minimal look.
One small variation is to cap the wave with a tiny leaf or teardrop motif at each corner for a touch of nature while maintaining simplicity.
5. Minimalistic Laurel Edge

The Minimalistic Laurel Edge marries classic greenery with a clean border silhouette. A string of tiny laurel leaves curves along the edge, creating a timeless frame that works with almost any journal entry or sketchbook subject.
How to Draw It
- Draw a shallow curved line hugging the page edge.
- From this line, add small, evenly spaced leaf shapes that point outward.
- Keep the leaves uniform in size and shape for a cohesive look.
- Optionally add a tiny dot or two between leaves to imply light texture.
The appeal lies in its balanced silhouette and the natural organic vibe it lends to minimalist Zentangle borders.
6. Geometric Frame Strip
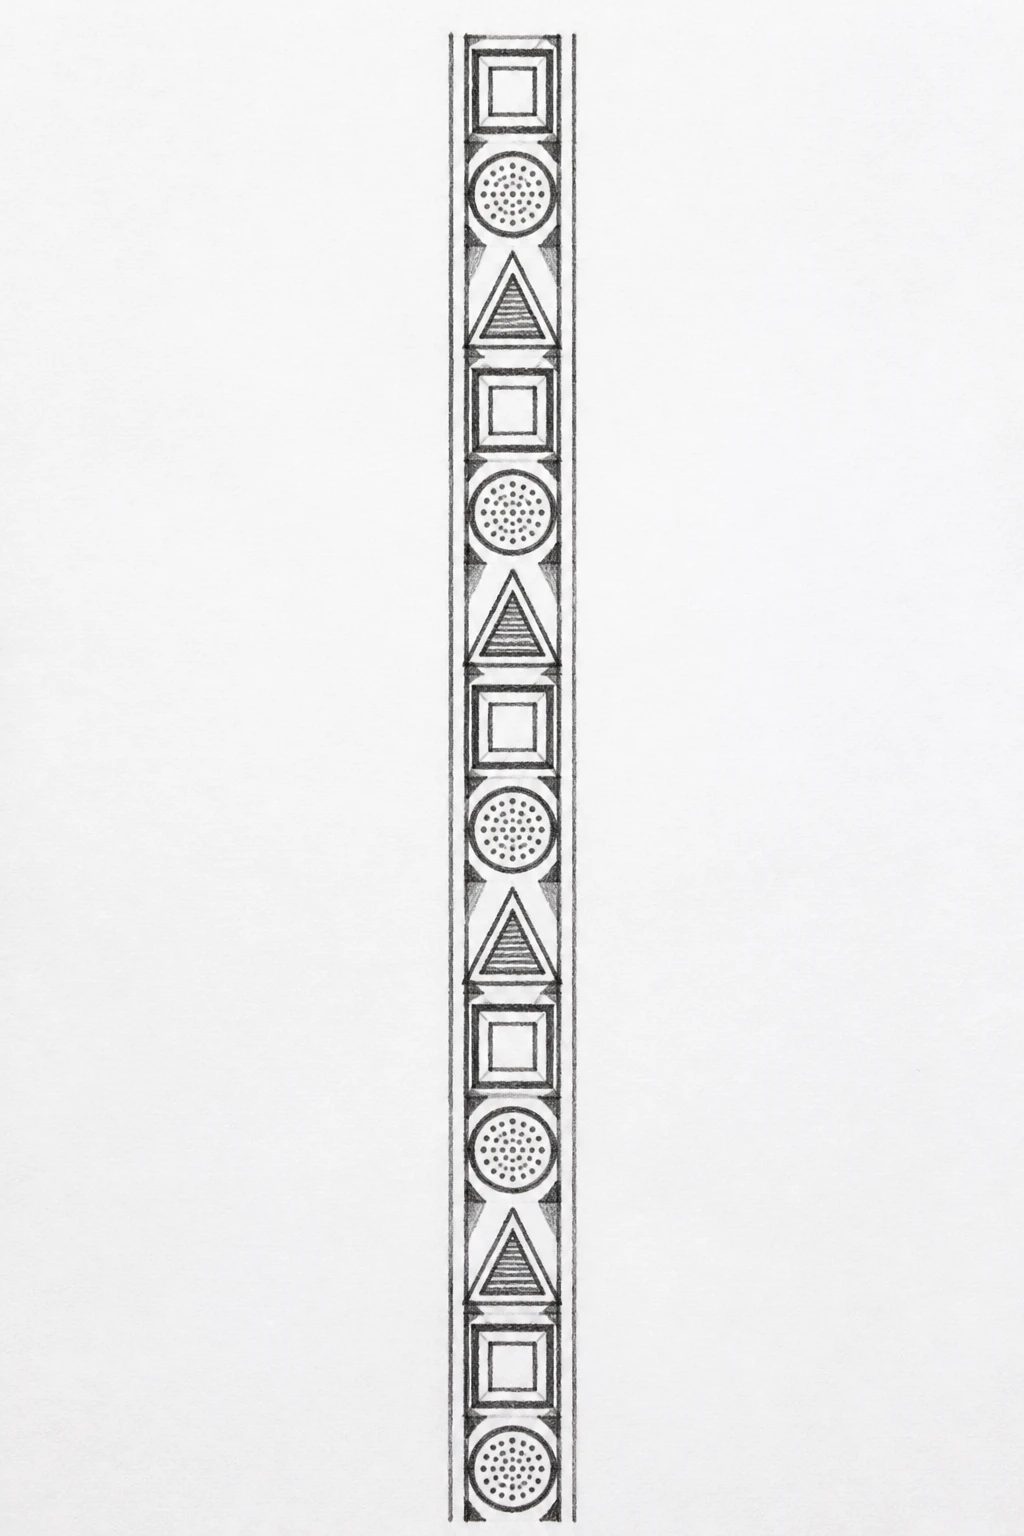
Geometric Frame Strip uses a sequence of simple shapes framed in a narrow band. This border feels modern and graphic, ideal for clean journal layouts or monochrome sketchbook pages. The geometry keeps things visually strong without becoming busy.
How to Draw It
- Create a slim border along the page edge with two parallel lines.
- Between the lines, place a repeating sequence of basic shapes such as squares, circles, or triangles.
- Keep shapes evenly sized and spaced for a stable rhythm.
- Vary orientation slightly in each repeat to add subtle interest without breaking the minimal look.
As a final touch, consider filling alternating shapes with light hatch lines to add texture while staying minimal.
7. Leaf-Silver Vine
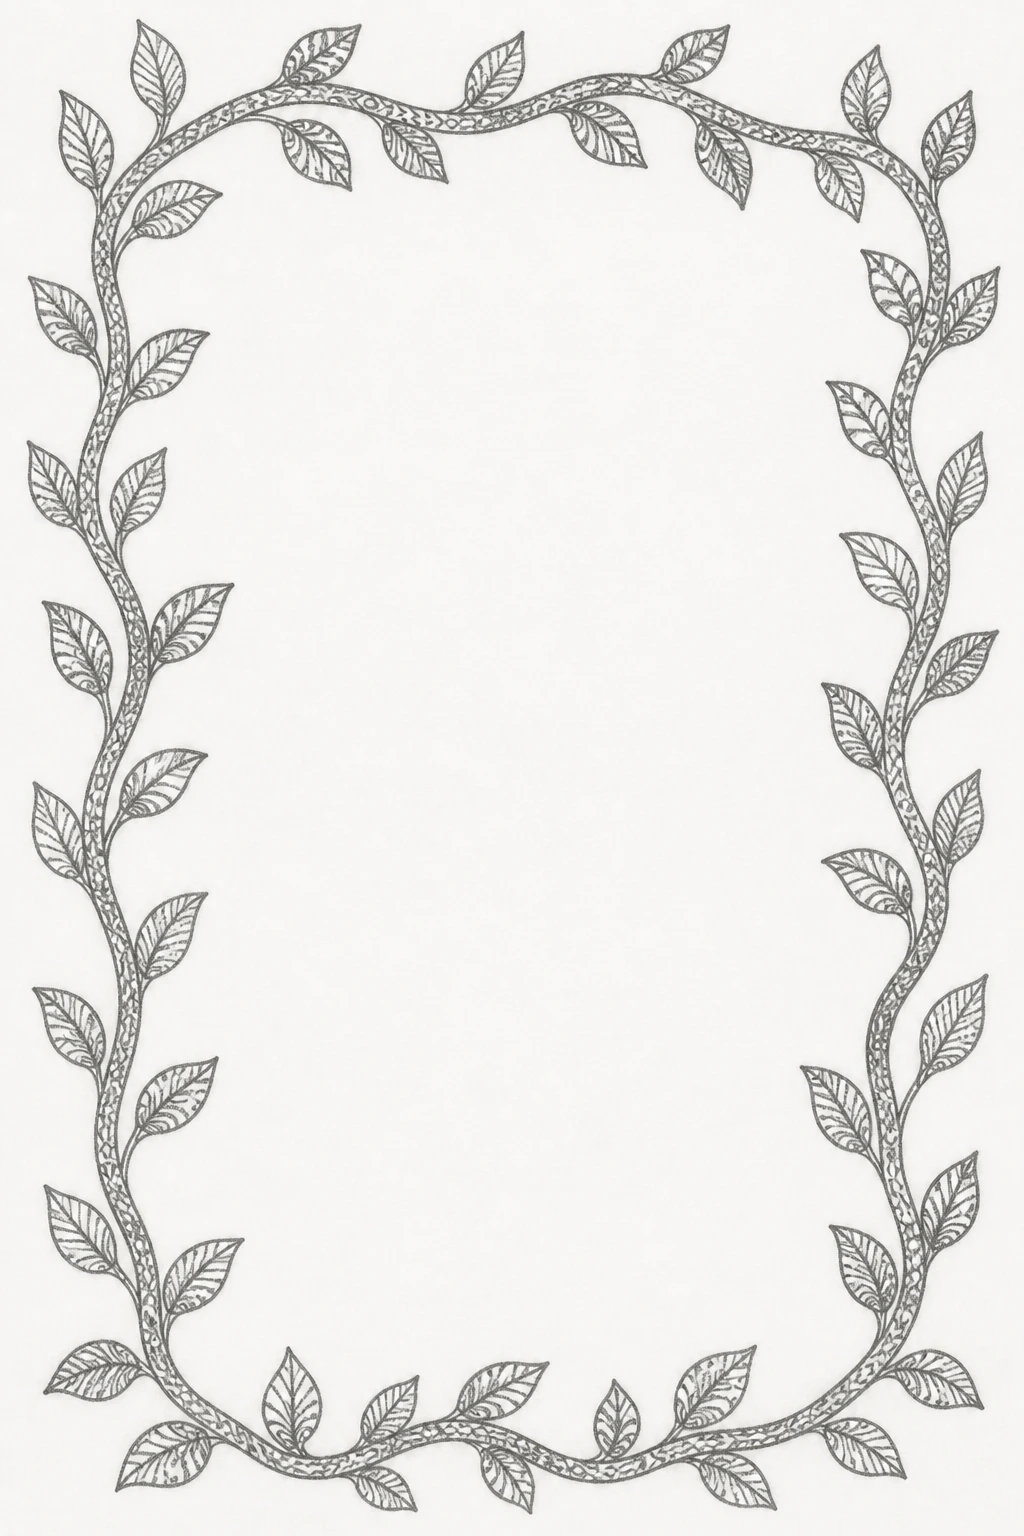
The Leaf-Silver Vine introduces a delicate, elongated vine with tiny leaves that seem to drift along the border. It feels airy and elegant, making it a favorite for nature-inspired journals without overpowering the page.
How to Draw It
- Draw a soft, wavy line along the border to act as the vine stalk.
- Attach small teardrop leaves along the vine at regular intervals.
- Keep the vine width light and the leaves slightly varied in angle to suggest movement.
- Optional: add a faint dot at the base of the vine to anchor it visually.
The minimal leaf shapes maintain clarity when viewed at smaller sizes and read as a cohesive botanical border.
8. Tiny Mandala Edges

Tiny Mandala Edges compress the spirit of Zentangle into a handful of micro mandalas arranged along the border. Each mandala fragment is simple but distinctive, creating a border that feels meditative and intricate at a glance.
How to Draw It
- Split the border into small segments, each about the width of a few millimeters.
- Within each segment, draw a simple mandala wedge using concentric circles and petal-like shapes.
- Keep the size of each mandala consistent to preserve a steady rhythm.
- Use light, even lines so the border remains crisp and not crowded.
Focus on symmetry within each tiny mandala, as that balance is what gives the border its captivating, almost hypnotic quality.
9. Corner Mosaic Grid
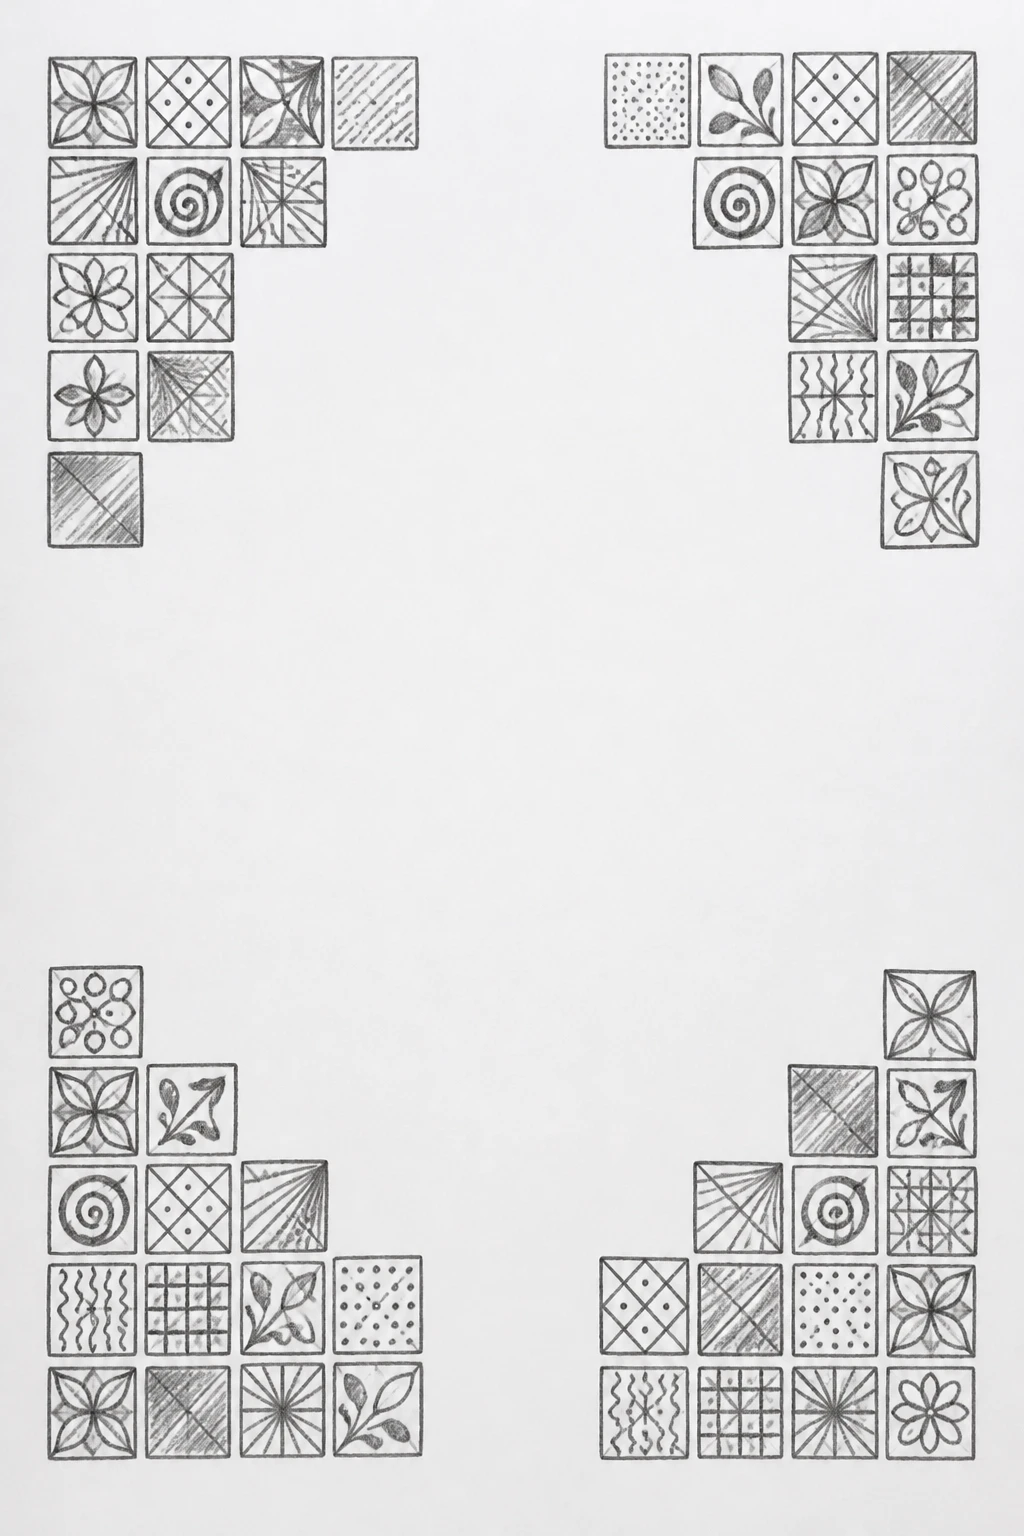
Corner Mosaic Grid frames the page with a grid-like mosaic tucked into each corner. The precise, orderly arrangement produces a modern border that pairs well with minimalist typography and clean page layouts.
How to Draw It
- In each corner, draw a compact grid of equally spaced squares or diamonds.
- Between adjacent shapes, leave tiny gaps to keep the border breathable.
- Optional: shade alternate tiles lightly to add depth without bulk.
The grid looks excellent when the center of the page remains uncluttered, making it ideal for journal prompts or quick sketches alongside the border.
10. Cloud-Outline Border

The Cloud-Outline Border uses soft, rounded curves that resemble gentle clouds along the edge. This idea adds a dreamy, whimsical touch without becoming fussy, and it translates beautifully into both journals and sketchbooks with pastel or monochrome palettes.
How to Draw It
- Draw a smooth, wavy line following the page edge to suggest a cloud form.
- Underneath the top wave, add a slender, parallel line to create a light double border.
- Scatter a few tiny arcs or rounded shapes between the waves for texture if desired.
Keep the curves gentle and continuous for a soft silhouette that invites gentle doodling inside the page.
You May Also Like:
14 Zentangle Mandala Ideas for Peaceful Doodling
13 Zentangle Paisley Patterns to Try in Your Doodles
Tips for Making Your Drawings Look Cute and Clean
Focus on silhouette clarity and spacing so each border reads well at small sizes. A strong, recognizable outline helps your Zentangle border shine on Pinterest and in bullet journals where viewers may skim quickly. Practicing with consistent line weight is a great way to unify all ten ideas into a cohesive collection across pages.
When planning a border, start by drawing a light guide line along the edge of the page. This anchor keeps your top and bottom borders aligned, ensuring a balanced frame around your content. You can then decide which idea fits the mood of your entry, whether you want something airy like the Cloud-Outline Border or something more structured like the Geometric Frame Strip.
Two practical adjustments can dramatically improve the look of your borders. First, vary line weight slightly to emphasize focal points within a border while keeping overall simplicity. Second, leave generous white space between the border and the main content; this improves readability and makes your Zentangle patterns pop on screen when you share photos online.
Quick Drawing Tips
- Use basic shapes as your building blocks and keep details minimal.
- Maintain consistent spacing and line weight for a cohesive set.
- Test borders on scrap paper before committing to your journal page.
- Consider a limited color palette or grayscale for a sophisticated look.
- Photograph or scan your pages with good lighting to showcase clean silhouettes on social media.
Adaptability is key. If a border feels too dense for a particular section of your page, reduce its size or remove some elements while preserving the core shape and rhythm. The idea is to keep the design readable and visually appealing at typical viewing sizes on phones or printouts.
Pick Your Favorite and Start Drawing
You do not need perfect lines to craft charming Zentangle borders. Start with the simplest idea that resonates with you, outline the core shape, and gradually refine while preserving the essential silhouette. The border should feel like a quiet frame that elevates your pages rather than overpowering them.
Choose one concept to test in your journal tonight, and plan a small spread that pairs the border with a short prompt or sketch. Save this collection as inspiration for future pages, and feel free to combine elements from different ideas while keeping each border distinct and easily recognizable.
Conclusion
These 10 Zentangle Border Ideas for Journals and Sketchbooks offer a gentle path to decorate without distraction. Each concept stays minimal yet expressive, giving you a reliable set of borders that can be mixed, matched, and scaled to fit every page size and layout.
Remember that patient repetition creates mastery. As you practice, your borders will become more confident, and your journal will reflect a cohesive and calming aesthetic. Try a favorite idea, then adapt it to your own style and line quality, knowing that simplicity often carries the strongest impact.

Hi, I’m Abdul Moeed Shahid, the creator of Sketch and Fun. I’m passionate about helping people of all ages explore their creativity through fun drawing ideas and printable coloring pages. My goal is to make art simple, accessible, and enjoyable for everyone!