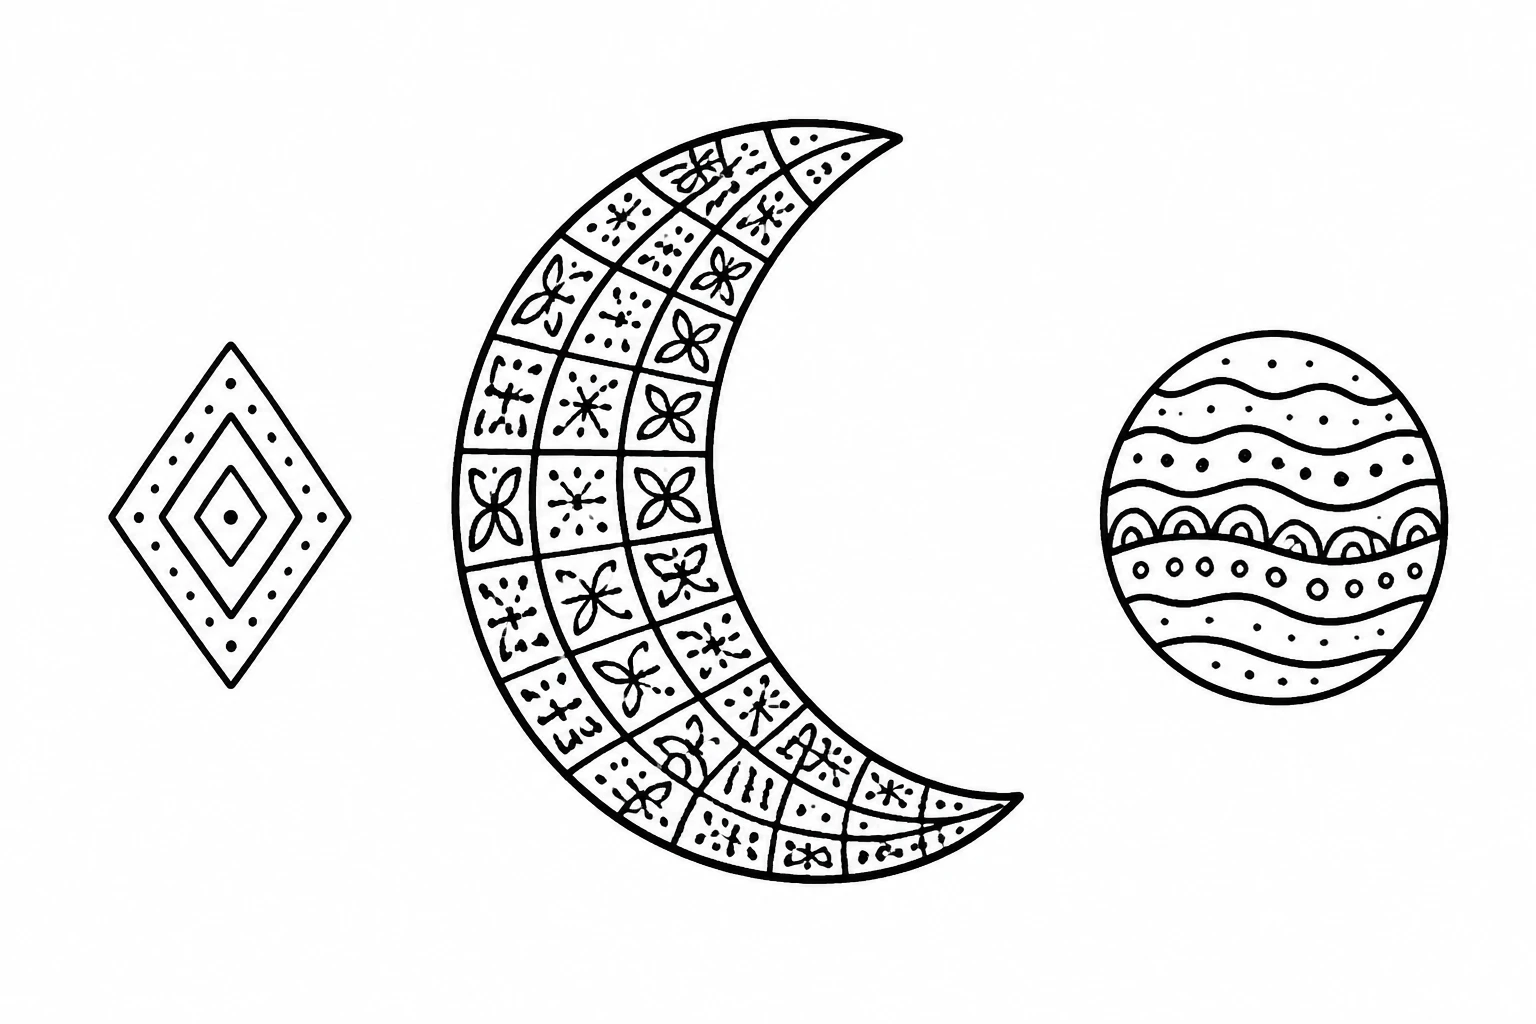
Curious how to turn simple lines into captivating Zentangle doodles that look stylish on pins and pages?
You’re about to discover a handful of ideas that balance elegance with easy execution, perfect for beginners and seasoned doodlers alike.
As you scroll, pick a favorite to try first, then come back for the others.
The mix of familiar shapes and fresh layouts gives you a ready-made mini library you can combine, stack, or repeat across your journal pages and social posts.
1. Crescent Moon Grid — Simple, Quiet, and Highly Repetitive
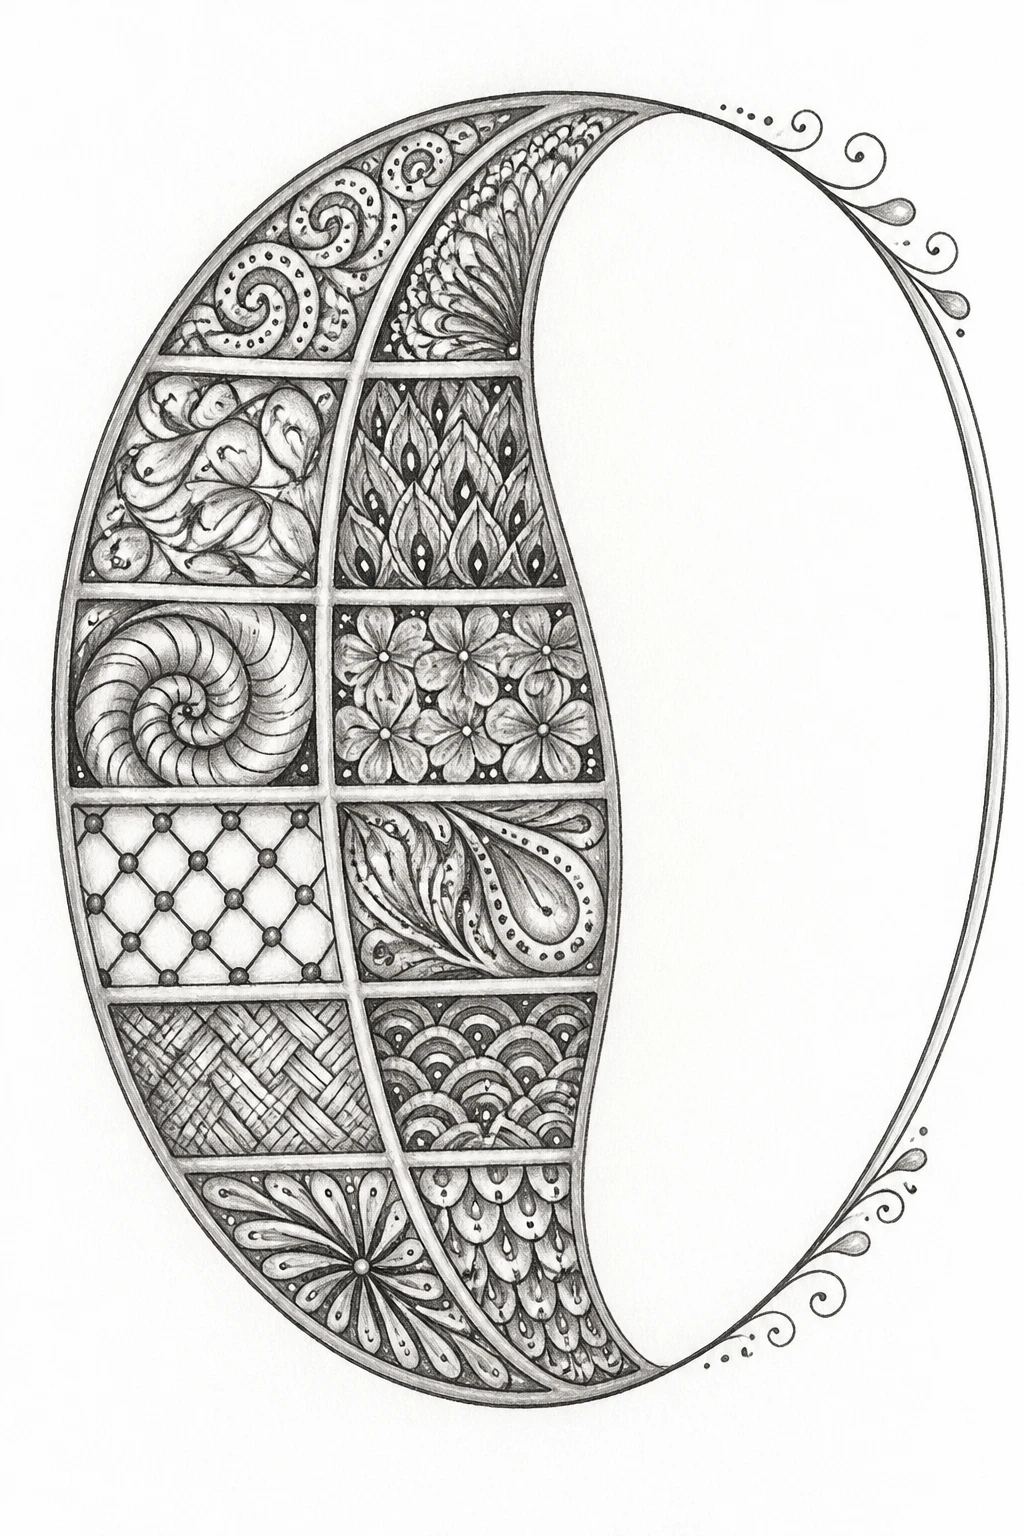
The crescent moon silhouette lends a calm, recognizable shape that anchors a Zentangle grid. Its gentle curve invites neat line work and allows the tiny internal patterns to breathe with space around them.
How to Draw It
- Draw a soft crescent on the left side of the page using a simple curved line, then mirror it with a shallow arc on the right to form a connected oval frame.
- Inside the crescent, create a 3×4 grid of small curved panels.
- Fill each panel with a distinct Zentangle pattern such as dots, waves, cross-hatching, or tiny triangles.
Keep the outer edge clean and bold so the silhouette remains the focal point. The grid inside the curve becomes the feature without needing extra decoration.
2. Monoline Leaf Cluster With Vein Paths
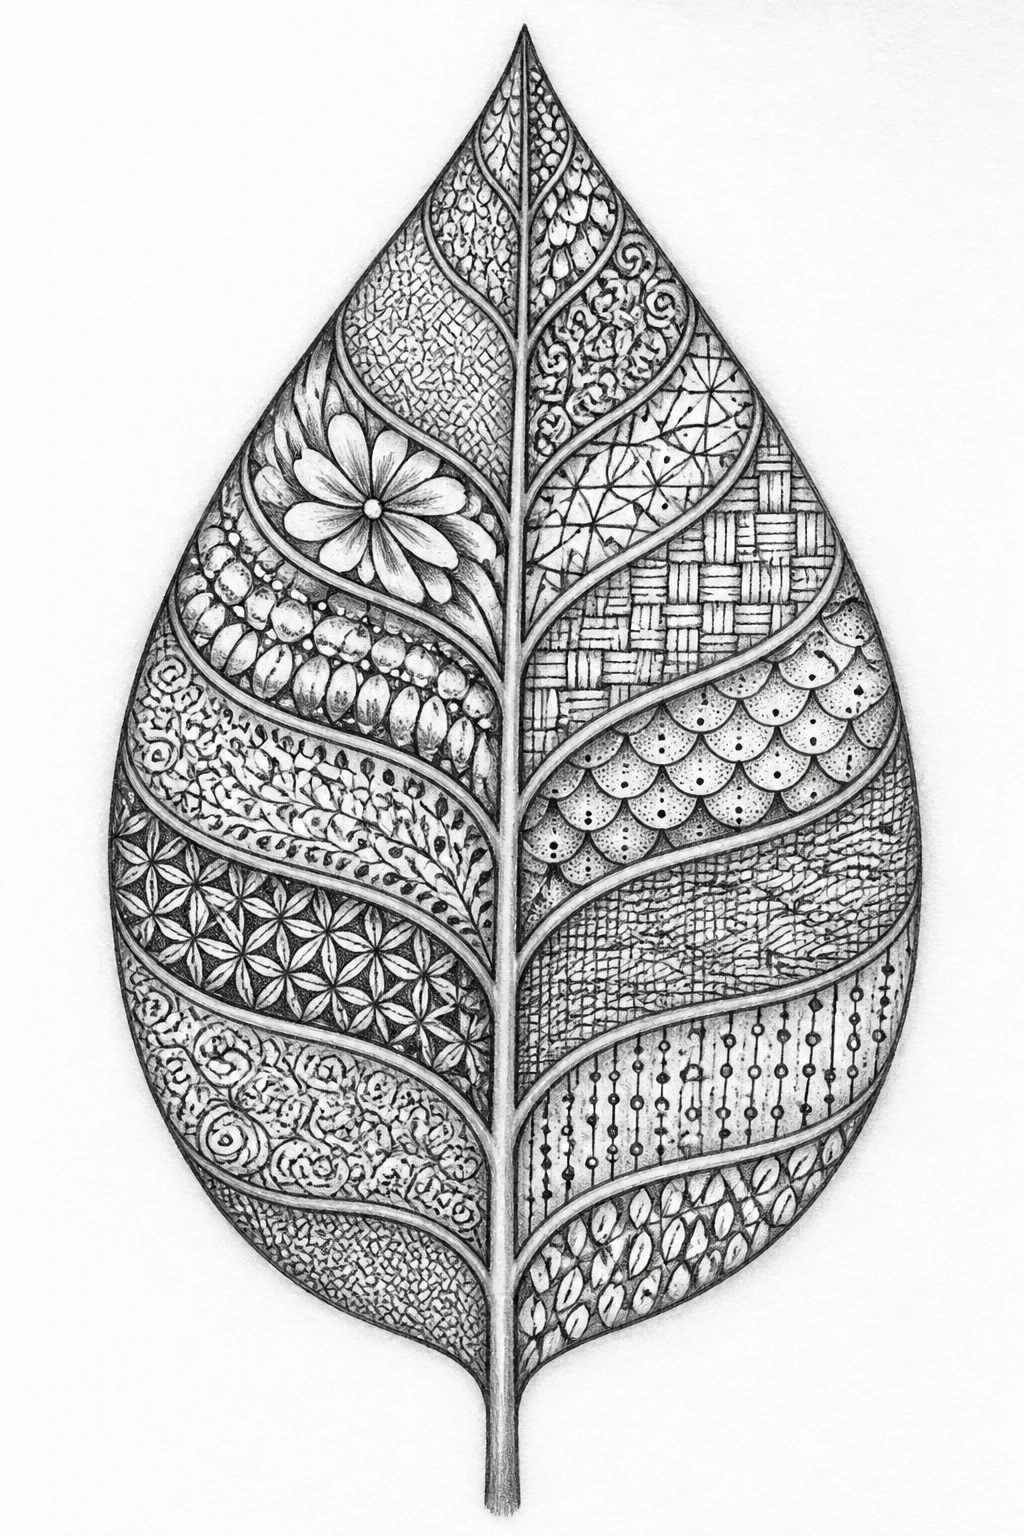
A minimalist leaf shape with internal vein lines fits the Zentangle vibe and reads well as a single, elegant motif. The emphasis on negative space makes it pop on pins and journals alike.
How to Draw It
- Sketch a simple elongated teardrop shape for the leaf.
- Place a single central vein line along the spine, then draw short parallel lines branching from it toward the edges.
- Fill each section with tiny patterns such as stippling or tiny hatch marks, keeping each area clearly separated.
Add a tiny curved stem and a soft shadow along the bottom edge to ground the leaf without cluttering the composition.
3. MinimalSnowflake Doodle — Crisp Symmetry in a Small Frame

A snowflake lends a familiar micro-symmetry that is instantly legible as a Zentangle piece. The challenge is to keep it crisp and repeatable with a few motifs arranged in a radial layout.
How to Draw It
- Draw a small central dot, then place four lines evenly spaced around it like a compass.
- At the end of each line, add a simple branch pattern that mirrors across opposite spokes.
- In the gaps between branches, add tiny teardrops or dots to balance the composition.
Limit yourself to five or six repeating shapes and maintain ample white space between each branch to keep the design readable at small sizes.
4. Nested Dots Bloom — A Floral Silhouette With Repeating Orbs
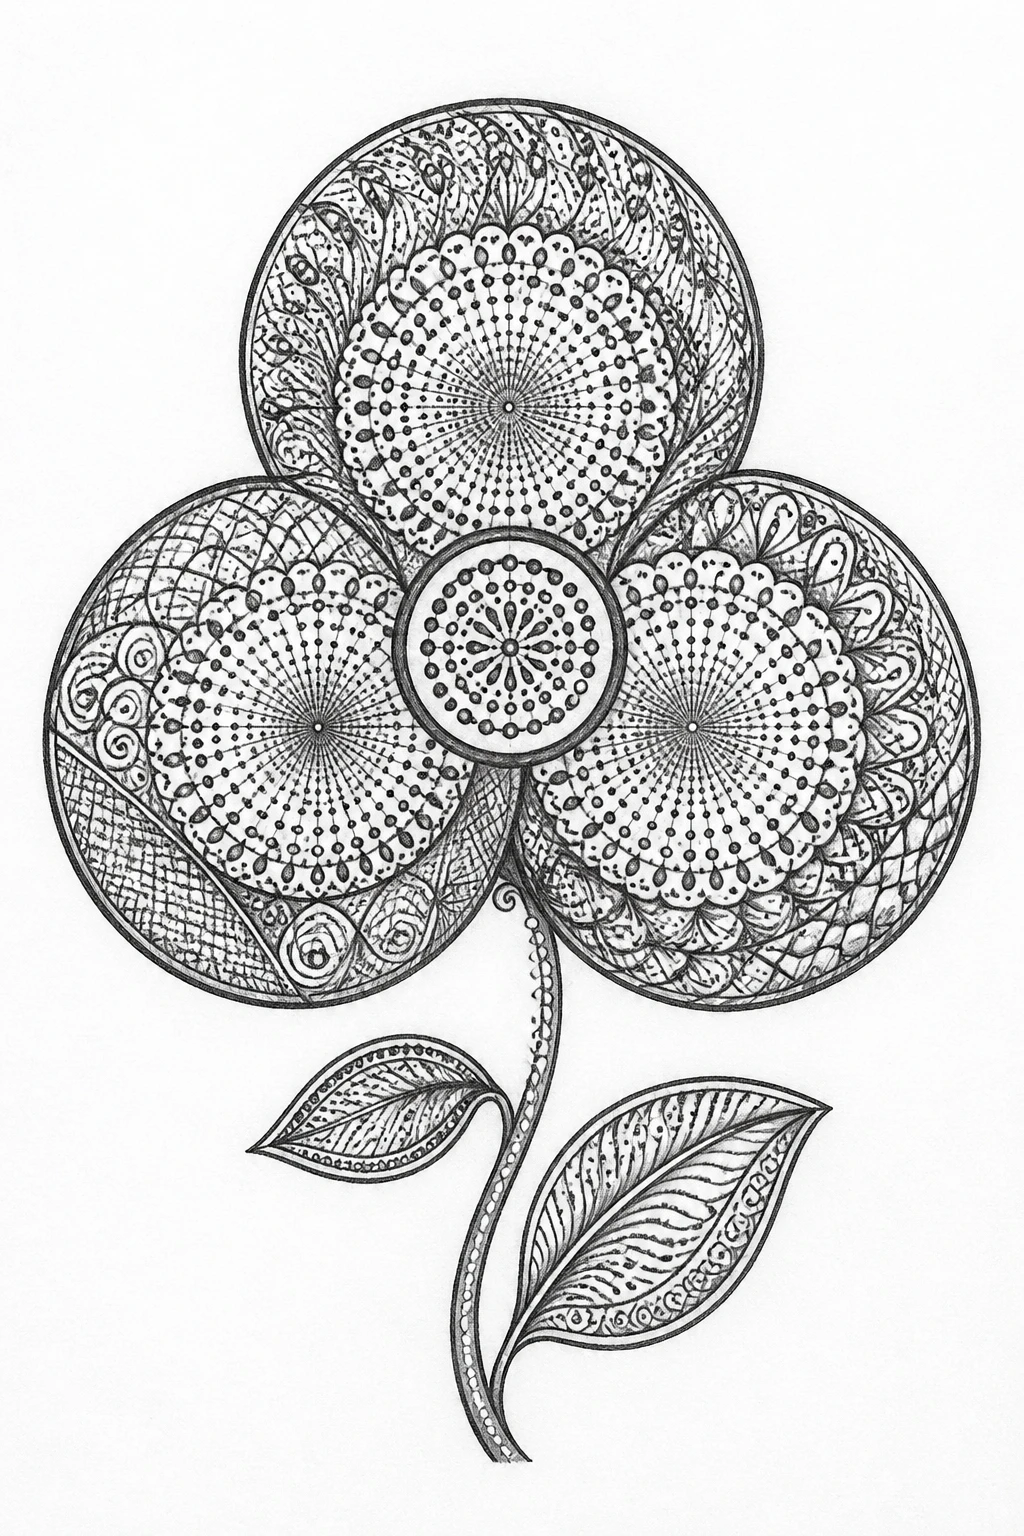
Flowers feel playful in Zentangle form when built from nested circles and repeating dot clusters. The bloom reads as a single flower with a hypnotic interior rhythm.
How to Draw It
- Draw a small circle for the center, then layer three larger circles around it, slightly offset to create a petal-like look.
- Within each outer circle, add tiny dot clusters radiating from the center and a few curved lines to suggest texture.
- Finish with a short stem and a couple of tiny leaves made from simple teardrop shapes.
Keep the petals simple and evenly spaced. The magic is in the tiny dots and light shading at the edges to evoke depth without crowds of lines.
5. Zigzag Ribbon With Tiny Wavelets
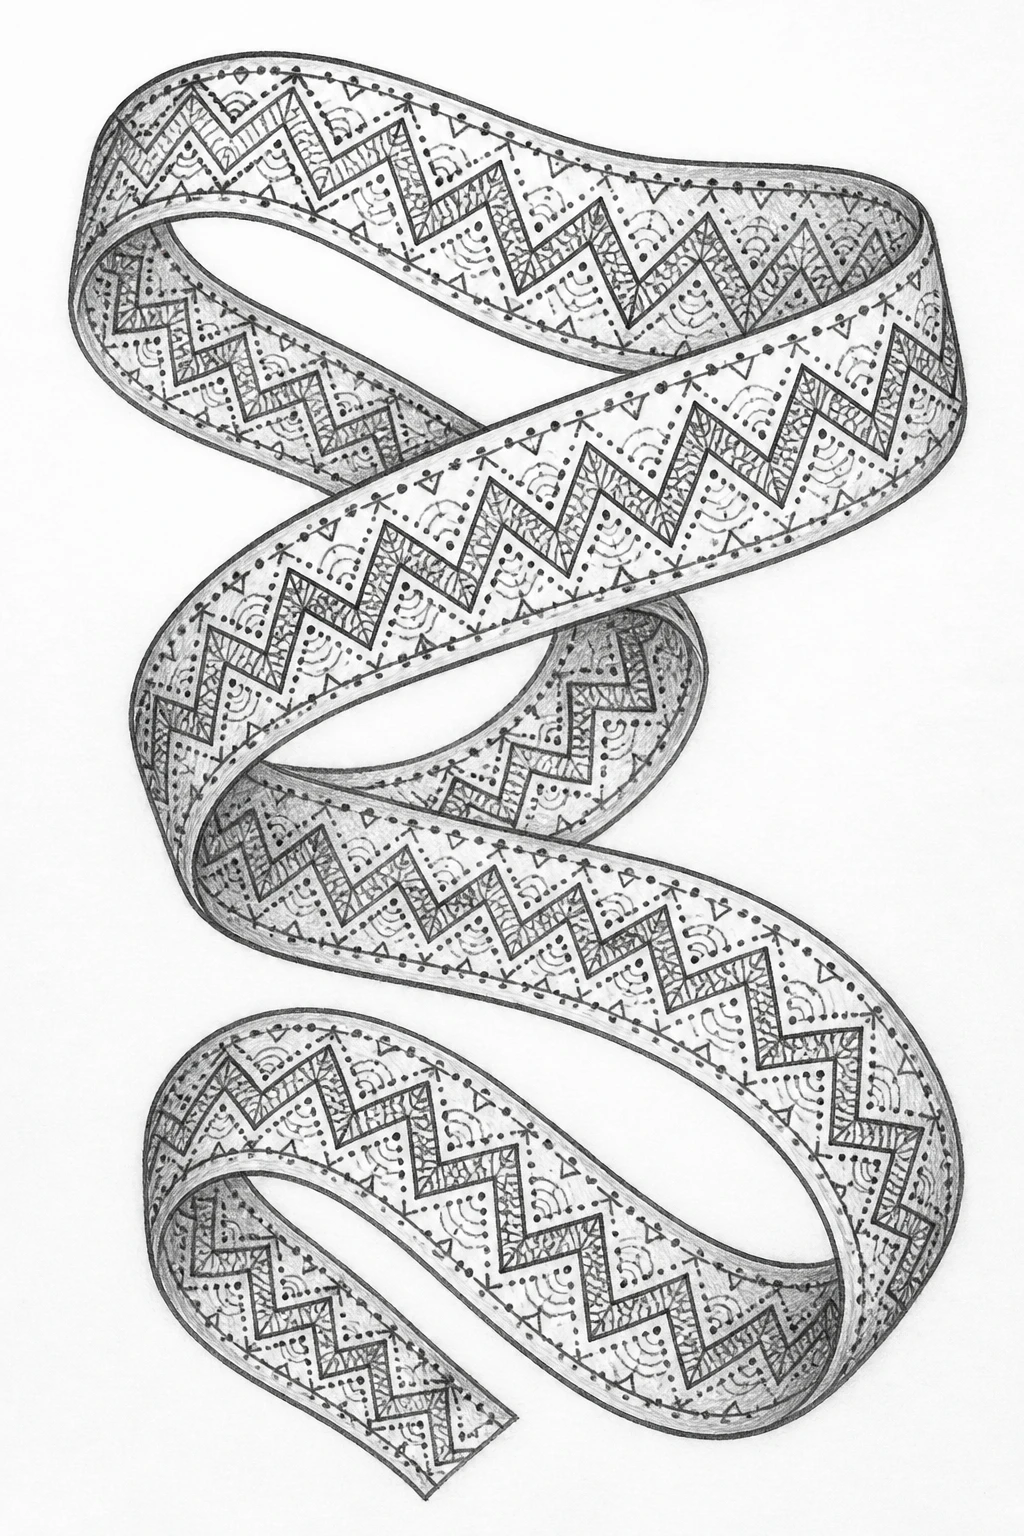
A ribbon form wrapped in zigzag bands creates motion and a chic, graphic feel. It works great as a single motif or repeated along a page as a decorative border element.
How to Draw It
- Draw a flowing ribbon line that loops in gentle S curves across the page.
- Along the ribbon, add parallel zigzag bands that follow the contour of the ribbon.
- Inside each zigzag, insert tiny triangular or curved hatch marks to create texture.
Emphasize the ribbon’s edge with a slightly thicker line to keep the shape crisp and legible at small scales.
6. Tiny Mandala Segment — A Single Self-Contained Slice
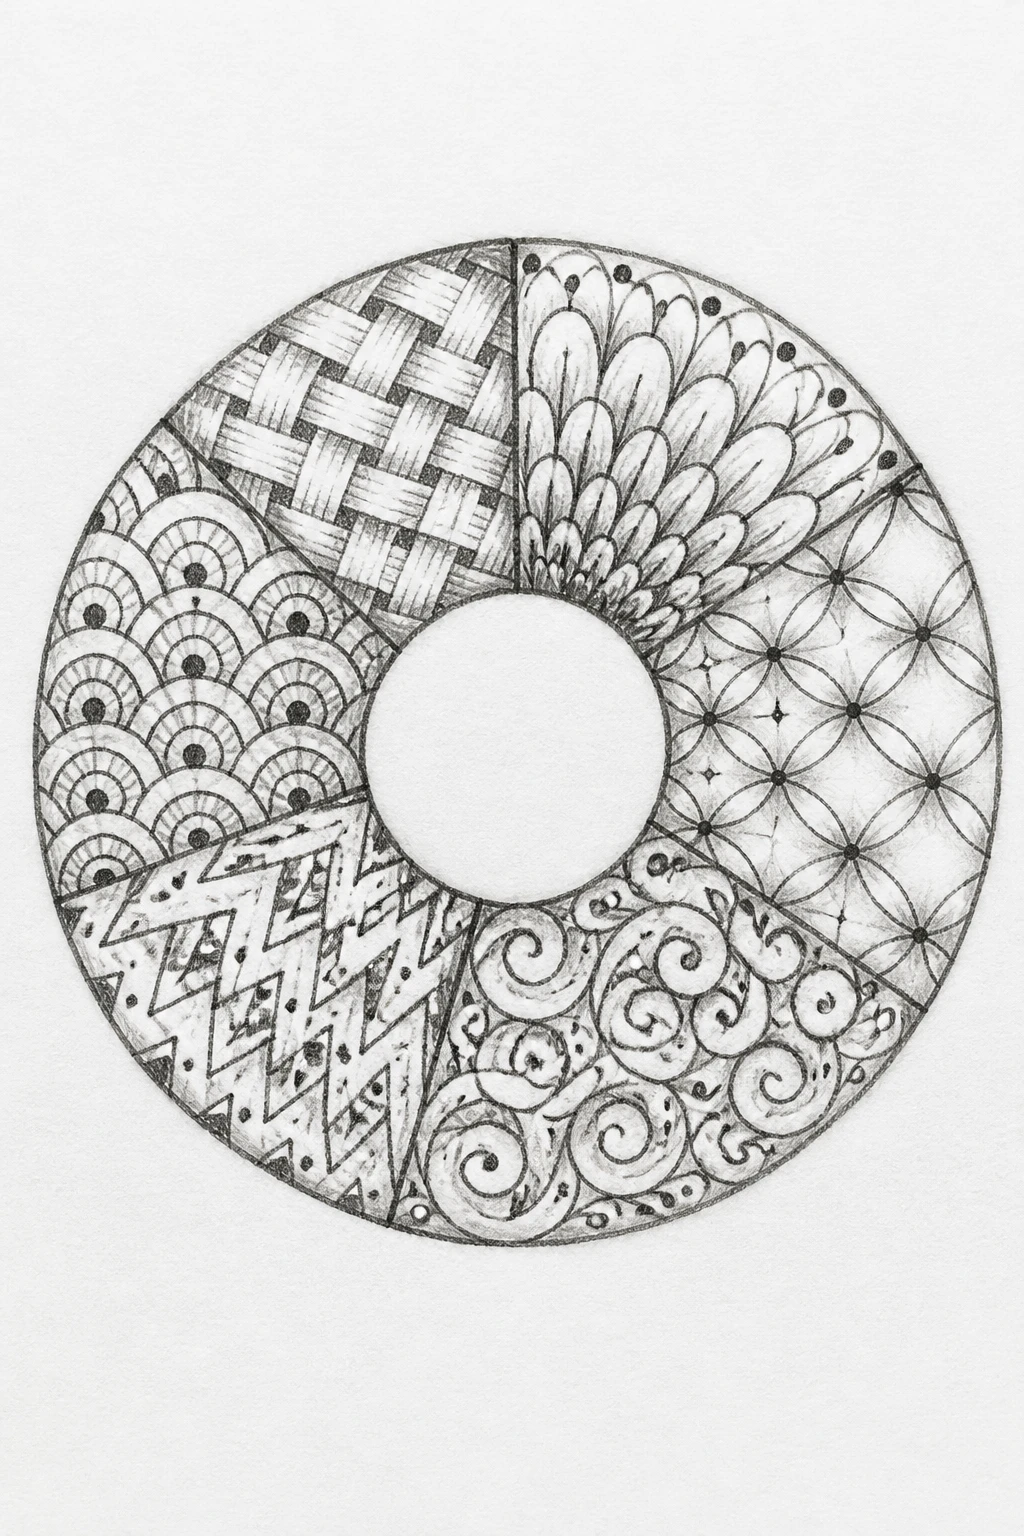
Mandala style pieces can be broken into solitary segments that stand alone. A single, clean slice with mirrored details is perfect for a quick Zentangle boost.
How to Draw It
- Draw a small circular donut shape with a hollow center and two rings.
- Divide the ring into four to six equal segments with straight lines radiating from the center.
- Fill each segment with a distinct micro pattern such as lines, dots, zigzags, or arches.
Keep the patterns tight and evenly spaced to preserve the serene mandala vibe in a compact form.
7. Ocean Wave Tile — Rolling Lines Form a Calm Pattern
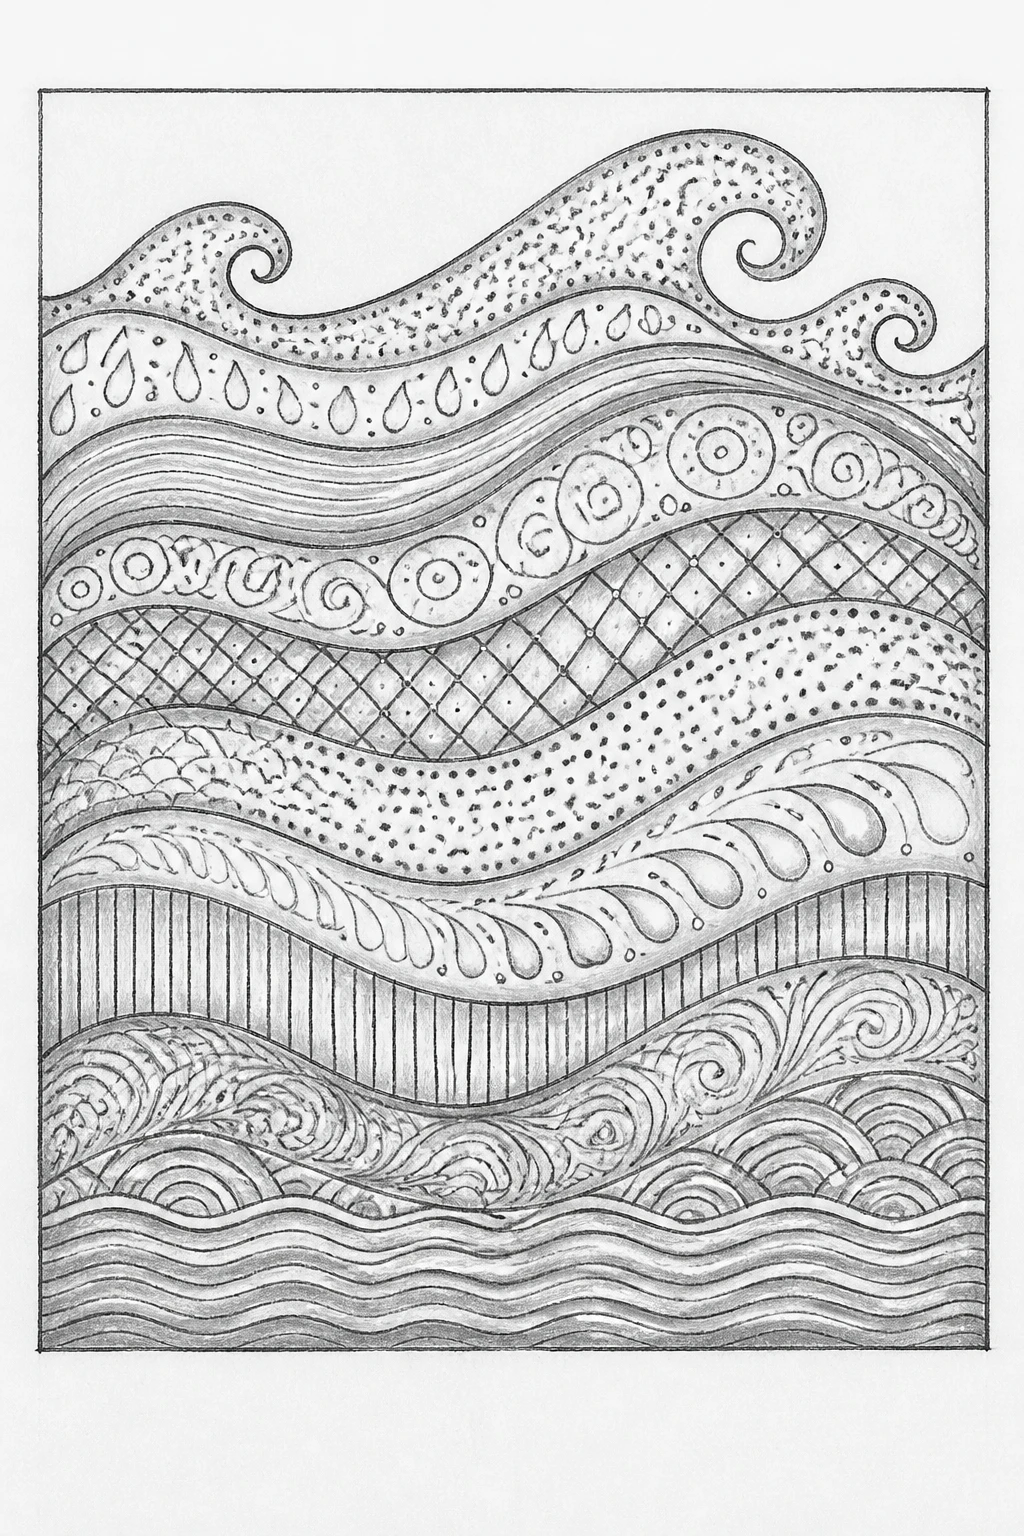
Waves offer a graceful, rhythmic motif that translates well into a tile format for backgrounds, pins, or pattern pages. The flowing lines create a soothing rhythm readers want to imitate.
How to Draw It
- Create a straight horizontal baseline and above it draw a series of convex curves like gentle hills.
- Between the waves, add small parallel lines or dot clusters to texture each stripe.
- Cap the design with a thin border to frame the tile neatly.
Limit the internal textures to one or two options so the wave silhouette remains dominant and easy to mimic in a repeating pattern.
8. Little Cloud Chorus — Soft Shapes With Contained Markings
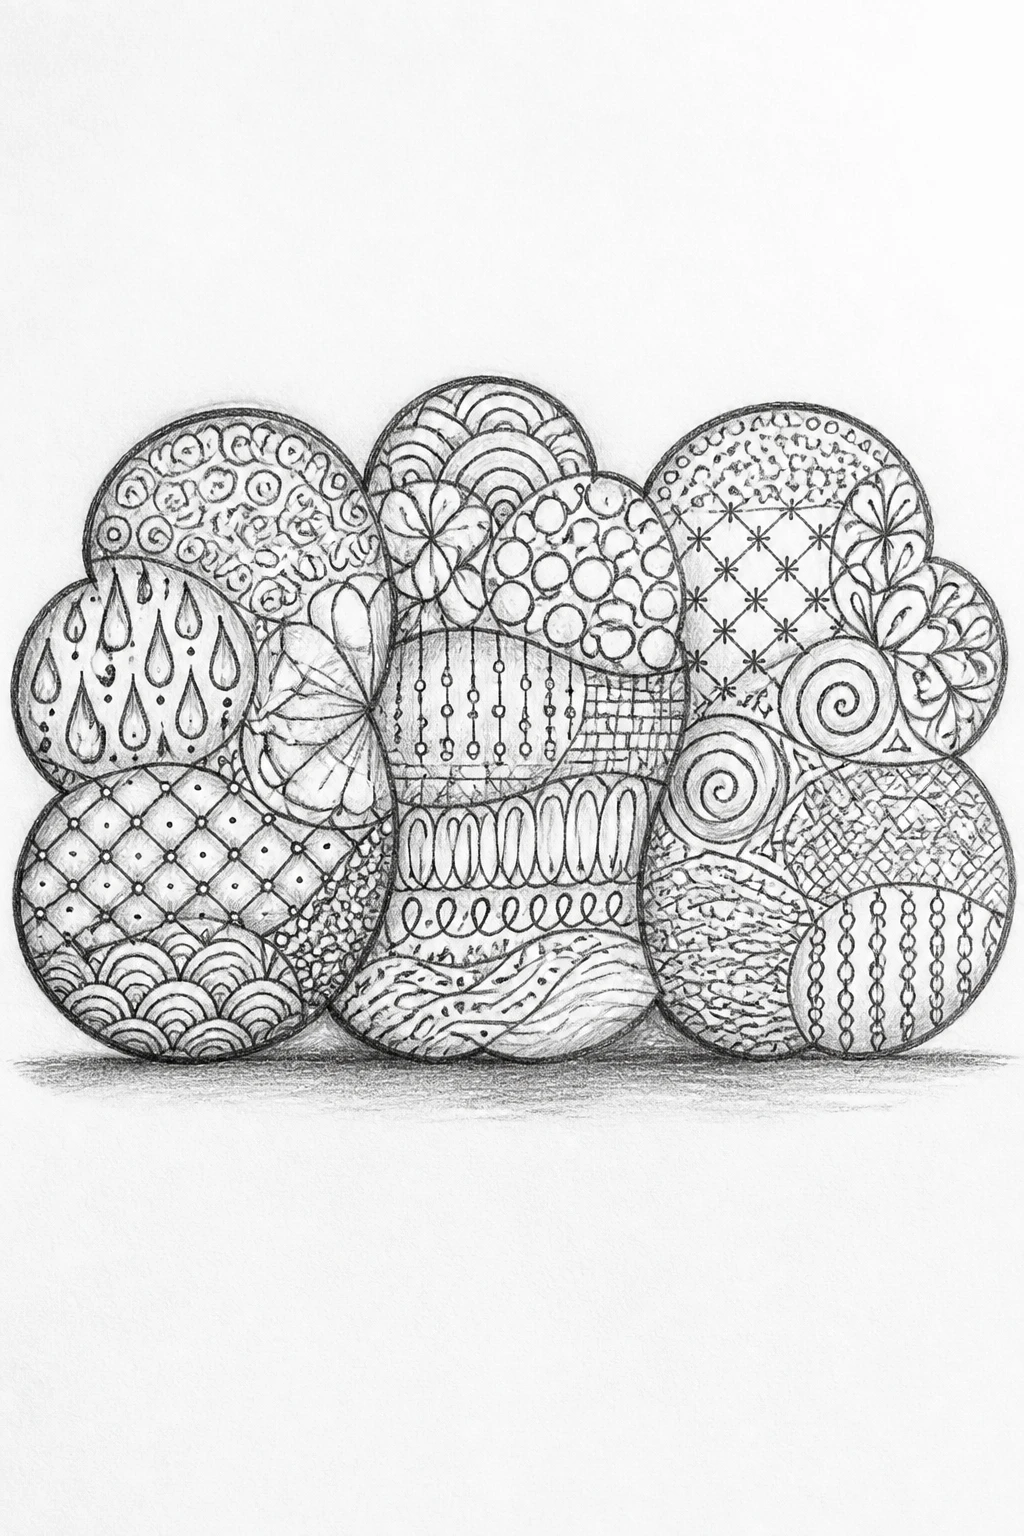
Cloud shapes offer a friendly, approachable silhouette that still fits the Zentangle approach when filled with tiny patterns inside each cloud lobe.
How to Draw It
- Draw three connected, rounded cloud forms in a row, sharing gentle outlines.
- Within each cloud, add repeating micro patterns such as tiny spirals, hatch lines, or dotted textures.
- Place a thin line beneath to suggest a soft ground plane or shadow.
Keep clouds slightly different in internal texture to maintain visual interest while preserving the overall harmony of the composition.
9. Geometric Bee — Minimal Body With Hexagonal Accent

A bee silhouette with a honeycomb element combines natural imagery with geometric order, capturing attention with its clean lines and recognizable shape.
How to Draw It
- Outline a small oval for the body and a rounded head with two tiny antennae.
- Fill the abdomen with several short horizontal lines to suggest stripes and a tiny dotted wing.
- In the background, place a single honeycomb cell or two as negative space accents.
Because the focal point is the bee, keep the background light and let the bold body silhouette carry the composition.
10. Floating Lanterns — Minimal Orbs With Delicate Hinges

Lantern shapes provide a charming vertical rhythm and translate well into Zentangle forms when simplified into orbs connected by lines and tiny patterns.
How to Draw It
- Draw three to four little lanterns as rounded ovals stacked along a thin vertical line.
- Attach small lines beneath each lantern to imply hanging tassels or hinges.
- Inside each lantern, fill with a simple pattern such as cross-hatching or tiny diamonds.
The vertical alignment makes a striking Pinterest pin when used as a repeating motif in a row or grid.
11. Seed Pod Parade — A Row of Minimalist Pods

A row of elongated seed pods creates a gentle rhythm that reads clearly as a Zentangle design. Keeping each pod slightly different in internal texture maintains interest without overpowering the silhouette.
How to Draw It
- Draw five evenly spaced vertical pods with rounded ends, connected by a subtle baseline.
- Inside each pod, implement a distinct micro pattern such as stipple, lines, or tiny chevrons.
- Add a tiny stem at the base of the row to anchor the design visually.
Use light pencil guidelines to align the pods, then ink over the final shapes for a crisp, clean look.
12. Abstract Heart Mosaic — A Gentle, Romantic Tile
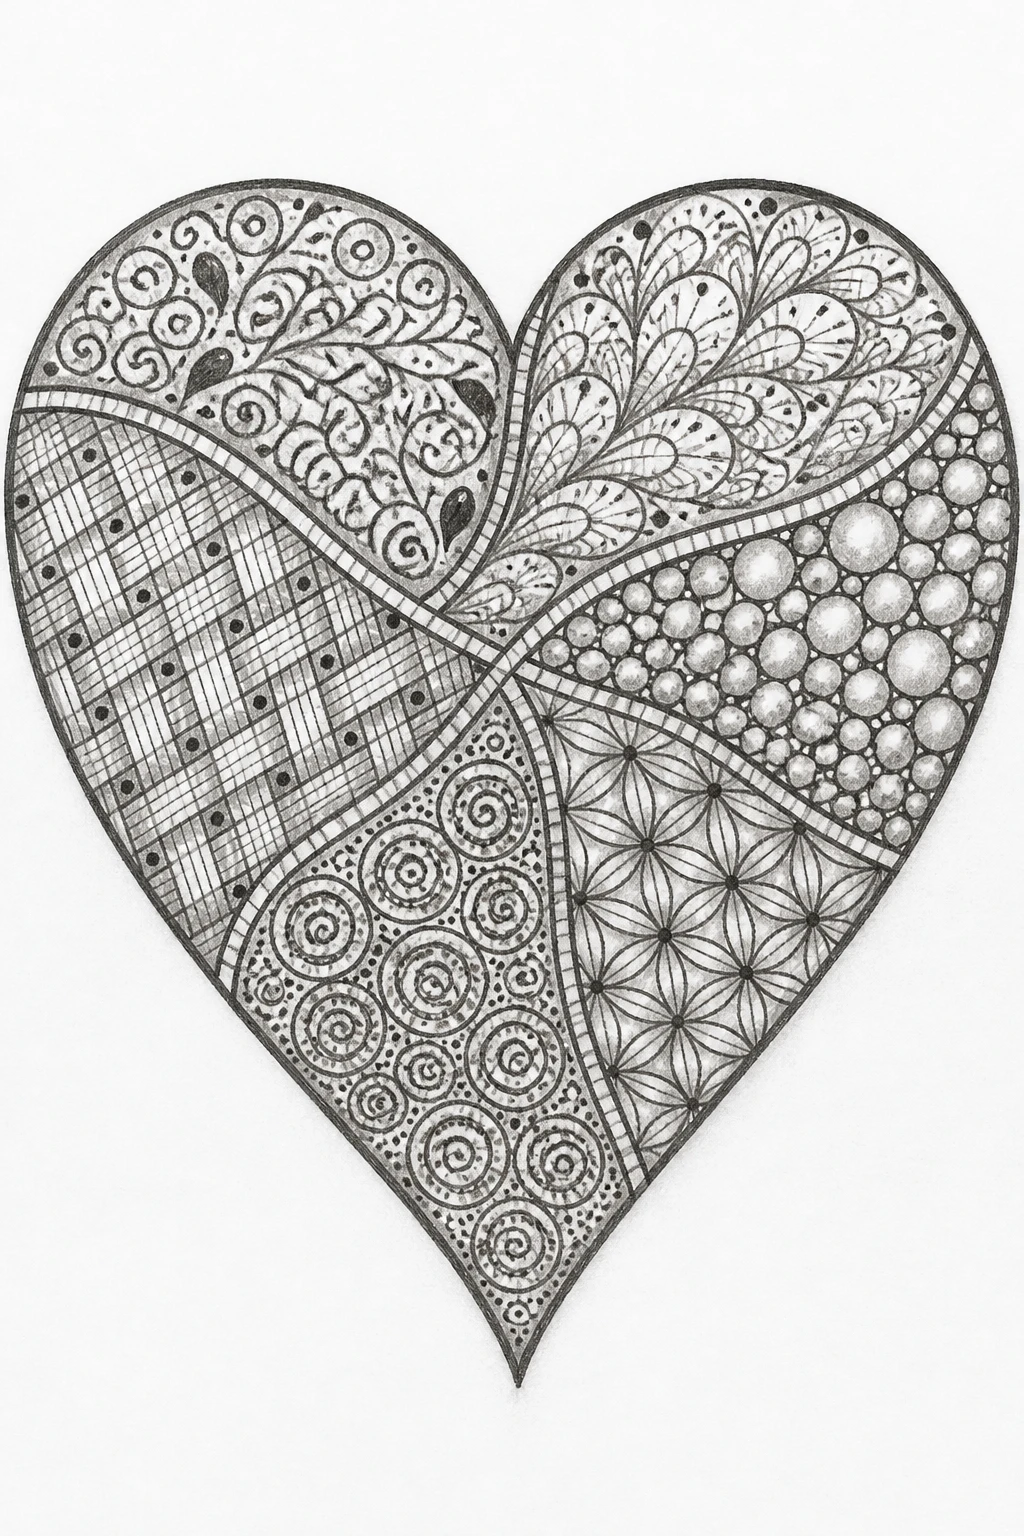
Hearts in a Zentangle context can be both cute and sophisticated when divided into mosaic segments. The result is a modern, minimalist heart that feels graphic and timeless.
How to Draw It
- Draw a large heart and imagine it as a quilt of four to six sections.
- Map gentle divider lines to create distinct panels within the heart.
- Fill each panel with a unique tiny pattern such as dots, dashes, or micro swirls.
Keep the outer outline strong and the internal divisions crisp so the heart remains instantly readable from afar.
13. Tiny Tree Silhouette — Evergreen Shape With Texture
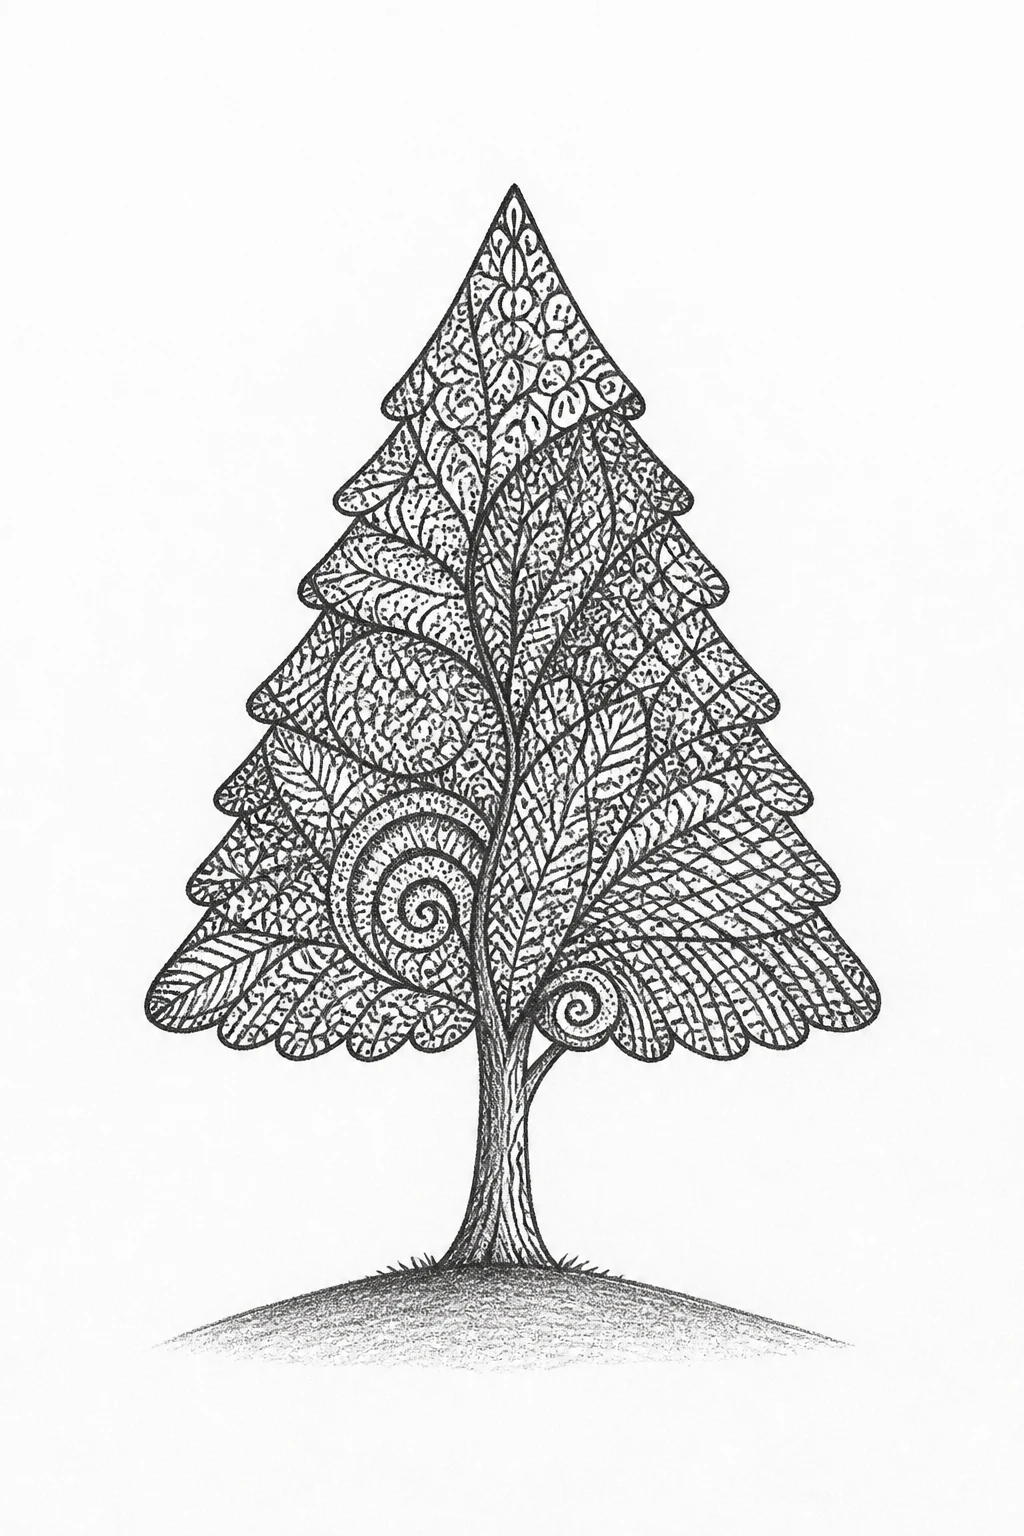
A single minimalist tree silhouette offers a natural, friendly subject that scales well for stickers, journaling, or wall art. Use subtle patterning to hint foliage while maintaining a clean outline.
How to Draw It
- Draw a slim trunk with a simple triangular canopy or a rounded mound representing the tree foliage.
- Within the canopy, add short curved lines or dot clusters to suggest texture without clutter.
- Position a small ground shadow or hill line beneath to anchor the tree.
Variety comes from adjusting the canopy height, keeping all lines crisp and evenly weighted for a strong, minimal look.
14. Spiral Shell — A Monoline, Tidy Sea Motif
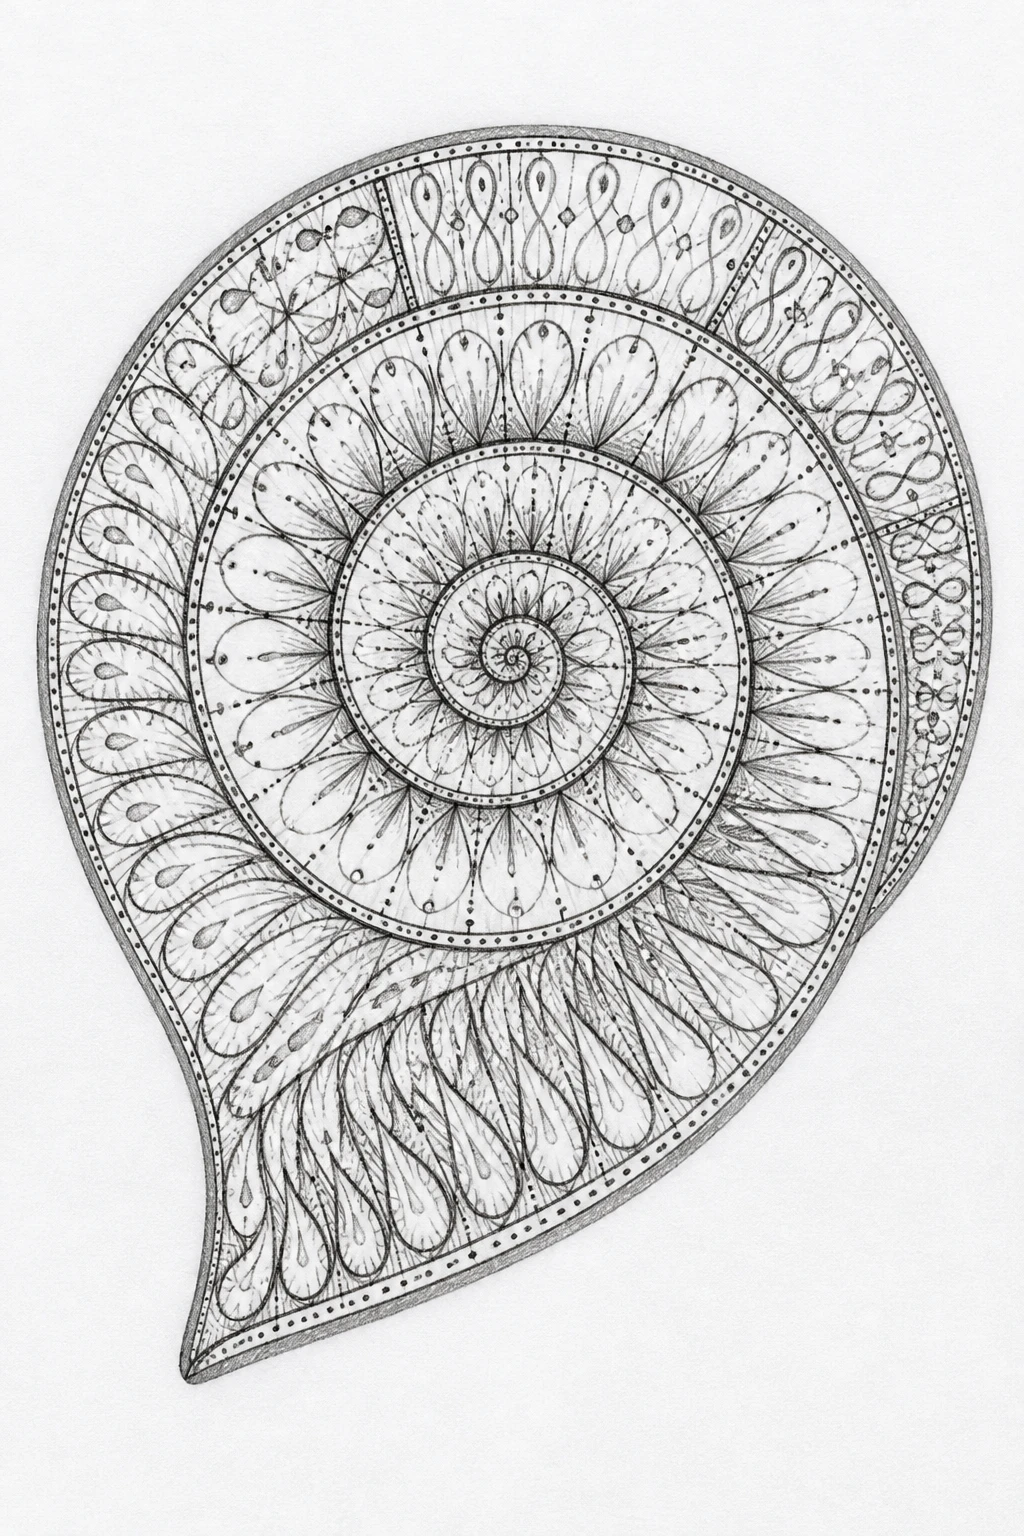
Shells in Zentangle style invite a spiral path and repeating curved lines that create an eye catching spiral pattern with a nautical feel.
How to Draw It
- Draw a simple spiral starting from a tight center and expanding outward in a smooth curve.
- Divide the space between the spiral turns with short radial lines or tiny dotted arcs.
- Add a short, curved line at the outer edge to suggest the shell boundary.
Keep the spiral space open and let the inner lines guide the eye toward the center for a satisfying focal point.
15. Tiny Mountain Range — Crisp Peaks With Minimal Detailing
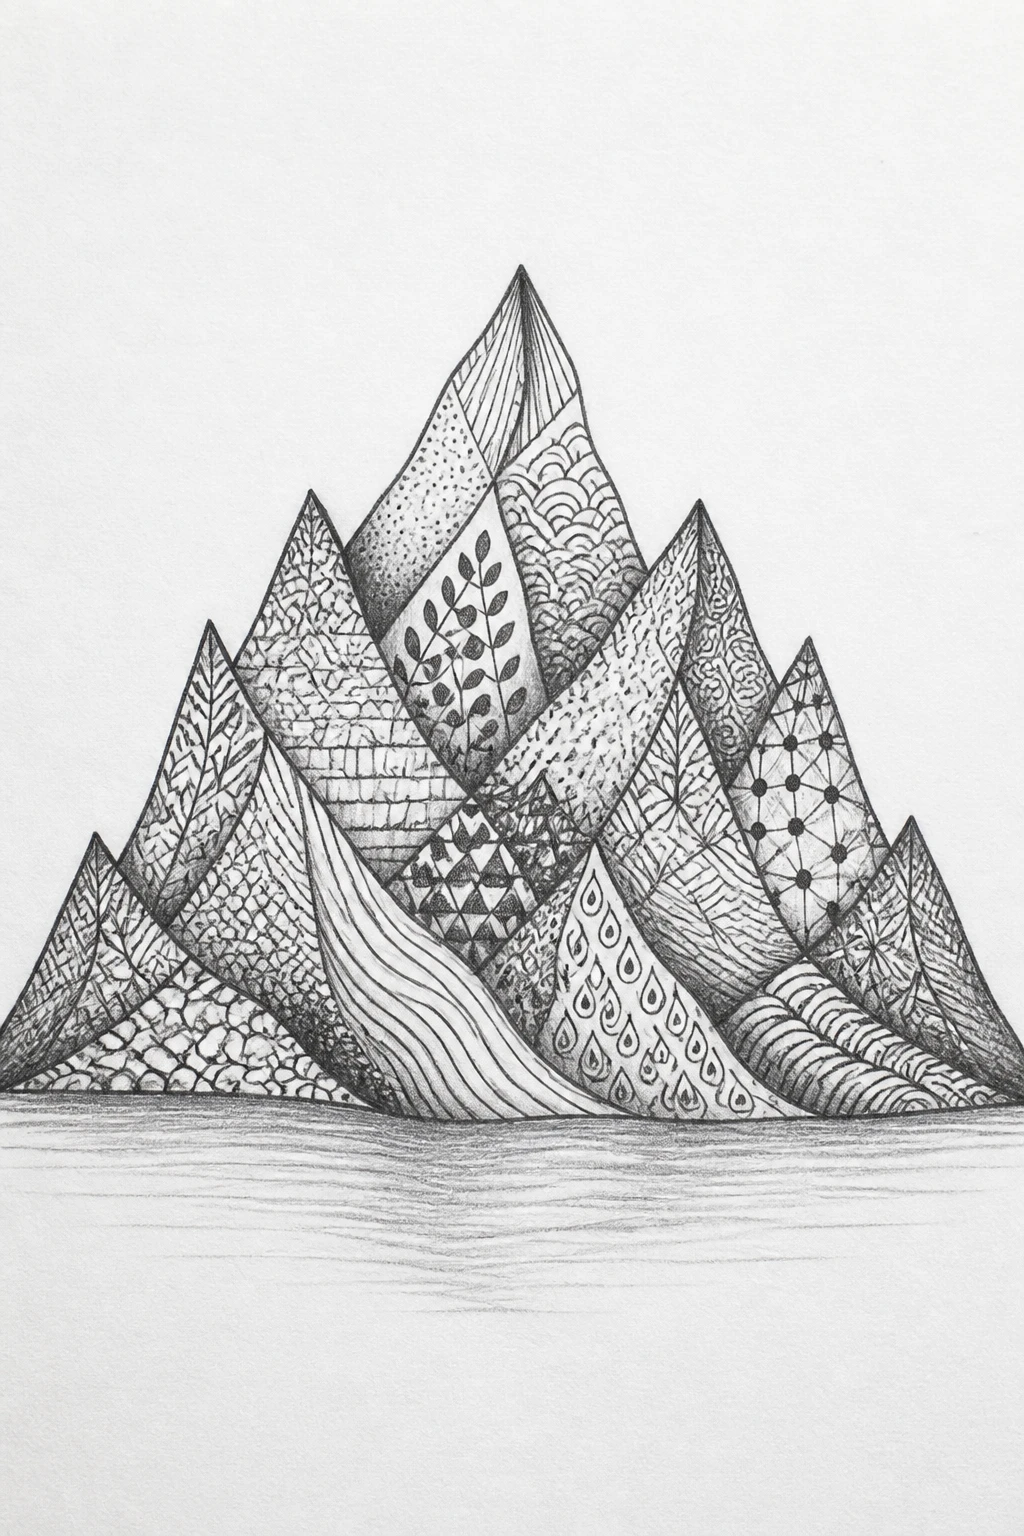
A simple mountain silhouette can be infused with Zentangle by filling each peak with a tiny pattern while keeping the overall contour clean and bold.
How to Draw It
- Outline a jagged minimalist mountain range across the page.
- In each peak valley, add one simple pattern such as hatch marks, speckles, or a row of tiny triangles.
- Finish with a soft line below to ground or ground in a faint horizon line.
The combination of a familiar landscape shape and restrained internal detail makes this idea instantly pin friendly and easy to reproduce in a grid layout.
You May Also Like:
10 Zentangle Sketchbook Ideas for Creative Practice
12 Black and White Zentangle Ideas With Simple Lines
How to Draw Doodle Zentangle Patterns Easily
How to Make Your Drawings Look Cute and Clean
These Zentangle doodles work best when your composition breathes. Start by establishing a strong silhouette for each idea, then introduce internal textures only after the outer shape is confident. A clean, consistent line weight helps each design read well at smaller sizes, which is essential for Pinterest pins and coloring pages alike.
Spacing matters. Leave generous negative space around each motif so the eye can rest and the patterns can shine. If you plan to tile several ideas on a single page, keep the margins even and the line thickness uniform to unify the overall look.
When you want to personalize a concept, keep the defining silhouette and swap in your favorite micro patterns. For example, replace the leaf vein lines with a series of tiny arches or swap in a different set of hatch marks while preserving the overall shape. This preserves recognizability while letting your style surface.
For beginners, printable coloring pages are a great way to practice. Print a few of these designs at a comfortable size, trace the outer shapes, then fill the interiors with your preferred patterns. It builds confidence and helps you create cohesive pin-ready visuals. If you want to experiment with composition, try arranging several related motifs in a grid, ensuring consistent margins and a shared visual rhythm.
Optional Quick Tips
- Practice with a light pencil first to refine proportions before committing to ink.
- Use a single pen weight for outlines and a thinner weight for internal lines to maintain a crisp look.
- Test your patterns on scrap paper to find combinations that read clearly in small scales.
- Create a mini reference sheet of favorite micro patterns you can reuse across different motifs.
- Consider a subtle color palette to highlight one motif while keeping the rest in black and white for contrast.
- Make sure each design has a clear focal point, so it remains legible when pinned on Pinterest.
Pick Your Favorite and Start Drawing
These 15 Zentangle Doodle Designs With Simple Patterns give you a compact library of ideas that are both easy to execute and visually striking. The goal is to capture attention with clean silhouettes and deliberate micro textures that feel intentional rather than crowded.
Choose one concept to begin with, gather a pencil, eraser, and a black pen, and start mapping out the basic shape. As you gain confidence, add a few tiny patterns inside to build a distinctive, shareable doodle that you can proudly place on your sketchbook pages or Pinterest boards.
Remember, the charm of Zentangle is in restraint—few lines, purposeful arrangements, and a calm rhythm across the page. Small imperfections are part of your style, so lean into them and let your doodles evolve at their own pace. Save this collection for later, try a new idea each week, and watch your minimalistic doodling bloom into something truly shareable.

Hi, I’m Abdul Moeed Shahid, the creator of Sketch and Fun. I’m passionate about helping people of all ages explore their creativity through fun drawing ideas and printable coloring pages. My goal is to make art simple, accessible, and enjoyable for everyone!