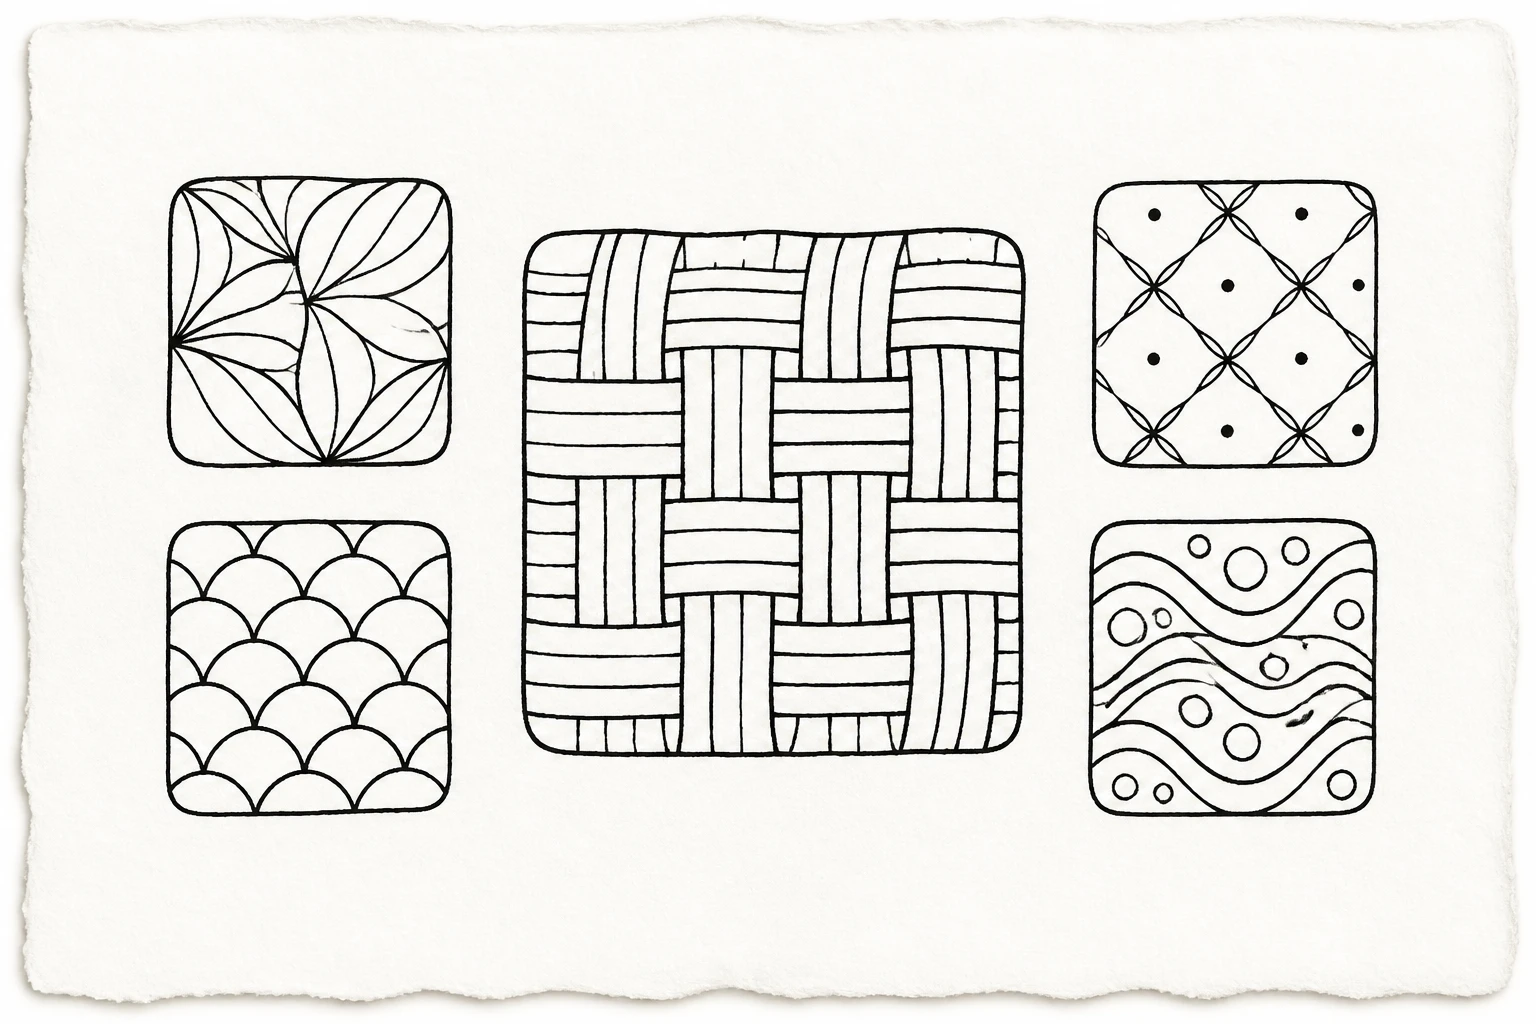
Curious about Zentangle but not sure where to start? Imagine turning simple lines and shapes into calming, repeatable patterns you can doodle in minutes.
These ideas lean into strong silhouettes, clean rhythm, and the little zen of Zentangle that makes them almost irresistible to save and share.
You’ll find straightforward builds, gentle variation, and a clear focal element in every idea. Grab a pencil, a black pen, and a tiny bit of patience and you’re ready to explore these ten patterns together.
1. Linear Quill Weave

The Linear Quill Weave captures the calm rhythm of interlacing lines that form a delicate, quill-like texture. It reads as a light, airy pattern that remains unmistakably Zentangle in its clean, repetitive structure.
How to Draw It
- Begin with a horizontal guide line for even spacing.
- Draw a series of parallel lines across the page, about a pencil width apart.
- Add a second set of parallel lines at a slight angle, weaving over and under the first set to create a lattice feel.
- Erase minor overlaps to keep a crisp, minimal silhouette.
Keep the lines evenly spaced and avoid crowding. The elegance comes from the simple geometry and the hypnotic rhythm when the weaving is consistent across the tile.
2. Dotted Arch Pattern

This pattern uses a single arch motif dotted with tiny beads along the curve. It creates a soft, ornamental look that remains surprisingly easy to execute and instantly captures attention on Pinterest.
How to Draw It
- Draw a shallow, wide arch near the top of your tile.
- Place evenly spaced small dots along the arch curve.
- Fill the interior with a light, curved line pattern following the arch’s contour for subtle depth.
- Add a second parallel arch beneath to establish a mini banded composition.
One or two well-placed dots along the arch are enough to convey charm without clutter. The result is a graceful, airy motif that scales well for coloring pages or sticker ideas.
3. Grid Row Petals

The Grid Row Petals combine neat horizontal rows with petal shapes that peek between the lines. It feels botanically inspired yet remains highly geometric, making it both recognizable and peaceful to draw.
How to Draw It
- Draw five evenly spaced vertical lines to create a grid impression.
- Between each pair of vertical lines, sketch a simple teardrop or petal pointing upward from a baseline line.
- Connect corresponding petal tips with light horizontal lines to emphasize the grid structure.
- Shade just lightly along one side of each petal for a subtle dimension.
Keep the petals slim and evenly spaced to preserve the minimalist vibe. This idea benefits from symmetrical balance and gives a crisp, modern Zentangle look.
4. Crescent Segments
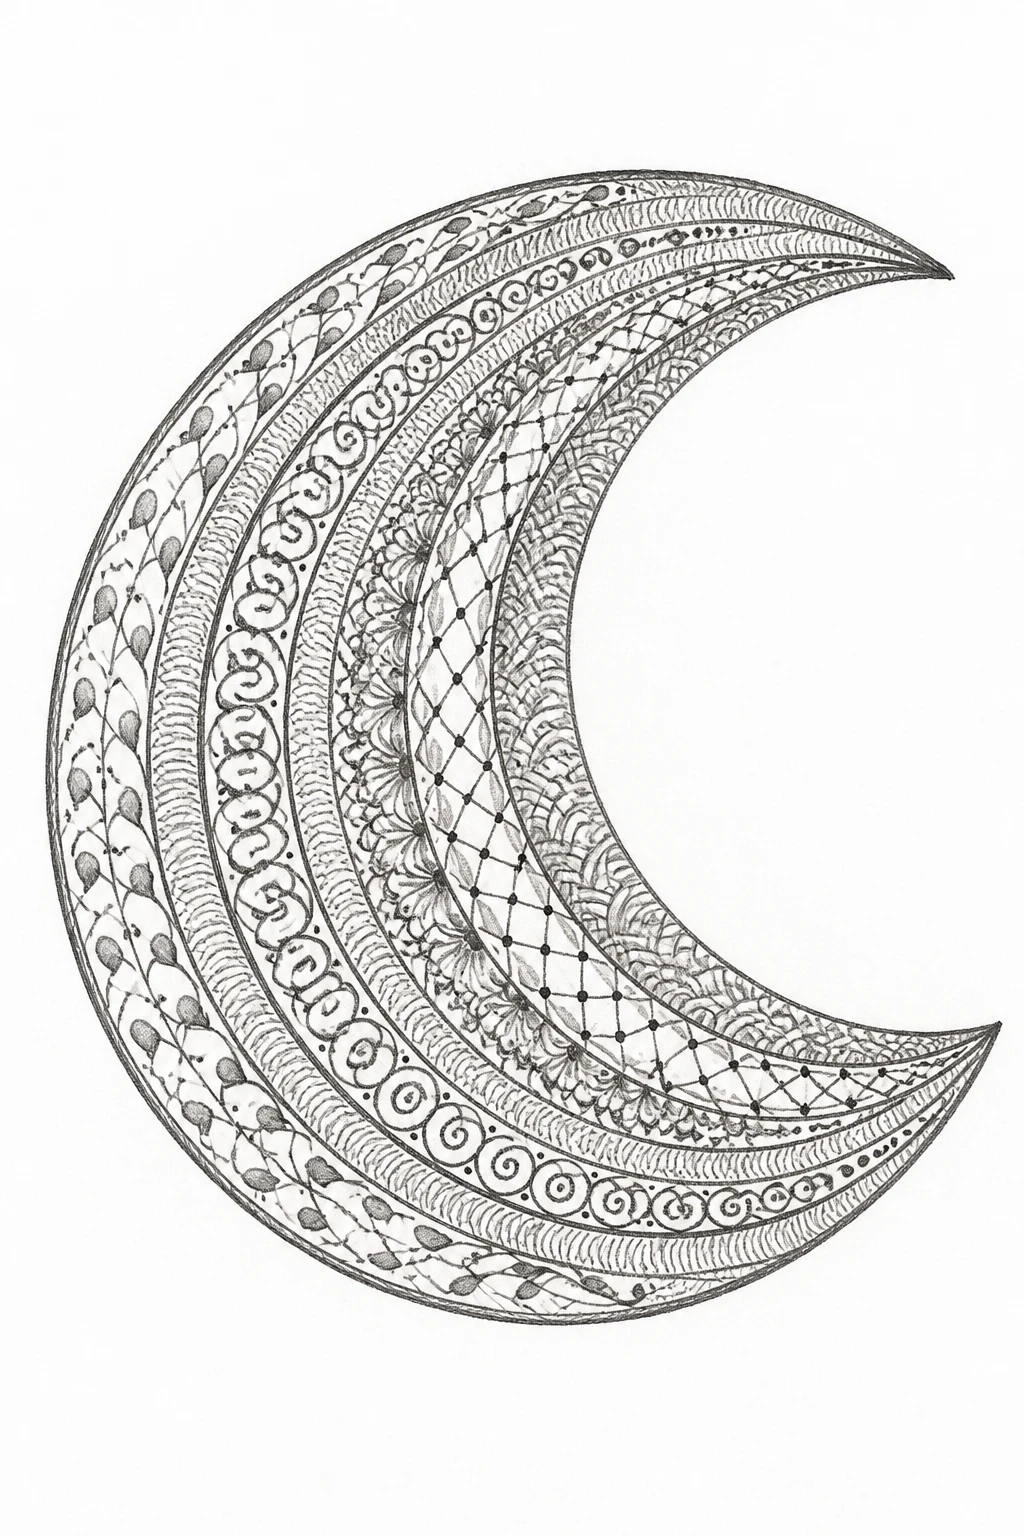
Crescent Segments offer a tranquil arc-based motif that echoes lunar shapes. It is easy to draw, visually soothing, and ideal for creating a gentle focal point on a tile.
How to Draw It
- Draw a large, shallow crescent on the tile.
- Inside the crescent, place several smaller curved segments following the same curvature.
- Fill spaces between segments with short curved hatch marks to keep the texture light.
The rhythm of the curved lines creates a hypnotic effect while staying remarkably simple. It can be expanded by repeating the crescent with slight shifts for a cohesive border or panel.
5. Zigzag Micro-Fields

Zigzag Micro-Fields turn a basic zigzag into a field of tiny, close-set chevrons. The result feels dynamic yet minimal, perfect for quick sketches that still look thoughtfully composed.
How to Draw It
- Start with a shallow zigzag across the tile.
- In the spaces between the zigzag lines, add additional short zigzags that face the opposite direction to create a mesh.
- Keep the lines evenly spaced and avoid heavy shading to maintain the light feel.
The key is restraint — a few carefully placed micro zigs create a complex texture without overwhelming the page.
6. Dot Grid with Arcs
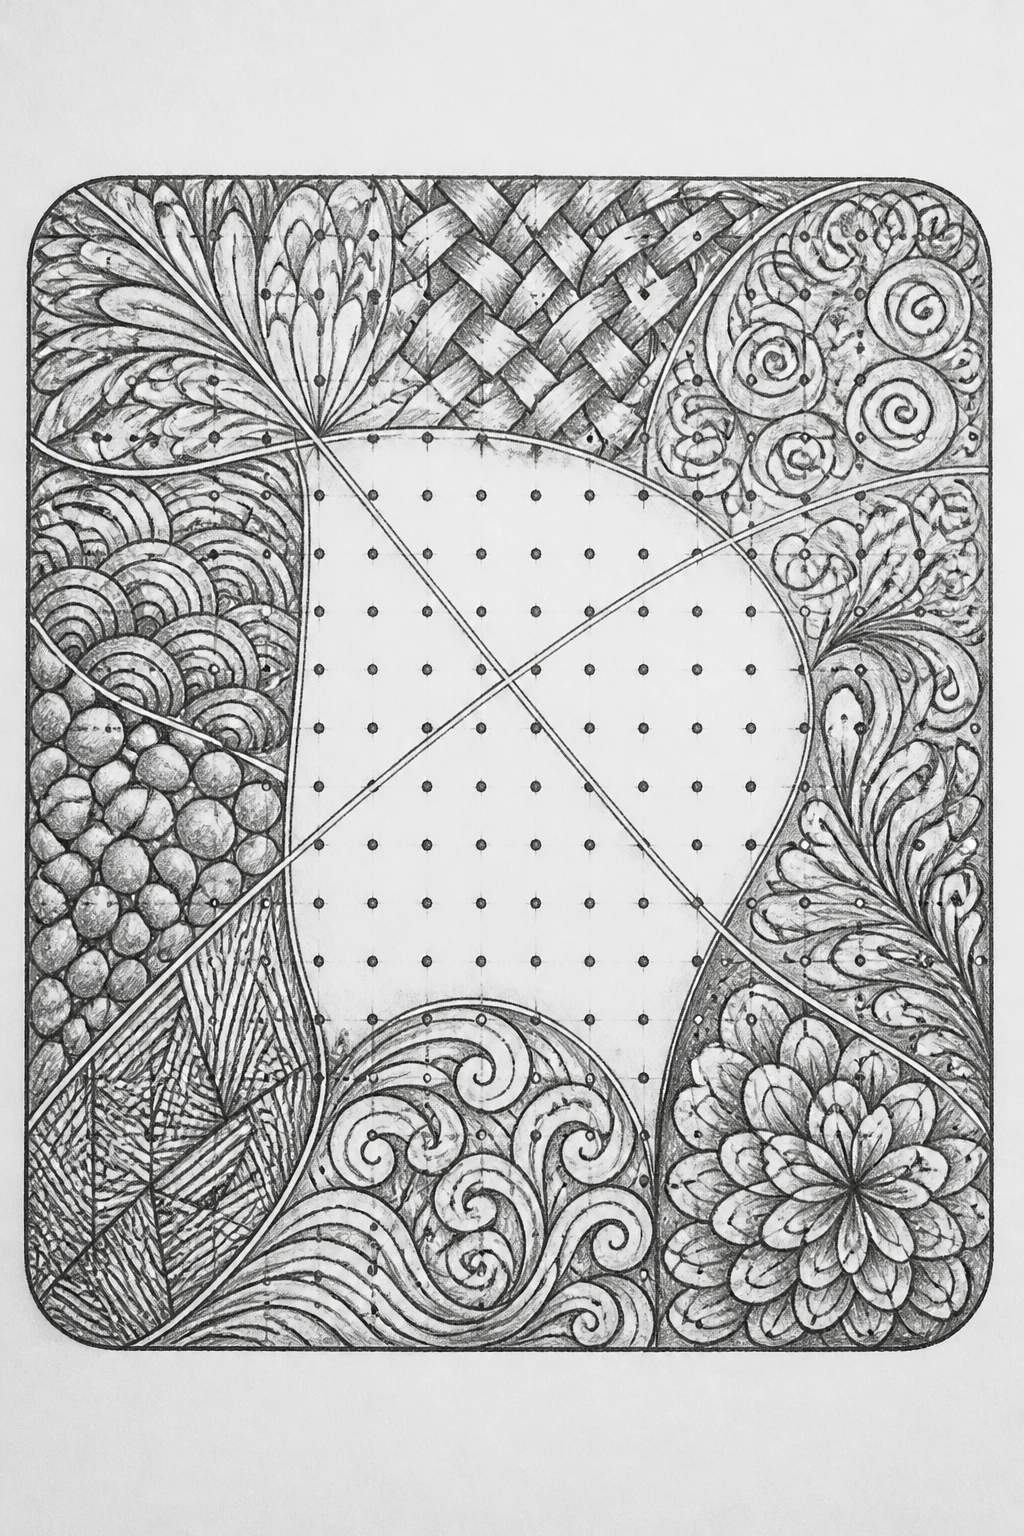
This idea layers a simple grid of dots with soft arc lines that sweep across the surface. It balances geometry with flowing motion, producing a clean yet playful look that reads well on social posts.
How to Draw It
- Place a regular grid of evenly spaced dots across your tile.
- Draw an arc that crosses the grid from one edge to the opposite side, lightly curving as it travels.
- Repeat with a second arc offset from the first to form a gentle crossbow pattern.
Let the arcs sit above the dots so the pattern remains airy. This combination is excellent for beginners who want a structured yet soft Zentangle feel.
7. Lattice Teardrops
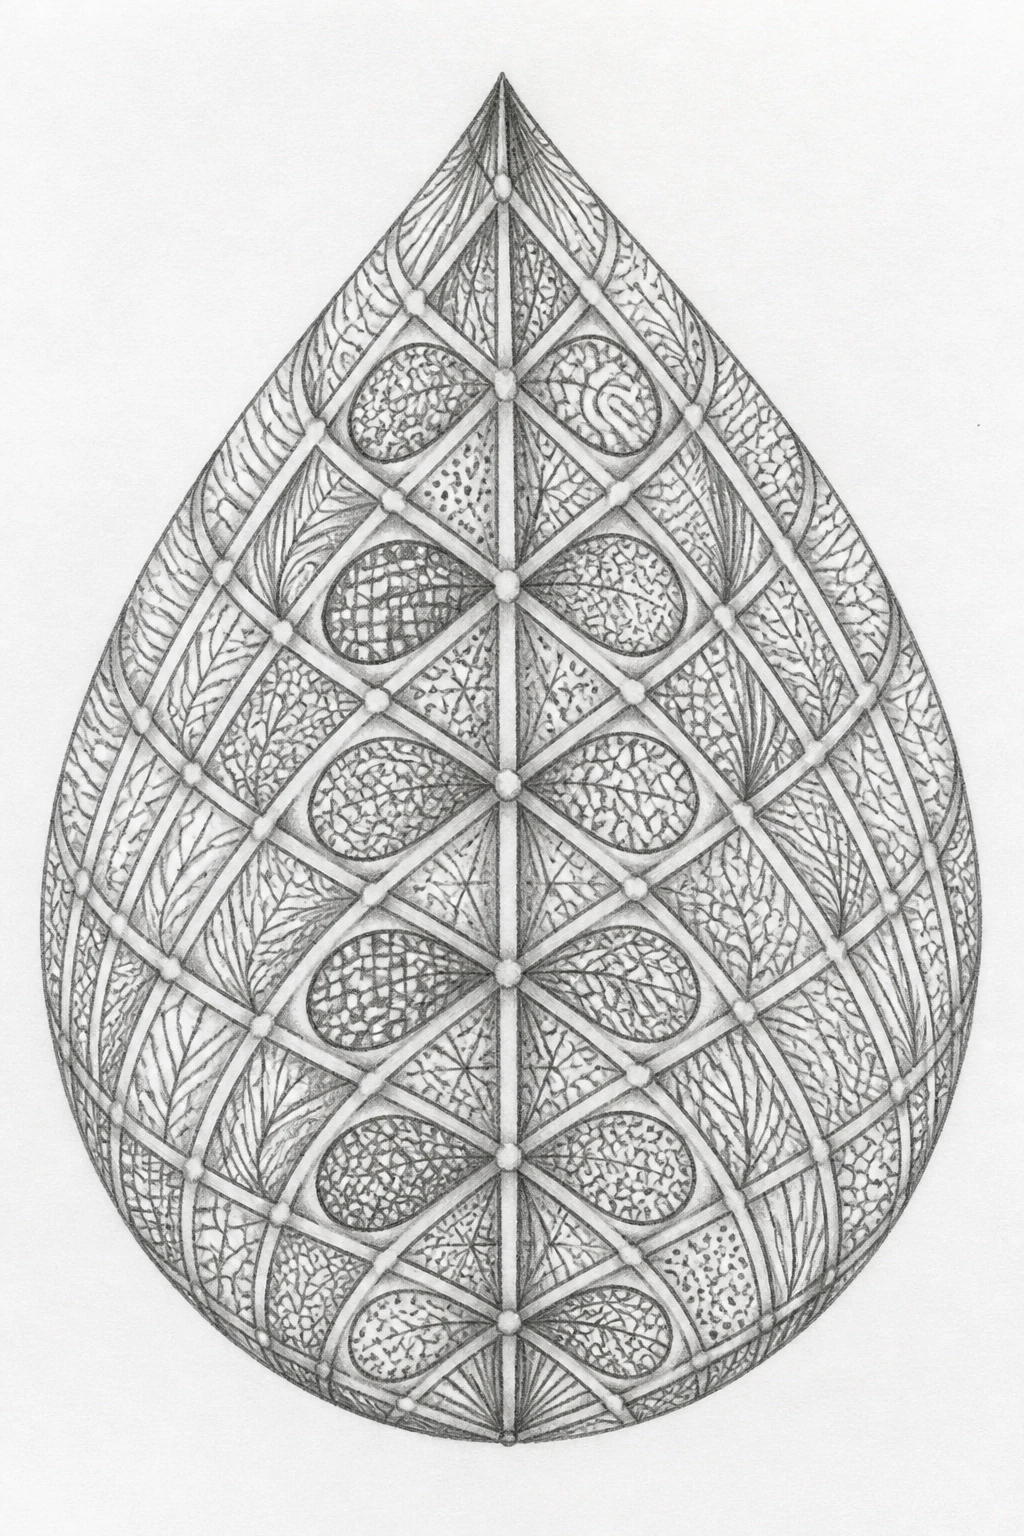
Lattice Teardrops merge the idea of a lattice with teardrop shapes forming a continuous, elegant mesh. It looks sophisticated but stays accessible with simple cues and repeatable shapes.
How to Draw It
- Draw a crisscross lattice by creating two sets of parallel lines crossing at 60 degrees.
- In each cell of the lattice, draw a teardrop pointing toward a shared center line.
- Keep the teardrops small and evenly spaced to preserve the lattice clarity.
The repetition of teardrops within a tidy grid gives a refined, almost textile-like texture that translates beautifully to pins and coloring pages.
8. Wave Stripe By Five
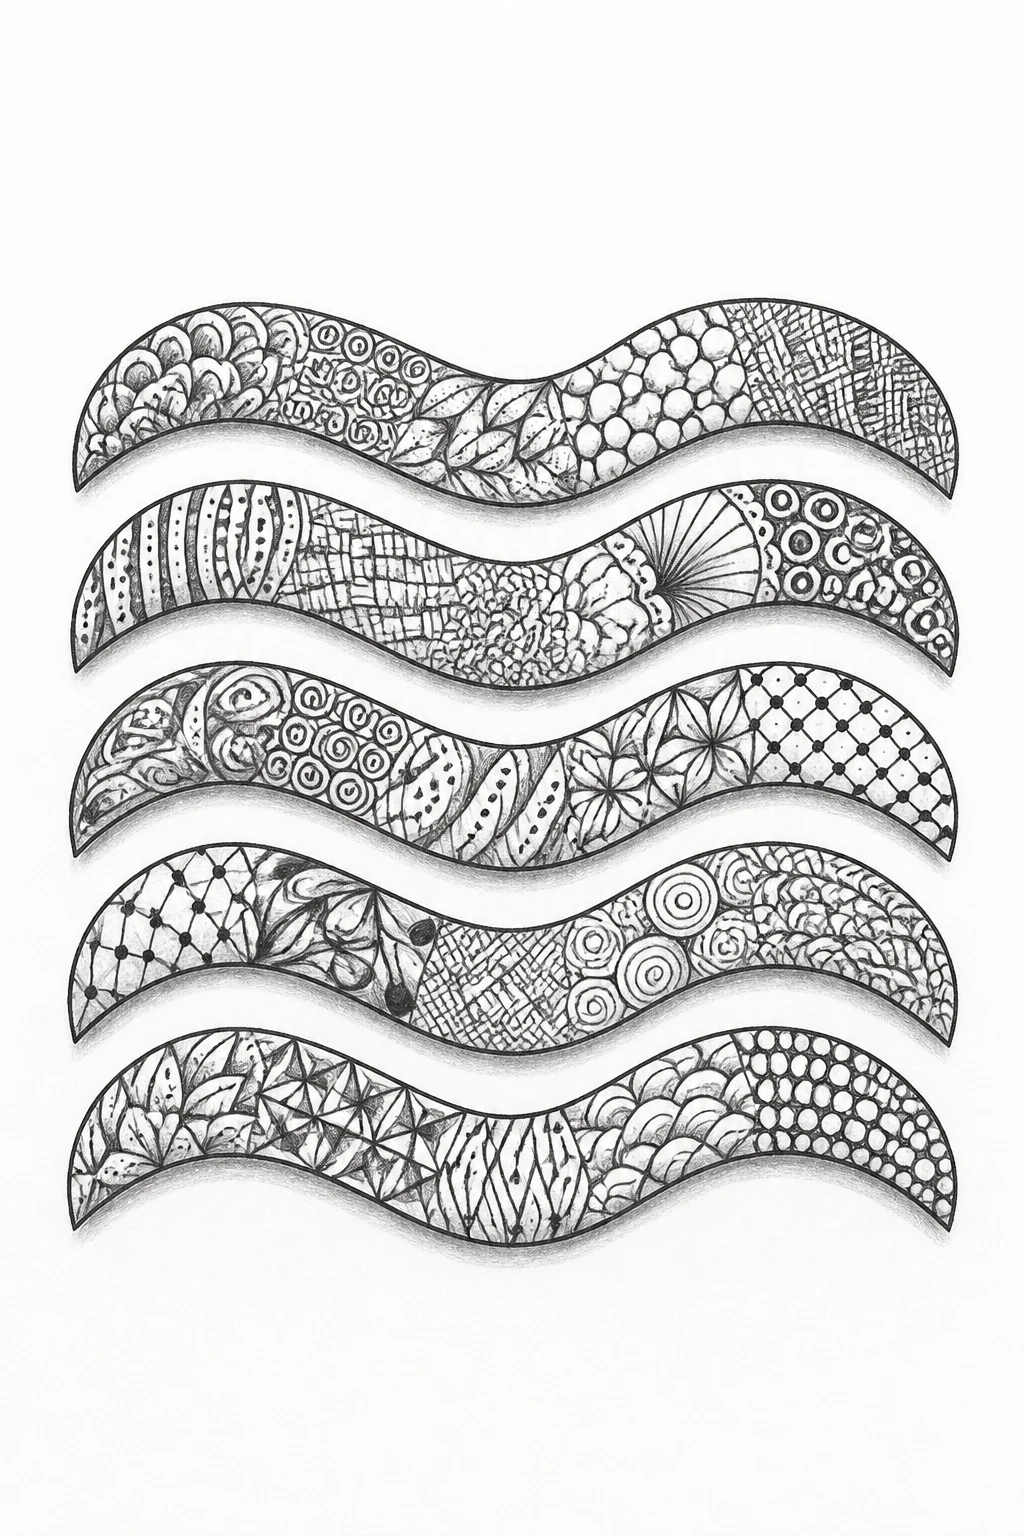
Wave Stripe By Five introduces a bold, minimalist wave motif arranged in five neat stripes. This design is instantly recognizable, with a strong rhythm that is easy to reproduce and highly shareable.
How to Draw It
- Draw five parallel curved lines that sweep in the same gentle direction.
- Keep the spacing uniform so each wave feels part of a single chorus line.
- Optional: add a thin shadow line beneath the waves to suggest depth without crowding the silhouette.
Despite its simplicity, the organized cadence of the waves creates a striking visual punch that stands out as a standalone piece or part of a larger Zentangle page.
9. Circular Ribbons

Circular Ribbons weave multiple concentric bands around a central point to form a clean circular mandala-like motif. It reads as calm and meditative, ideal for pin-ready layouts with a strong focal center.
How to Draw It
- Draw a small central circle as the anchor.
- Around it, draw several evenly spaced concentric circles, forming rings.
- In the space between rings, draw short curved arches that connect the rings, creating ribbon-like segments.
Limit the number of rings to keep the pattern minimal. The repetitive circles and arches create a mesmerizing, easily recognizable shape perfect for Zentangle practice or mini-milestone tiles.
10. Leafy Echoes

Leafy Echoes use a simple leaf silhouette repeated in an echoing, mirrored arrangement. The result is organic yet modern, with a soft botanical vibe that feels accessible to beginners while still looking polished.
How to Draw It
- Draw a single elongated leaf shape as the baseline element.
- Duplicate the leaf on both sides at equal intervals to create an echo effect along a central axis.
- Add a thin vein down the center of each leaf for subtle structure without clutter.
Keep the leaves slender and evenly spaced to maintain a minimalist aesthetic. The mirrored arrangement makes the pattern instantly readable and visually satisfying.
You May Also Like:
15 Zentangle Doodle Designs With Simple Patterns
10 Zentangle Sketchbook Ideas for Creative Practice
12 Black and White Zentangle Ideas With Simple Lines
Tips for Making Your Drawings Look Cute and Clean
Focus on clean silhouettes and simple lines that communicate the idea at a glance. Use consistent line weight and maintain ample white space around each motif so the design breathes and remains pin-ready. A recognizable focal point in every tile helps viewers instantly grasp the concept, even in a quick scroll.
Consistency in spacing and alignment is more important than adding many details. Start each idea with a basic structure, then add one or two small refinements to create personality without sacrificing clarity. Think balance, symmetry, and calm rhythm rather than busy decoration.
Quick Drawing Tips
- Use light pencil guidelines to keep spacing even.
- Keep outlines bold and uniform so the shapes read clearly in small sizes.
- Avoid heavy shading in the first pass; save texture for a second layer if desired.
- Experiment with negative space to emphasize the pattern rather than the border.
- Consider turning any idea into a repeating tile to practice rhythm and cohesion.
Remember, the goal is a collection that feels cohesive and easy to scan. Clear silhouettes and deliberate minimalism are your best friends for Pinterest-worthy Zentangle ideas.
Elevating Your Zentangle Practice on a Page
To help your ten ideas shine, work on the overall layout before you commit to individual tiles. Decide whether you want a single page of ten tiles in a grid or a more organic, staggered arrangement. A consistent margin around each tile helps the group feel intentional rather than random.
Line quality matters a lot in Zentangle style. Practice drawing each motif with even pressure and smooth, confident strokes. If a line wobbles, try a lighter touch or switch to a fine liner then back to a pencil to adjust the balance. Clean edges are especially important for the minimalist aesthetic that this collection promotes.
For Pinterest friendly results, design your tiles with a strong focal point and sharp contrast. A bold black outline against white space reads well at small sizes, and a minimal color plan can be added later for coloring pages or sticker designs. Consider leaving some tiles in pure black and white to maximize readability across devices.
Optional Practical Tips
- Arrange ideas into a cohesive grid that alternates dense and open tiles to create visual rhythm.
- Experiment with negative space to balance the overall page; not every tile needs an inner pattern.
- Draft quick thumbnail sketches before inking to test composition and spacing.
- Prepare printable coloring pages by outlining each tile in a bold stroke on clean, white paper.
- Save a digital version with equal margins so you can pin the same layout without redrawing each time.
- When sharing on social, caption with a short tip like How to get started with Zentangle or Quick ideas for Zentangle beginners to drive engagement.
Pick Your Favorite and Start Drawing
Starting with one idea is enough to ignite a whole Zentangle session. Gather a pencil, a black pen, and a clean sheet, then pick a single motif from this collection and give it a go. You might discover a rhythm you want to expand into a full page of patterns.
Remember that small imperfections add character and charm. If a line is not perfectly straight or a curve is a touch wobbly, that is part of the handmade feel that makes Zentangle so relatable. Use these ten ideas as a springboard to your own personalized Zentangle journey.
Conclusion: Your Zentangle Starter Kit Is Waiting
Among the ten Zentangle Tangle Patterns for Beginners, you have a balanced mix of geometry, flow, and gentle play. Each design is crafted to feel approachable while still offering a strong visual hook perfect for sharing online or keeping in your sketchbook for quiet time practice.
Try one pattern today, then add your own small twist next time. Your page will start to feel like a cohesive, calming place where tiny decisions about spacing and line weight become your signature style. Save this article for later, pin your favorite idea, and invite a friend to draw along with you for extra fun.

Hi, I’m Abdul Moeed Shahid, the creator of Sketch and Fun. I’m passionate about helping people of all ages explore their creativity through fun drawing ideas and printable coloring pages. My goal is to make art simple, accessible, and enjoyable for everyone!